4 P215 REV000 February 2023
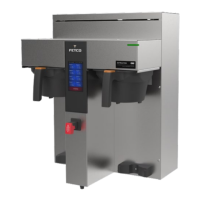
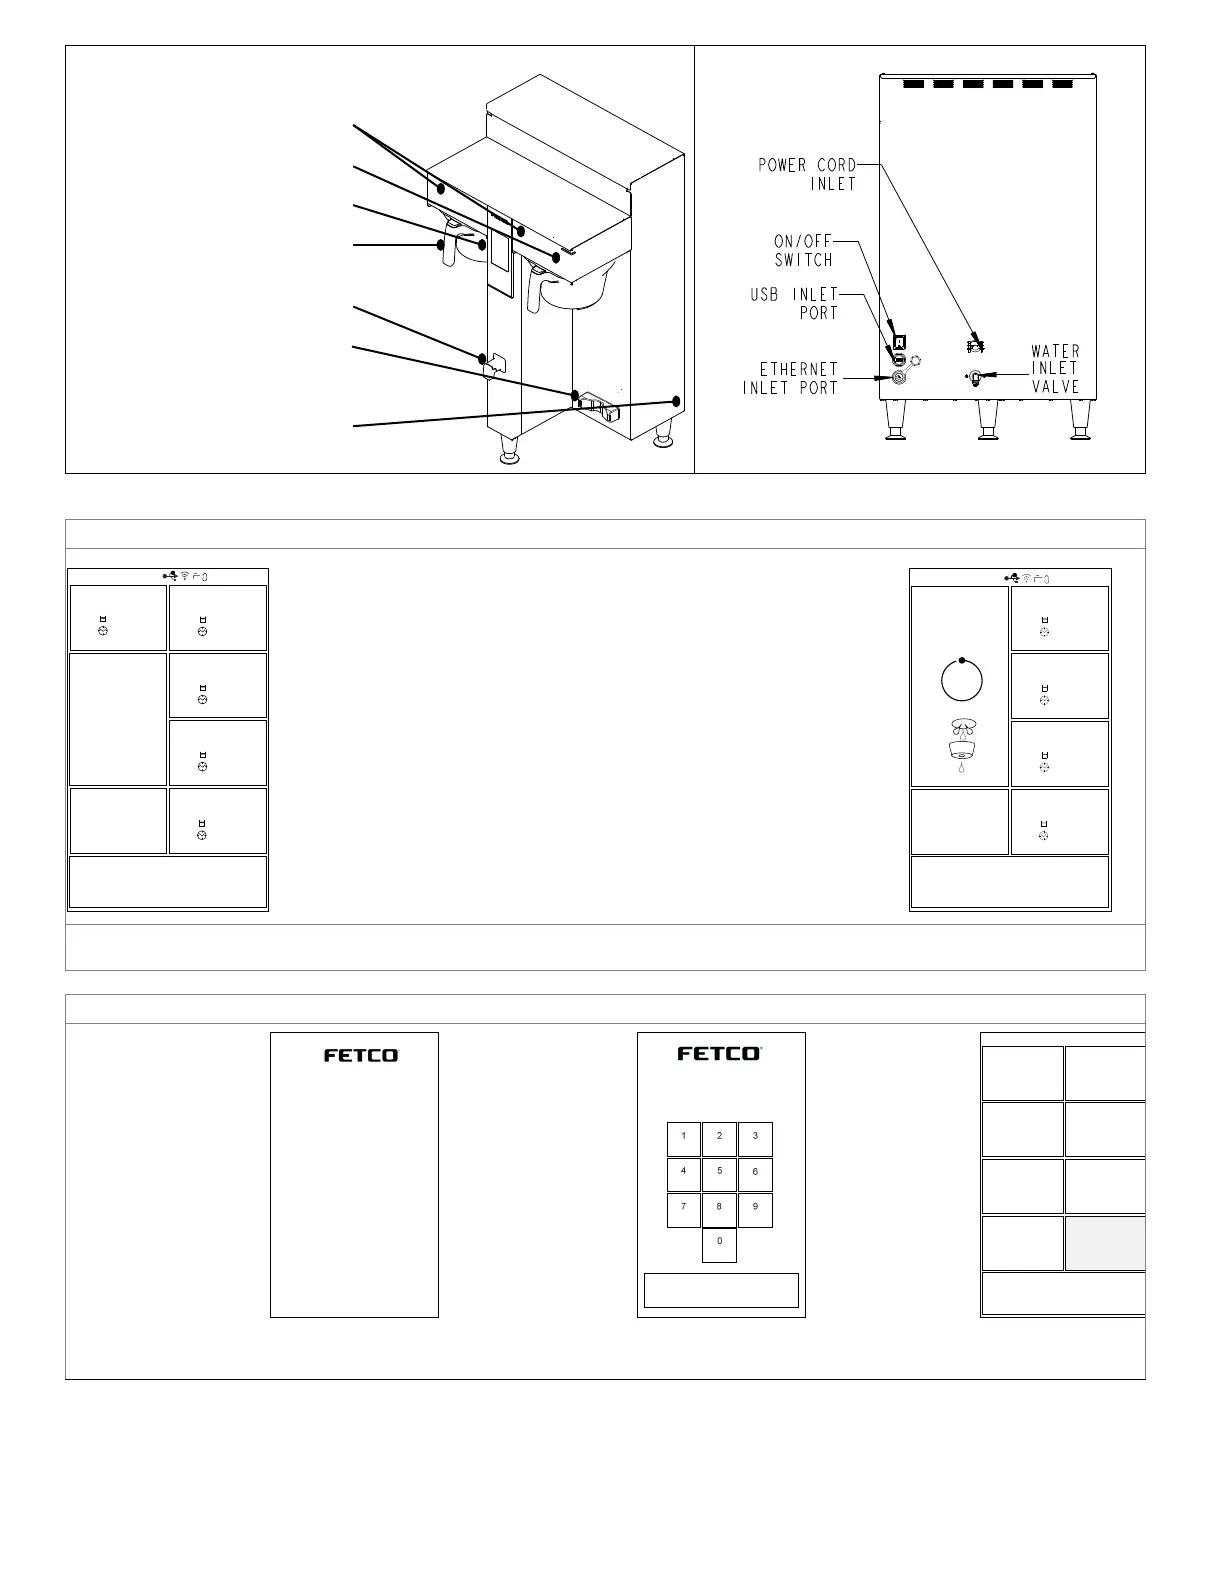
Layout of the brewer
Operation and service
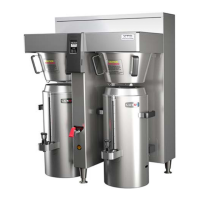
Layout for installing brewer (back side)
Brew basket sensor (internal)
Touch-screen
(for brewer operation)
Brew basket
Hot Water Service Faucet
(not on all models)
Air pot or Dispenser Locator
(1 gallon/3 liter models)
Main power switch
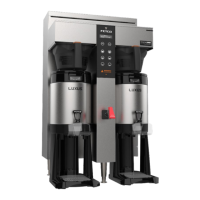
Fast Start brewing
Starting The Brew
1. Turn the power switch “ON”. (Twin Shown)
2. Prepare a brew basket with the correct size filter and appropriate
amount of coffee. (4-8 ounces or 113-227 grams for 1 gal/3.8 liters)
3. Slide the brew basket completely into the rails.
4. Place a clean, empty, preheated dispenser under the brew basket.
5. Select a batch & touch the corresponding BREW icon
(Batch #1 selected in illustration), then press “START”
6. -STOP icon will illuminate,
-Countdown time will display, with proportional graphic circle icon
-LED indicator will pulse.
-All other BREW icons for that brew head will be hidden.
….-Opposite side BREW icons on dual brewer remain active
7. When the brew cycle is finished,
-Spray icon will extinguish and the BREW circular icon will remain.
This indicates that coffee may still be dripping from the brew basket
For safety- do not remove brew basket until drip-out is complete.
Twin Brewer ready to brew.
Batch one-top left brew position selected
Brewing in process
Batch one selected
programming
1.
Turn the power switch
“OFF”, then “ON”:
Bootup will begin
.
Touch the cen of the
screen (shown on
right)
2.
(shown right)
Operator password
is 1,2,3,4: Note: For
general use
Service password is
9,8,7,6 Note:
Do not
distribute this number
3.
Make changes and
adjustments from
the
Programming
Menu screen
(Shown right)
See progamming
menu layout next
page
12:35pm 04.14.2020 87°C/93°C
12:35pm 04.14.2020 87°C/93°C
CBS-2252
UI ver: 0.0.02t2020-0616a
UI Date: Jun 16 2020 09:12:53
IO ver: 0.0.0.2t2020-0610
IO Date: June 10 2020 10:26:27
Soft . Ver. 09:12:53
Bootloader ver. 0.23
Hardware ver. 1.01
©
2019 Food Equipment Techno logies Co
mp any
 Loading...