Optional Twin Timer Kit
3
8
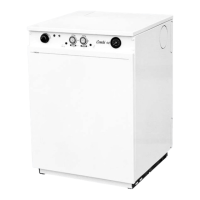
3.4 COMBI TIMER - HOUSEHOLDER INSTRUCTIONS
Timer switch
position A
constant
Timer switch
position B
timed
Timer switch
position C
off
Programming Guide
Setting Up
The outer dial should be set to
the current time. Rotate the dial
slowly in a clockwise direction,
until the correct hour is aligned
with the arrow head printed on
the dial. Note that the outer dial
is printed with the 24 hour clock:
8:00 a.m. = 8 on the dial.
8:00 p.m. = 20 on the dial.
Do not attempt to rotate the dial
in an anti-clockwise direction.
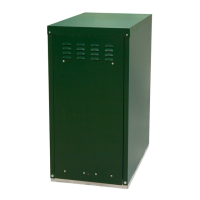
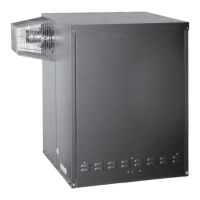
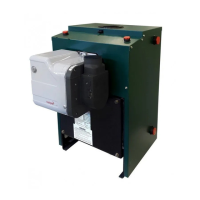
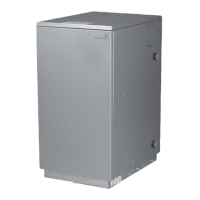
Central Heating Control
The control panel is designed for simplicity of use and is
equipped with an adjustable thermostat dial, optional
time controls and a limit thermostat reset button as
shown above. It also has a built in system pressure
gauge which is connected to the boiler and heating
system water at the safety valve.
When replacing, make sure that each thermostat
pocket receives the correct phial by marking and
noting carefully each phial and its correct pocket.
Manual Switch
The manual switch has three settings: Fixed On / Fixed
Off / Auto control, allowing manual control of the
switched output without disrupting the timed (tappet)
settings.
The FM1 Timer is a single channel 24 hour timer. It can
be used to control the central heating or hot water cir-
cuits. If it is a requirement to have the hot water circuit
in a combination boiler time controlled where this boil-
er is installed,then a second timer can be connected via
the seven pin mains in plug on this control panel. Refer
to the combi wiring instructions pages 54 & 55.
The slide switch can be set at any of the three settings
and will remain in this position until manually changed.
When the manual switch is set on “Auto” the timer will
come on as per the tappet settings.
Programming Switching Times
Set all tappets between the “on” and “off” times
required, to the outer edge of the dial (see figure 1). For
example,to set the timer to come on at 8:00 a.m. and to
turn off at 1:00 p.m., push tappets on the dial to
between the numbers 8 and 13 to outer edge of dial.
Figure 1
 Loading...