Steps in Commissioning a Burner in a Firebird Boiler
1. Check Nozzle to required output.
2. Is the correct Burner Head fitted to the burner for the required output?
3. Set air damper from the guide above for the desired output.
4. Check the pump pressure.
5. Set Boiler thermostat to minimum and allow boiler to heat up before carrying out a flue gas analysis.
6. Check flue gasses with a smoke gun before using flue gas analyser.
7. Proceed with flue gas analysis, adjust air damper to get desired CO
2
%.
8. Print a record of analysis result.
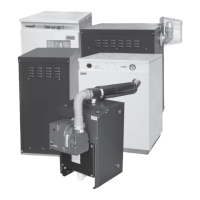
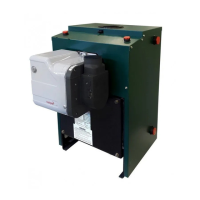
Riello RDB 2.2R Range Burner Settings
Variations in nozzle inputs, flue type & draft, oil viscosity etc. may give results differing from these
laboratory performance figures. These settings were carried out using a conventional flue.
The burner nozzle, pump pressure and air setting may have to be changed from the factory setting to suit site conditions.
The above settings were carried out on a Firebird Condensing Boiler with the specified venting.The ambient air was
averaging around 70°F. Allowances should also be made for the viscosity of the oil and the tolerance of the nozzles.
These settings are a guide and should only be used as such. A flue gas analyser must be used when fine tuning a burner
to a boiler.When using this chart on a burner fitted to a standard efficient boiler air setting may vary.
These burner settings for Firebird condensing boilers take precedent over any
settings found in literature supplied with the burner
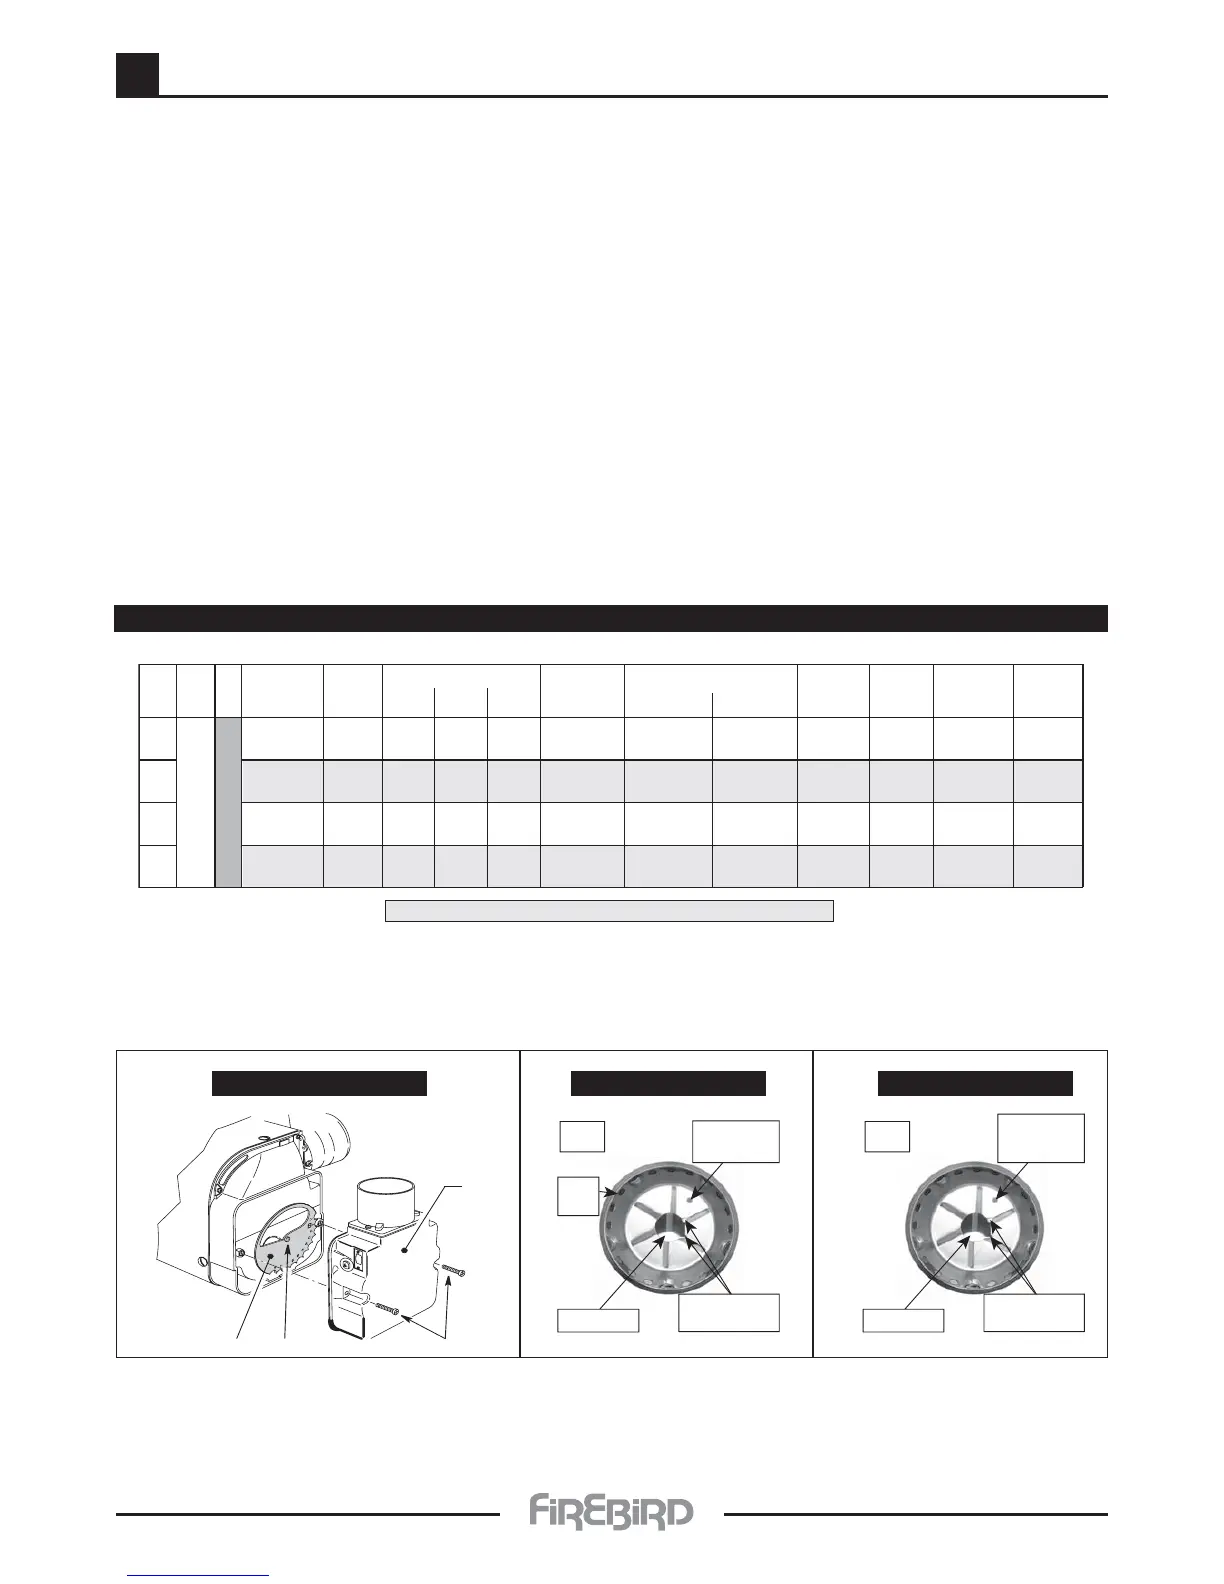
To set the positions of the damper, proceed as follows:
- Remove the secondary air damper (B) by removing the screws (1)
- Loosen the screw (2) and rotate the main air damper (A) to the required position.
- Re tighten the screw (2) and put back the secondary air damper (B).