this has been set at the iactory but cau be checked after the correct pressure has been reached.
[ o adjust Jor IT_il_ilTltllT_setting, if ne(2tJed. YoLl wilt need a 7/64" diameter x t 3/4" [2.5 x 45mini
screwdriver.
1. Remove the knobs.
2. tguite the burner and set the kuob to its i_]iniimm] position.
3. Rotate theturu down screw (dowu the hole iu the shafl].
Rotate slowly LmtiJa millimLli'q regular lJal'qe is achieved. (the lJal'qe wilt diminish when the
screw is tLlrlletJ ctocl<wise anti increase wheu tLlrlletJ co=inter clockwise).
4. When the settiug is right check regulation by quickly rotatiug the knob item the maxhTltllT_ to
the mh_hT_tlm delivery position. [he flame mtist not go oLlt. Replace the knob.
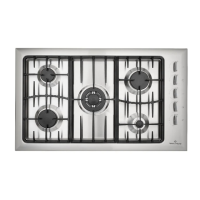
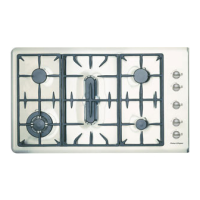
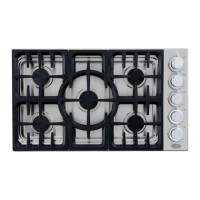
Buruers can be used with all types of gas, provided that the orifice appropriate for the gas
delivered are installed. (Use a _/s2" [7mm] socket.)
1o change the oriike:
1. turn oflthe I'liahls su[)l)ty.
2. Ensure all gas valves are turued off.
3. Remove all buruer heads.
4.. Unscrew the oriiices and replace them with the correct ones. (Size numbers stamped on side
e.g. 70 = 0.70mm.)
5. Reset miuimum settiug (see above).
6. Save the oriii(es rel'liove(J l]om the product lot luture use.
the label SUpl_lied with the orifice can be placed over the existing gas type label to indicate the
change.
t tigh Altitude orifices are available from tisher & Payke[ USA (see address on front cover).
NG Kit Part No. 5_ 1566 [ P Kit Part No. Sgt 567
|
,I , i
I IMPORTANT! Pteas_ make tills imormation aw_itabk to th_ I_ rson re,; _onsibte ior installing
[this cooktop as it cotlJ(J r( (JLIC( yotll installation costs. 1
To the Installer: Please leave these instrLlctions with the apl_iiance, tniorm the customer to
retah_ 1or Jut[ire ie_(?l-el_ce.
j CAUTION" IN ORDER TO AVOID A HAZARD THESE APPLIANCES MUST BE
m i
INSTALLED ACCORDING TO THESE INSTRUCTIONS FOR INSTALLATION.
" Please follow installation information carefully, tf in doubt (onsult your local building
regulations, local gas authority codes and electrical regulations.
° the appliance is to be installed only by an authorized person.
DO Ensure the couutertop is square an(J level an(J ensure no structural members il_terl(_re with
sl)ace req tlh-el'ftel_tS.
DO EItSLII'e that there is a Dower supply receptacle withiu reach of the cooktop power cord
(30" item the middle of the [)ro(Juct). the main cable should not touch any hot metal
[)arts.
DO Make sure the cooktop is conl_ected to a power SUpl_Jy socket that is electrically groLill(Je(J
iu accordauce with local codes or in the absence of local codes, with the National Electric
Code ANSI/FPA 70 or CSA 22.2 ((anada).
DO Make the countertol) of a heat resistant material.
° [his appliance shall be installed in accordance with the iustaliation requirel'nel_ts of the
local gas authority or the appropriate iustaJJation code or ill the absence of Jot:a[ codes with
the latest National Fuel Gas Code ANSI Z22g. t or CAN Bt4!).t,2 (Canada).
" Disconuect power before serviciug Lmit.
" Be aware of sharp edges when handling stainless steel products.
" When this appliance is installed it shall not be used as a space heater.
" No combustible material or productsshoukJ be placed on this apptiauce at any time.
" Do not spray aerosols in the vicinity of this apidiance while it is in operation.
I or replacement parts or if further hel I) is needed
concerning this appliance (:all:
TOIl IREE I 88891NPUSA (I 888 9¢6 7872)
or write to:
I isher & Paykel Ai)l)liances Inc.,
27 I hlbble, Ivine CA 92618
or contact us through our web site,
www.iisherpaykel.com
Part No. 599078 issue A Jalltlar 3 2001