2
SETTING UP
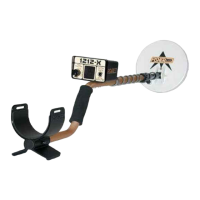
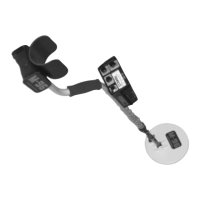
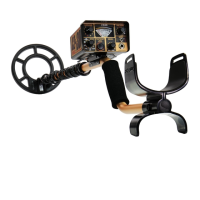
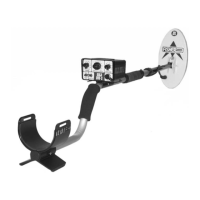
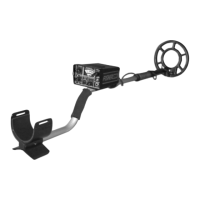
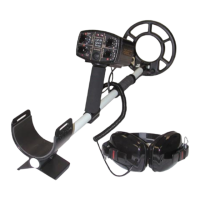
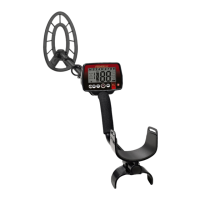
The 1225-X comes to you just about ready to use. The only
adjustment required is the angle of the search coil. Take a look
at Figure 1 and familiarize yourself with the parts of the 1225-X
before proceeding.
1. Unpack your new 1225-X carefully. Save the
carton and inserts they may come in handy in the
future for storage or shipment.
2. Slip the lower stem into the upper stem.
3. Adjust the stem length (using the locknut) and
the coil angle (using the nylon wing nut) so that the
search coil rests flat on the ground about 6 inches in
front and slightly to the right of your right foot (to the
left of your left of your left foot for left handers).
Your arm should be straight and relaxed, the grip
held loosely.
REMEMBER: The longer the shaft, the more you will
have to bend your elbow and the sooner your arm
will get tired. The 1225-X is balanced for comfortable
searching in a tight semicircle around the front of
the operator.
4. With the stem length properly adjusted, wind the
cable loosely around the upper and lower stems
and connect the cable connector to the control
housing.
CAUTION: Make sure that the cable is not pulled tight
at the control housing and that you have enough
slack at the search coil to adjust it to any angle.
5. With the shaft length and coil angle properly
adjusted, you should be able to move into your
“search” position by leaning forward very slightly
and raising your arm (still straight) until the search
coil is about 1 inch above the ground and 12 inches
in front of your foot. The search coil should be
parallel to the ground and may have to be slightly
readjusted at this point.
 Loading...