Camera
Kite
User
Manual
43
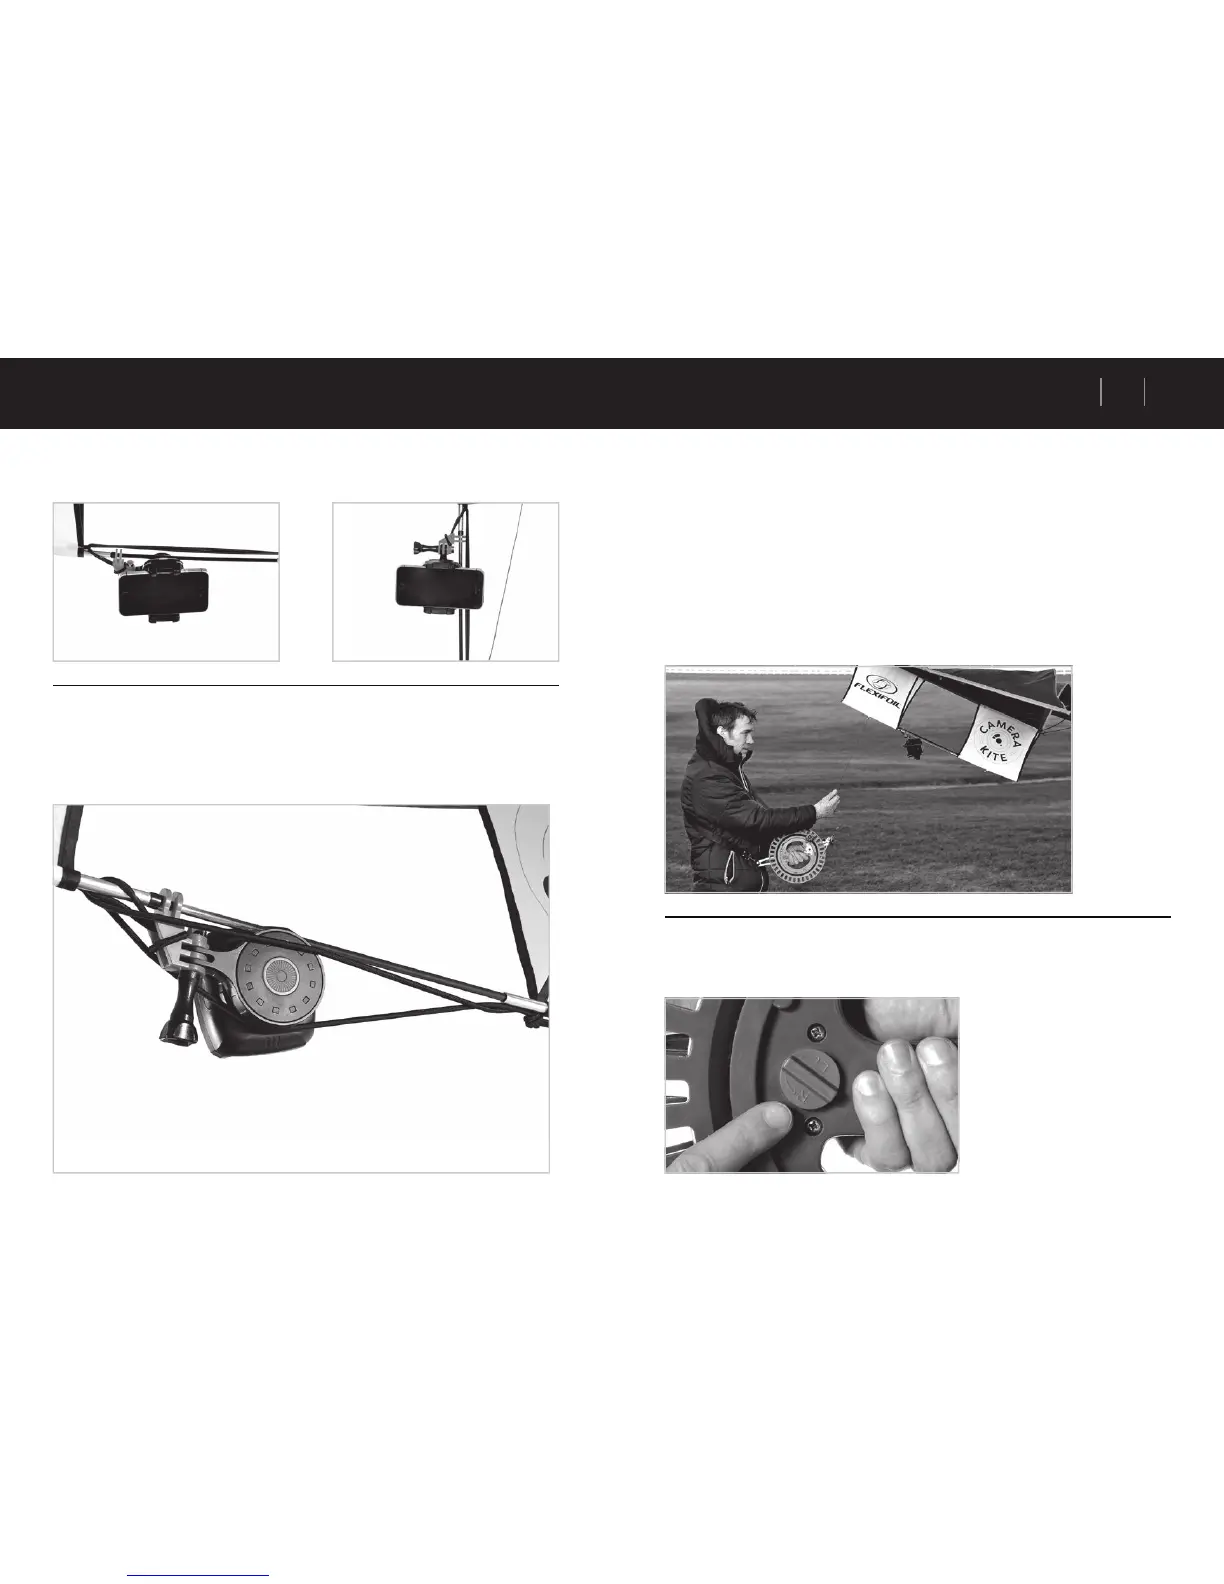
• Verify the correct functionality of the stabiliser by moving the nose of your kite up and down, the
stabiliser should keep your camera in a level position by rolling to the left and right sides.
• The photo angle can now be further tweaked for landscape images by passing the second
bottom spine bungee over the front side of the stabiliser and placing the bungee on the back
of the stabiliser. If you would rather take ground (selfi e) shots then there is no need to use the
second bungee on the back of the stabiliser. Note that the angle tweaks are limited to avoid
having parts of your kite and bridle in the photographs and also due to the overall weight and
auto-balance of the stabiliser and camera when attached to your kite.
Camera Kite Deployment
• Once you are happy with the installed angle, let your kite catch the wind while fi rst holding the
bridle with your right hand to verify your fi nal stabiliser and camera setup before the launch.
Then place your left thumb on the reel ratchet brake device and push it fi rmly as you let go
of the bridle and you unlock the reel ratchet lock device (by twisting the rotary knob counter-
clockwise to position ‘R’ as indicated on the reel). Hold the wind/unwind handle with your
right hand whilst you gently release the tension of the reel ratchet brake device as you unwind
the reel to feed more line length to your kite. Keep the left thumb on the reel ratchet brake
device at all times to slow down the unwinding to full stop before you lock the reel again by
turning the reel ratchet lock device (by twisting the rotary knob clockwise to position ‘L’ as
indicated on the reel). WARNING: If you fail to hold down the brake device and the reel
ratchet is unlocked, your kite will (in moderate to strong winds) quickly soar higher on
its own which could cause injury so ALWAYS remember to fi rst, push the brake device
fi rmly, second, unlock the reel ratchet lock device (by twisting the rotary knob counter-
clockwise to position ‘R’ as indicated on the reel) and third, release the pressure on the
brake device by a small amount so the line unwinds steadily.
• The camera will take the best quality images while being locked to a fi xed line length of choice.
Reeling your kite in and out will provide additional movements to the kite that are not favourable
for a high quality photographic result.