This document does not contain any export-controlled information.
3.3 Route Cables and Connect the Camera
a. Properly install the power and network cabling in the mounting hardware so that
it is accessible when the camera is mounted.
b. Attach an Ethernet cable from the network switch to the RJ45 connector for a
100 Mbps Ethernet and PoE (Power over Ethernet) IEEE 802.3af Class 3
connection. Ethernet is required for streaming video and for configuring the
camera.
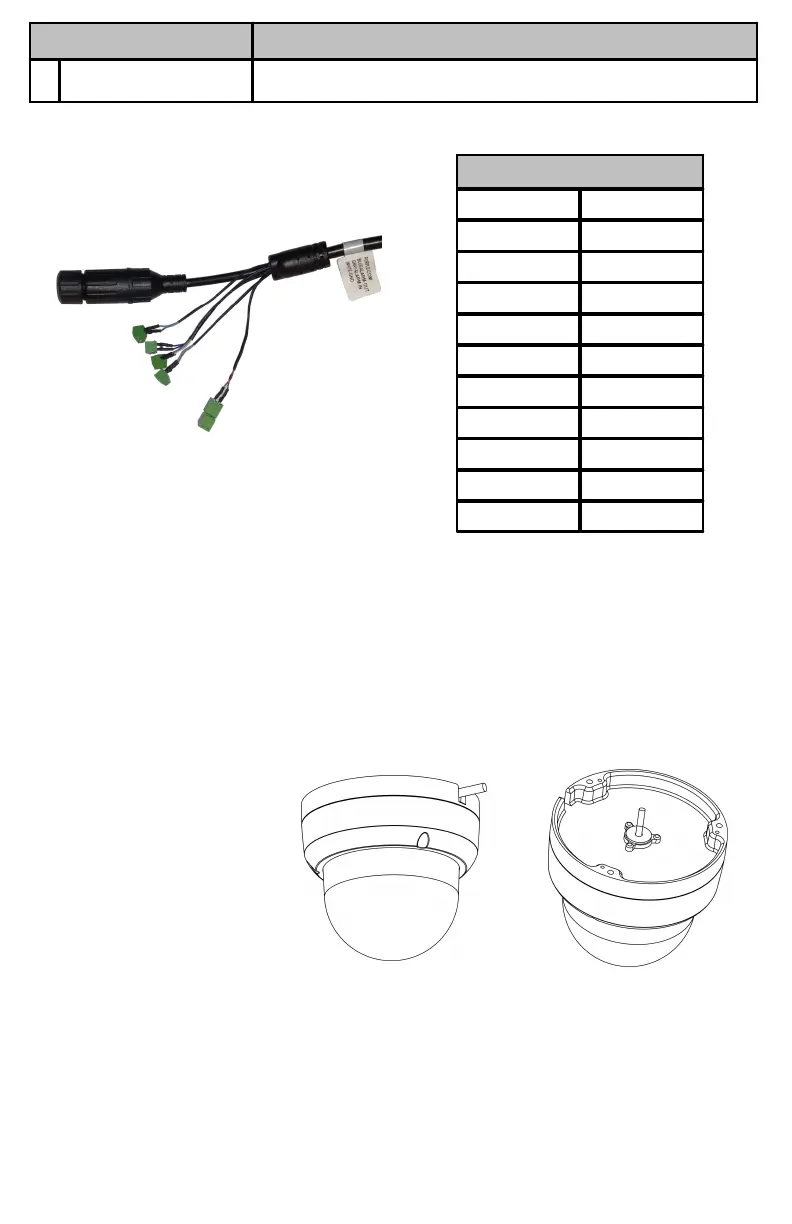
c. Connect the audio, microphone, and alarm connectors, as needed.
d. If using a 12 VDC power supply, connect its wires to the two-pin power terminal
block.
Cables can enter the
camera from the side or
from the bottom.
3.4 Mount the Camera
a. Be sure to have the required accessories and tools available.
b. Refer to the camera's installation and user guide as necessary.
c. Paste the included drill template onto the wall or ceiling where you are mounting
the camera.

 Loading...