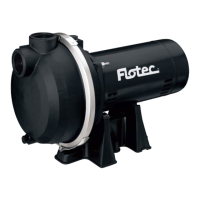
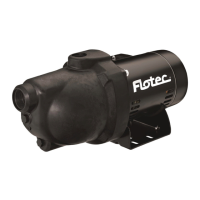
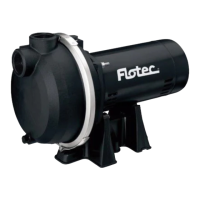
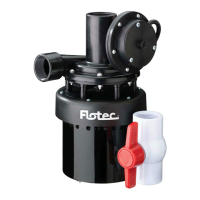
1. Preparation for Installation
Inspect your pump for shipping damage. Report any damage to place of purchase.
We strongly recommend this product be installed by a suitably qualified person.
Make sure the suction piping is free of air leaks and is laid so that there can be
no airlocks.
Warranty of these pumps is void unless they are operated in accordance with
this owner’s manual.
2. Pump Protection
The pump should be protected from the weather, floods, chemicals, dust, vermin,
insects etc. It is highly recommended that the pump be housed in a weather
proof, well vented enclosure. If the pump is not adequately housed the warranty
may be deemed void.
3. Pipe Installation
Pumps can be damaged if care is not taken when connecting pipes. Pipes
should be supported so that the pump casing is not strained by the weight or
misalignment.
We recommend the pump and pipe are coupled using flexible type polythene
pipe, rubber hose or a multi-directional barrel union. This union coupling can
also be used to remove the pump for service should it be necessary without
having to cut pipes.
Pipe fittings should be carefully screwed onto the pump making sure not to
cross-thread or overtighten. We recommend the use of a moulded pipe fitting
to connect to the pump as this avoids possible damage to the pump threads and
unnecessary replacement of parts.
For best results use teflon tape to seal the joint. Satisfactory sealing can be
achieved by hand tightening fittings ensuring that no leaks are evident once
under pumping pressure.
4. Locating the Pump
Find a location for your pump as close to your water source as possible. Ensure
that this location is on a seperate footing from your home. To do this you can
mount the pump on a concrete tile or concrete base.
5. Power Source
Arrange for an electrician to install an outdoor 10A GPO electrical outlet near
the pump if there is not one there already.
 Loading...