7
4
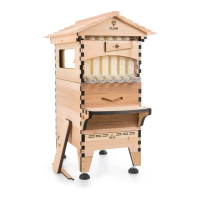
ADJUST FLOW FRAMES
TO FIT INTO THE FLOW SUPER
Before placing your Flow Super on the hive it is necessary to adjust
each Flow Frame individually. This will ensure correct operation of your
Flow Frames.
Check the tension on the wires
They should be tight. If the wires are loose see instructional video at
www.honeyflow.com/troubleshooting-frames
Reset your Flow Frame ready for your bees
We recommend testing the frame mechanism outside the hive prior to
installation. This will help you to get to know how your Flow Frames work.
l
! IMPORTANT: Ensure the Flow Frames are reset to the closed position prior
to installing in your hive, so the bees can complete the comb.
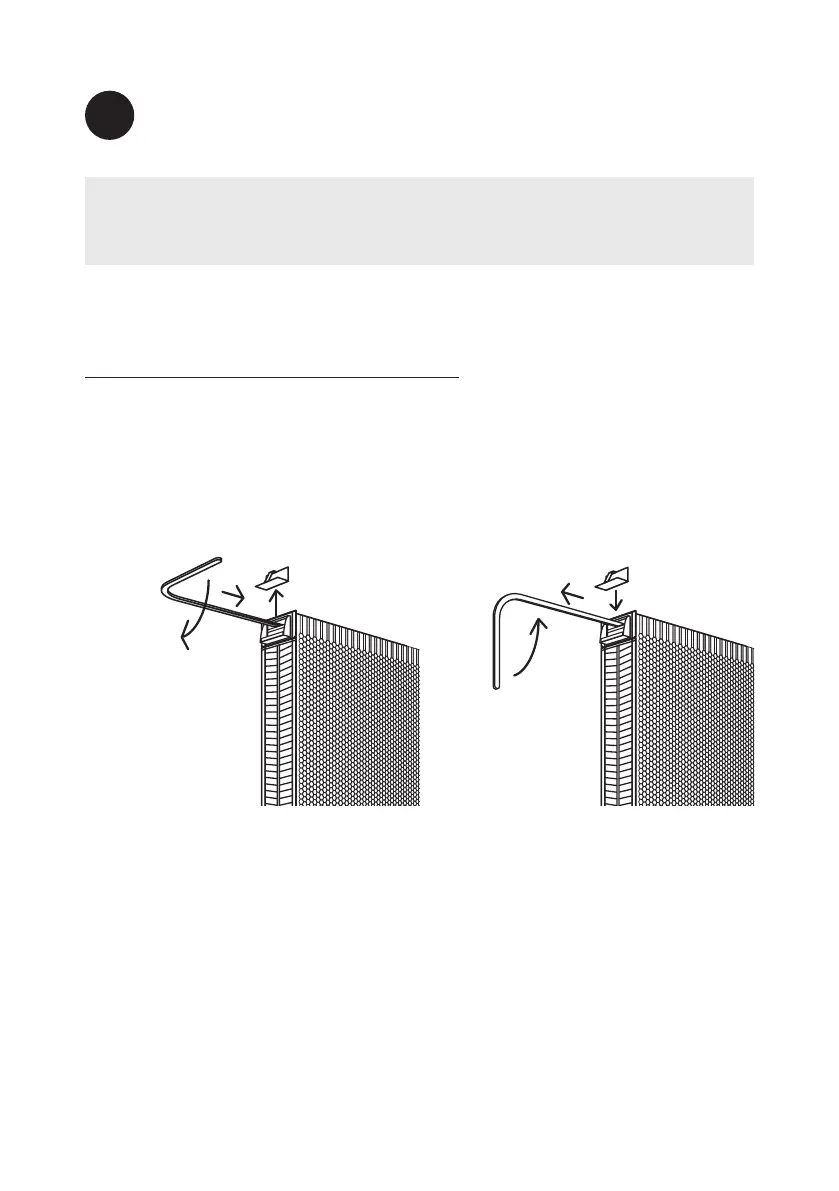
• Remove access cap
on each Flow Frame
• Insert the Flow Key
in the
UPPER
operating slot
• Turn the key 90˚
• Remove the
key by twisting
it back to
horizontal
• Replace key
access cap.
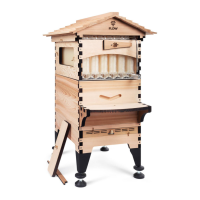
Adjust each Flow Frame to fit in the super
1. Identify the front and back of each Flow Frame.
2. Frames sit into the Flow Super as illustrated on right. Tighten or loosen the
adjustment screw so that the back (window) end of the Flow Frame pushes
firmly against the back wall of the hive, in this way all the frames line up to
form the clear rear window.
3. Slot each Flow Frame into the honey super ensuring that frames are packed
firmly together.
4. Check that any gap in the back window is less than 3 mm (
1
/
8
”) so that bees
cannot escape at the back of the hive.