FlowCam® 8000 Series Dynamic Imaging Particle Analyzer
Installing the Flow Cell
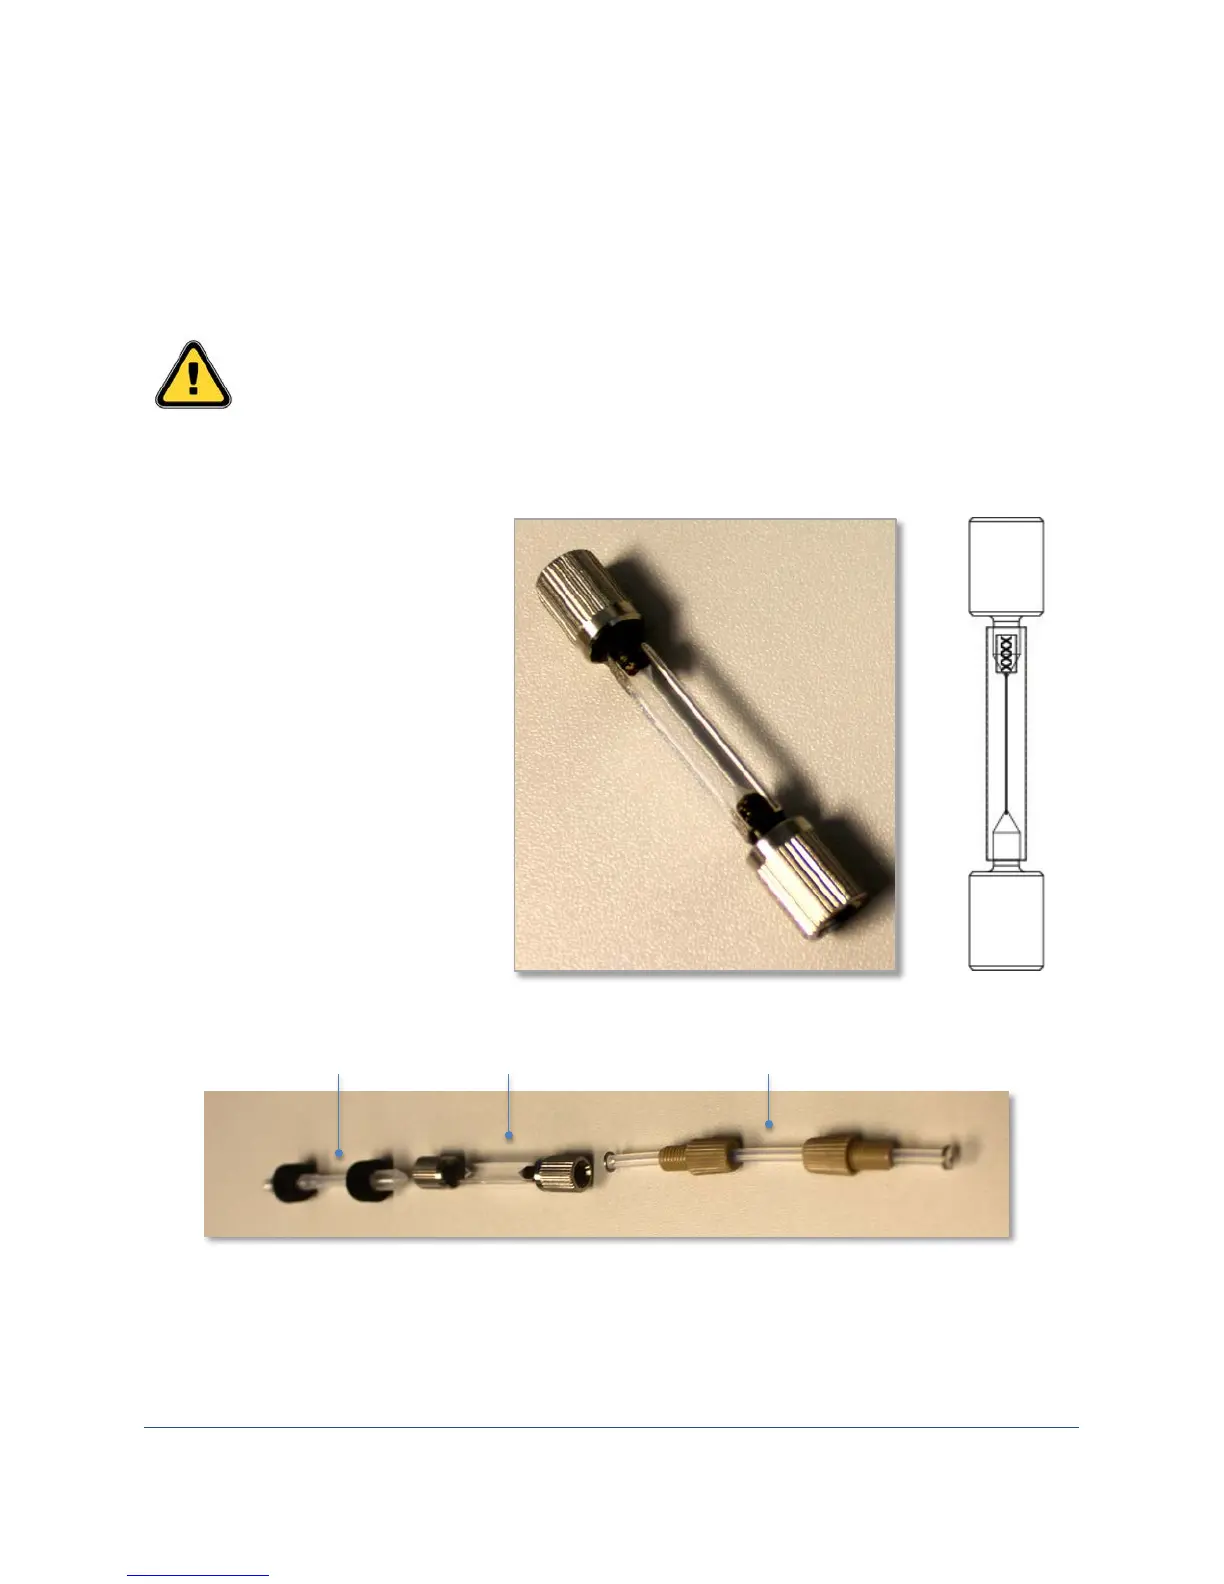
The flow cell is a high-precision optical component. Great care is taken during its manufacture to ensure
conformance to exacting tolerances. The polished optical faces undergo dozens of inspections to ensure
uniformity, from the certification of raw materials to the matching of the finished cells.
• The flow cell is fragile. Handle it carefully to ensure you do not damage it.
• Do not touch the faces of the flow cell with your fingers. Wear gloves when handling it.
•
Use only labgrade water and low-lint lens paper to clean the exterior of the flow cell.
• Remove the flow cell from
its protective case and
inspect it for any damage.
• Clean the outside of the
flow cell with a piece of lens
paper to remove any
particles or fingerprints.
• The front face of the flow
cell has a serial number
etched at the top of it.
• The flow cell has two pieces
of tubing that you need to
connect to it before placing
it into the analyzer.
• Connect the upper tubing to the top of the flow cell. (The etched serial number indicates the
top.) You will hear a click when the connection is secure.
• Connect the lower tubing to the bottom of the flow cell. You will hear a click when the
connection is secure.