FlowCam® 8000 Series Dynamic Imaging Particle Analyzer
Setting Up the Analyzer
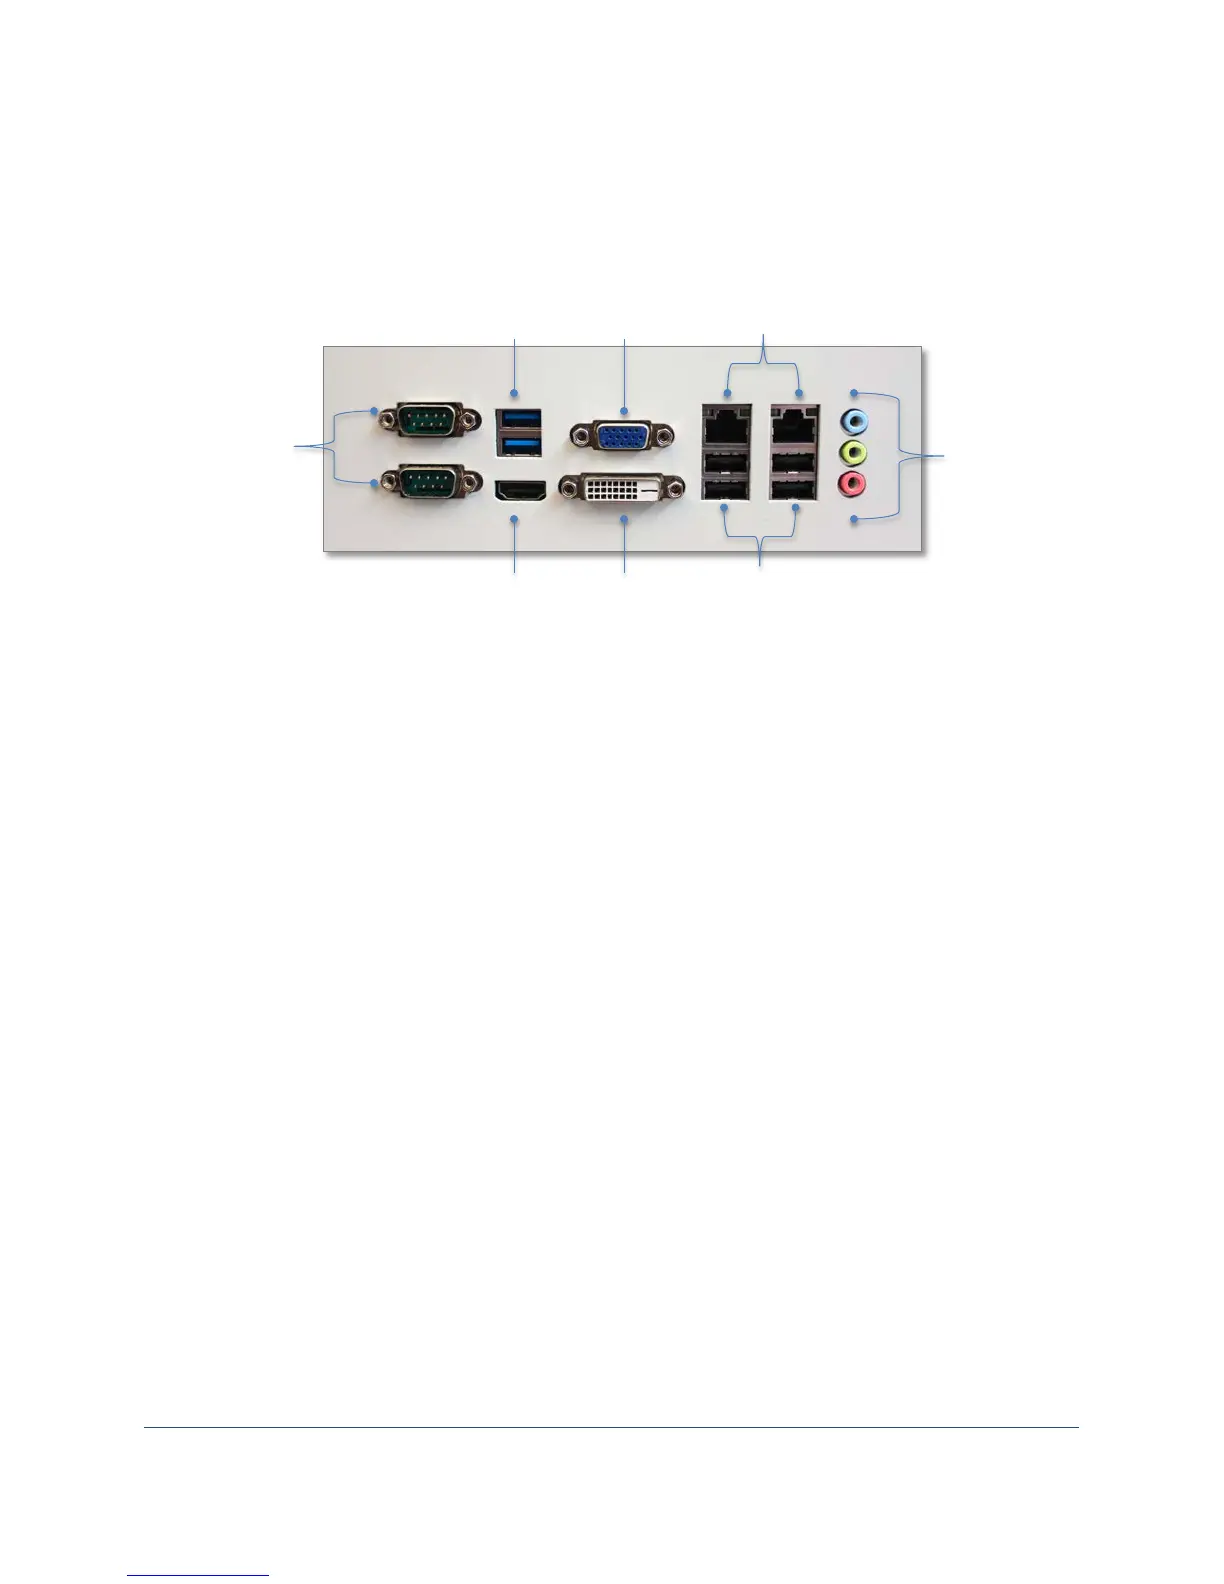
Connecting Peripherals
Connection ports are on the back of the FlowCam analyzer.
1. Connect the keyboard and mouse USB cables to two of the USB ports on the back on the
analyzer.
2. Connect the monitor cable to the monitor’s VGA, DVI or HDMI port (depending upon your
monitor model) and the other end to the corresponding port on the back of the analyzer.
3. Connect the monitor’s power cord to the AC input port on the monitor and plug the other end
into a power outlet.
4. Turn on the monitor’s power switch.
Powering on Your Analyzer
1. Connect the analyzer’s power cord to the AC input port on the back of the analyzer and plug the
other end into a power outlet. You will hear the analyzer’s internal fan turn on.
2. Press the round power button on the top right of the analyzer to initialize its internal pump and
the computer. The power button turns blue and you should see the startup process begin on the
monitor.
3. After a few moments, the Microsoft Windows operating system opens and the icon for the
VisualSpreadsheet software appears on the desktop.
Audio out