WARRANTY - Our goods come with guarantees that cannot be excluded under the Australian
Consumer Law. You are entitled to a replacement or refund for a major failure and for
compensation for any other reasonably foreseeable loss or damage. You are also entitled to
have the goods repaired or replaced if the goods fail to be of acceptable quality and the failure
does not amount to a major failure.
To present claims under this warrantly, please contact your place of purchase or
contact Fluidmaster Holding Australia Pty Ltd.
Warranty excludes incorrect installation. Warranty on Replaceable Silicone Outlet
Washer is subject to water conditions and fair wear and tear.
IN NEW ZEALAND Call 09 415 5585
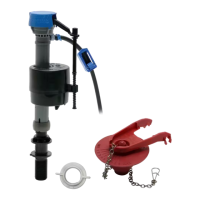
Replacement Silicone
Outlet Washer
Part # 56-01
Wedge Flush Pipe
Washer
Part # 56-02
Flush Pipe
Locking Collar
Part # 56-03
Tank to Bowl Gasket (Foam)
For Close Coupled Only
Part # 56-04
Tank to Bowl Gasket (Rubber)
For Close Coupled Only
Part # 6100
OTHER REPLACEMENT PARTS AVAILABLE SEPARATELY
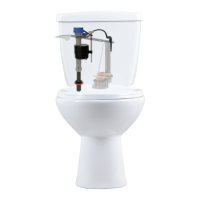
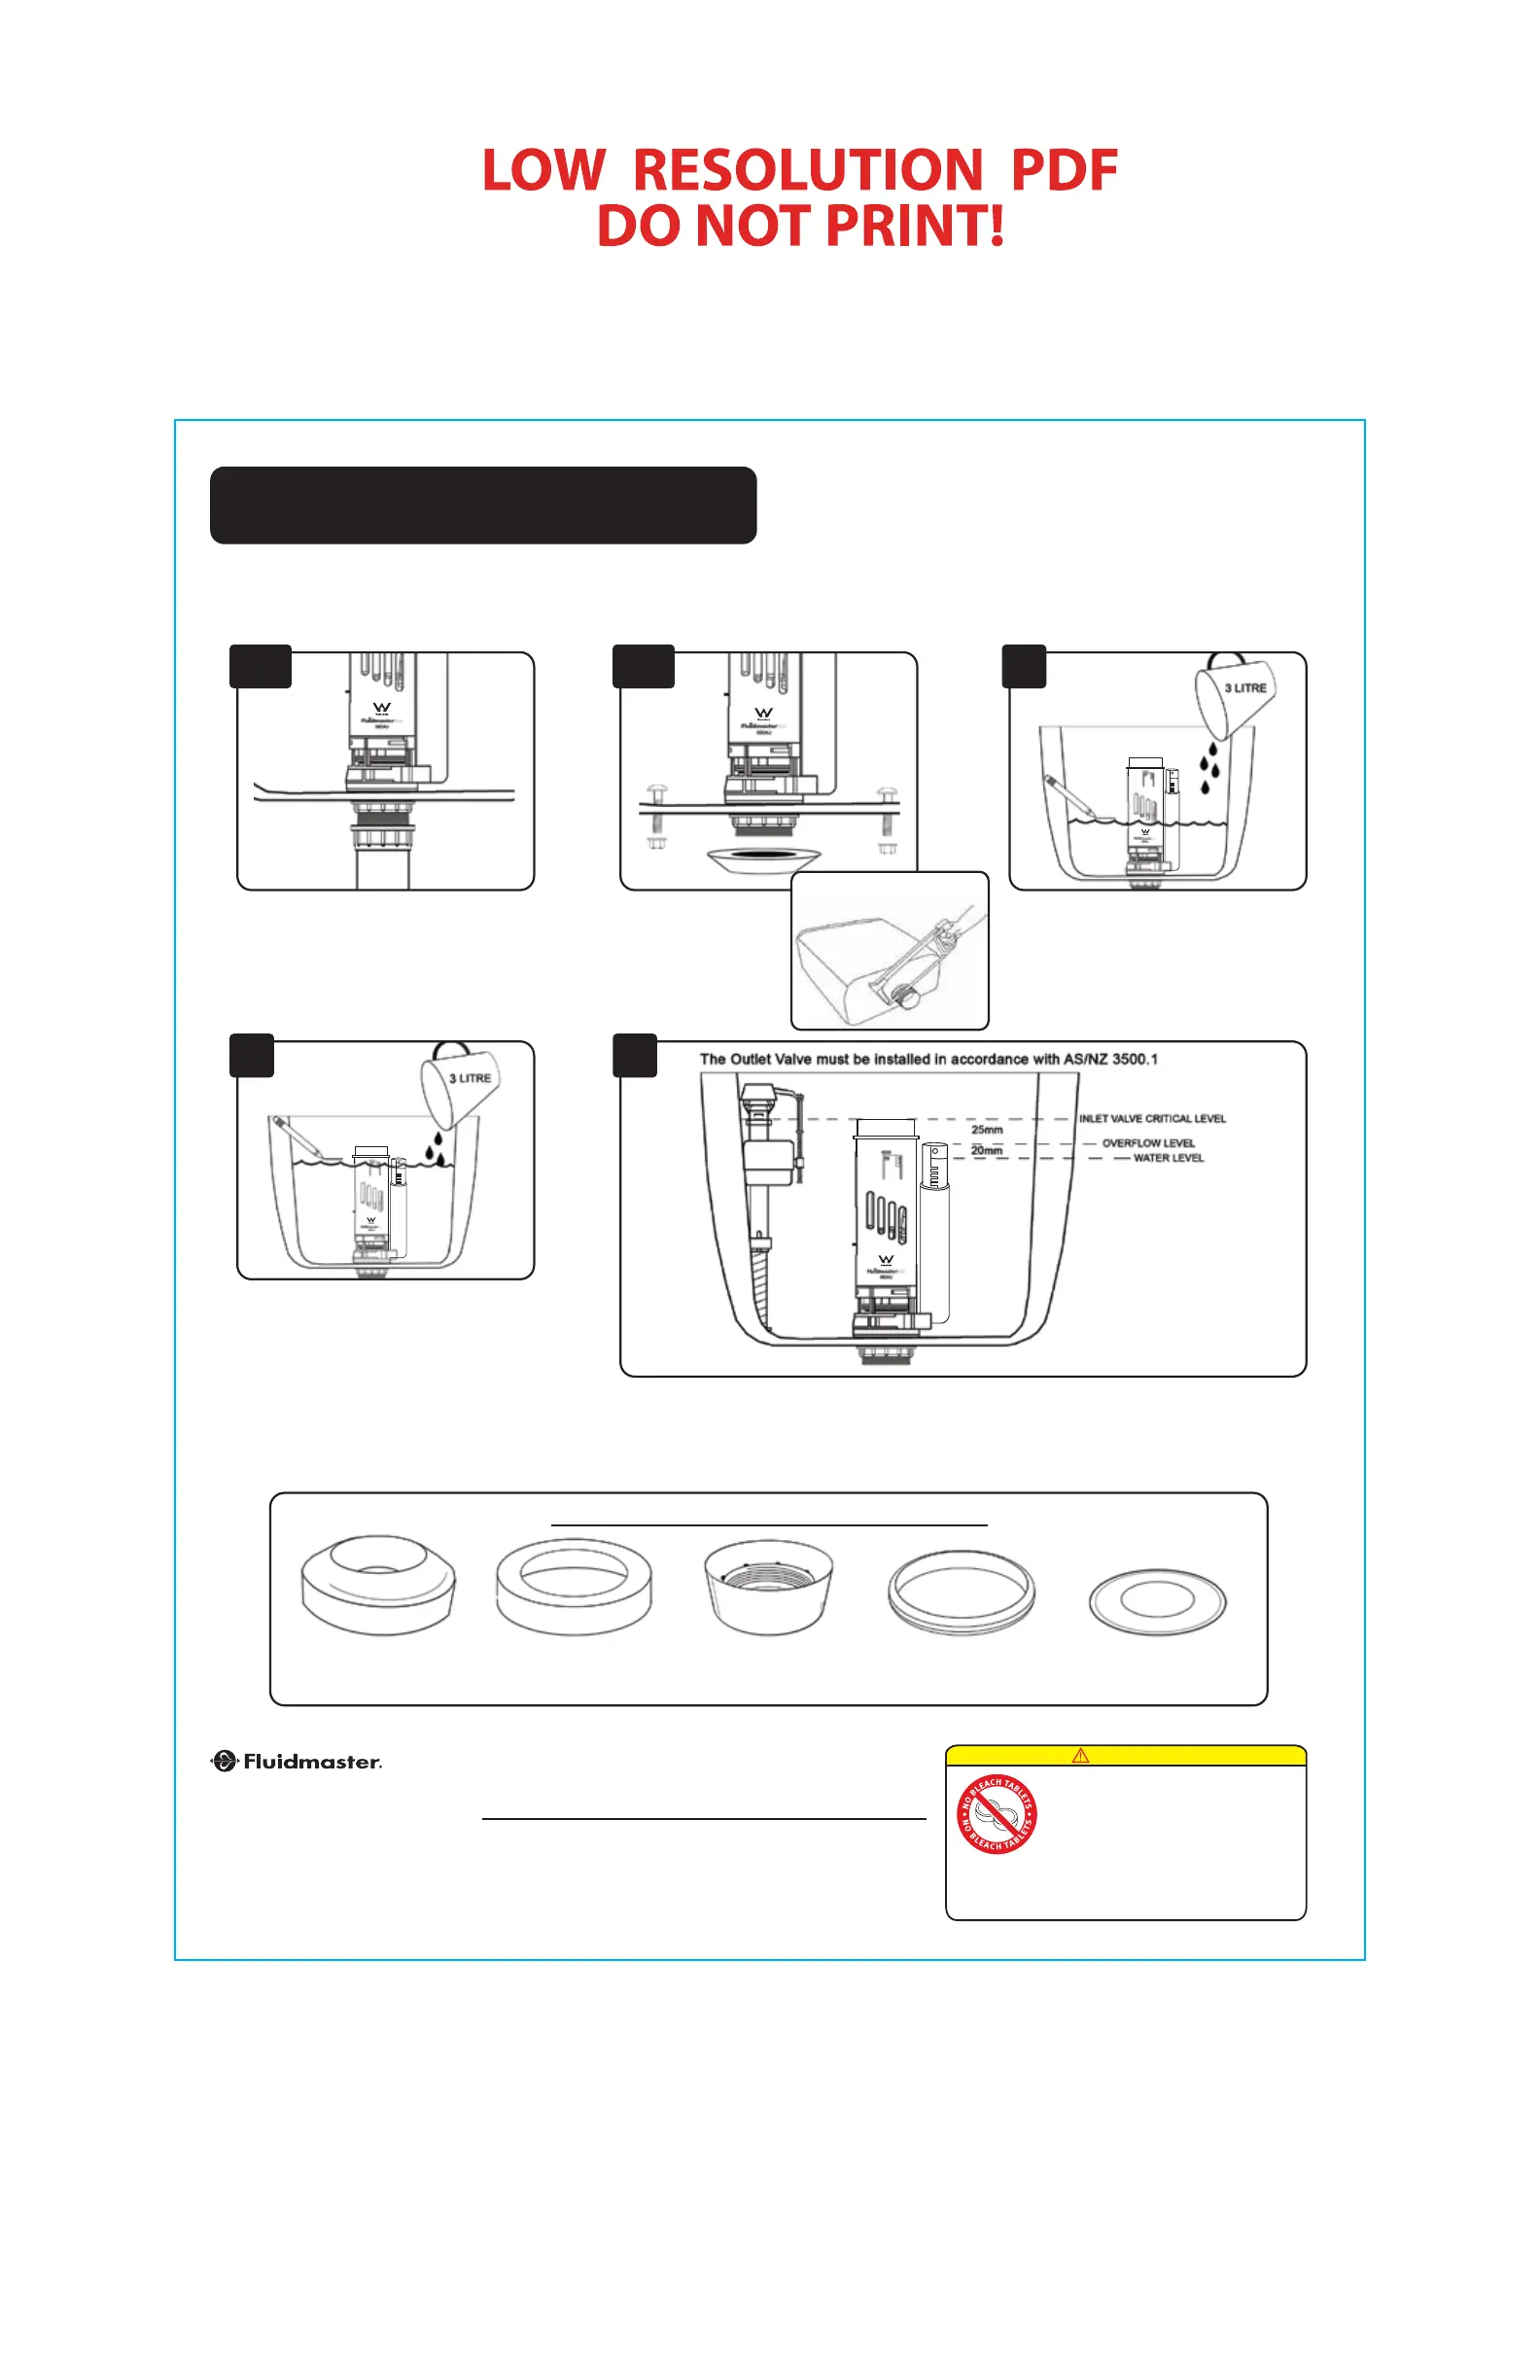
Maximum water level within the cistern tank should be no higher than 20mm below the top of the outlet
valve overflow tube. The overflow tube may be raised or lowered depending on the maximum required level
of water for a full flush, however the overflow height must always be 25mm below the critical level (CL)
marked on the Inlet Valve to ensure an Air Gap.
Fill tank with additional 3 litres (6 Litre total), for
6/3L Flush or Fill Tank with additional 1
1/2
Litres
(4.5 Litre total) for 4.5/3L Flush then mark the
top of Water Level. This is your Full Flush,
adjust the Full Flush Tab to set this volume.
(For older 9/4.5L flush toilet cisterns, use 4.5L
to set half flush mark and add 4.5L on top of
half flush volume to achieve 9L full flush volume
mark)
To establish water levels, pour in 3 litres of
water, then press full flush. This will establish
the residual water level mark, then add 3 litres
on top of the residual water and mark the top of
the water level. This is your 3 litre volume.
Adjust half flush tab on the side to flush 3 litres.
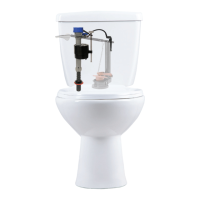
Close Coupled Cisterns:
Place rubber gasket on
pan hole and centre the
tank onto the washer.
Where required, place
bolts downwards in bolt
holes and tighten.
Wall Mount Cisterns: Connect the existing
flush pipe to the base of the outlet valve and
hand tighten the nut. Ensure the flush pipe nut
washer is in good condition.
Please retain instructions for future reference.
FLUIDMASTER
®
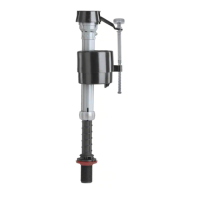
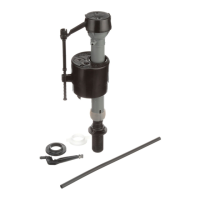
560AU OUTLET VALVE
INSTALLATION INSTRUCTIONS
PART# 5-3309, Grev. 3, 08/17
Fluidmaster 560AU Outlet Valve Suits Flush Volumes:
4.5 Litre / 3 Litre
6 Litre / 3 Litre
9 Litre / 4.5 Litre
DO NOT USE IN-CISTERN DROP-IN TOILET BOWL
CLEANERS CONTAINING BLEACH OR CHLORINE.
Use of such products will: (1) RESULT IN
DAMAGE to Cistern components and MAY CAUSE
FLOODING and PROPERTY DAMAGE and (2) VOID
FLUIDMASTER WARRANTY.
DO NOT overtighten nuts or cistern/bowl may
crack. Always use quality Fluidmaster parts when
installing or repairing. Fluidmaster will not be
responsible or liable for use of non-Fluidmaster
parts during installation or repair.
WARNING
10B10A
NB: Shank length may be cut to
suit Close Coupled Cisterns
Fluidmaster Holding Australia Pty Ltd
5B/100 New Street
Ringwood, Victoria 3134
Australia
Phone: +61 (03) 8870 2555
Toll Free: 1 800 931 166
Email: salesau@fluidmaster.com
Website: www.Fluidmaster.com.au
1312
11
 Loading...