Do you have a question about the Fluidmaster PerforMAX 400H and is the answer not in the manual?
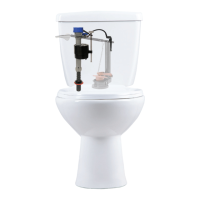
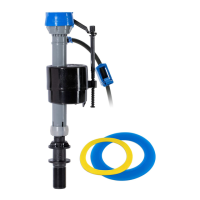
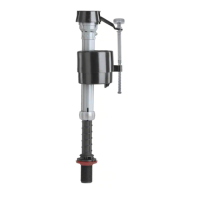
Identifies the main components of the Fluidmaster 400H fill valve.
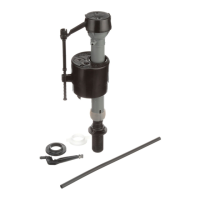
Lists the essential tools required for the installation process.
Instructions on how to shut off the water supply to the toilet tank.
Guidance on flushing the toilet to remove water from the tank.
Method for removing residual water from the tank using a sponge or towel.
Procedure for disconnecting the water supply from the old fill valve.
Instructions for unscrewing the locknut securing the old fill valve.
Steps to extract the old fill valve, refill tube, and washer from the tank.
Guidance on setting the new fill valve height relative to the overflow pipe.
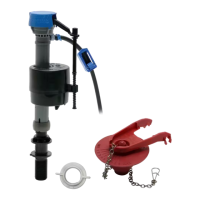
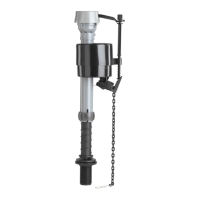
How to connect the refill clip to the refill tube end.
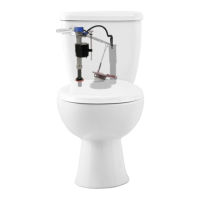
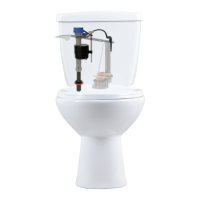
Procedure for positioning the new fill valve into the tank.
Steps for securing the refill tube clip to the overflow pipe.
Instructions for tightening the locknut onto the new fill valve shank.
Connecting the water supply hose to the newly installed fill valve.
Procedure for restoring water supply and checking for leaks.
Ensuring the tank water level is correctly set for proper flush.
Verifying the tank water level is approximately 1/2 inch below the overflow pipe.
How to adjust the tank water level using the adjustment screw.
Adding water to the toilet bowl to check the water level.
Creating a temporary line to indicate the correct bowl water level.
Verifying the bowl water level against the marked line after flushing.
Modifying the bowl water level by turning the adjustment dial.
Repeating checks until the bowl water level is correct.
Completing the installation by flushing and confirming satisfaction.
Steps to inspect the fill valve cap for obstructions affecting operation.
Instructions for replacing the seal to resolve valve issues.
Troubleshooting steps for low water level in the toilet bowl.
Guidance on the refill clip for canister flush valves.
Specific refill tube installation for Mansfield toilets.
Specific refill tube installation for Kohler Aquapiston.
Refill tube installation for American Standard Champion 3.
| Brand | Fluidmaster |
|---|---|
| Model | PerforMAX 400H |
| Category | Control Unit |
| Language | English |