Do you have a question about the Fluidmaster PerforMAX 400H-002 and is the answer not in the manual?
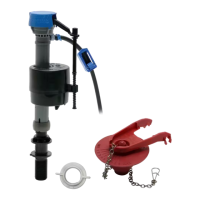
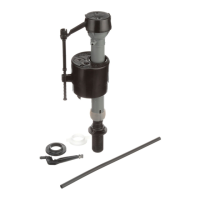
Overview of components included with the fill valve.
List of tools required for installation.
Procedure to shut off the water supply before starting.
How to drain the toilet tank of existing water.
Method for removing residual water from the tank.
Detaching the water supply connector from the old fill valve.
Unscrewing the locknut from the bottom of the tank.
Complete removal of the old fill valve assembly.
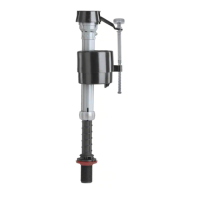
Adjusting the fill valve height for proper overflow pipe clearance.
Connecting the refill clip to the refill tube.
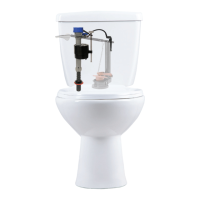
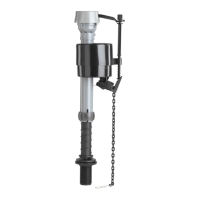
Positioning the new fill valve into the tank.
Securing the refill clip onto the overflow pipe.
Tightening the locknut to secure the new fill valve.
Connecting the water supply line to the new fill valve.
Restoring water supply and checking for leaks.
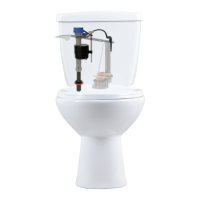
Verifying the correct water level in the tank after filling.
Performing a flush to check the tank's water level.
Adjusting the float to raise a low water level.
Adjusting the float to lower a high water level.
Adding water to the bowl to set the initial level.
Marking the desired water level in the toilet bowl.
Flushing to verify the bowl water level against the mark.
Fine-tuning the bowl water level adjustment dial.
Repeatedly flushing to confirm the bowl water level.
Final flush to confirm successful installation and operation.
Common issues with the fill valve not operating correctly.
Steps to remove the fill valve cap and check for obstructions.
Procedure for replacing the fill valve seal.
Solutions for when the water level in the toilet bowl is too low.
Ensuring the refill tube directs water correctly into the overflow pipe.
Checking and adjusting the tank water level.
Addressing issues where the flapper closes prematurely.
Troubleshooting specific to canister flush valves.
Troubleshooting steps for Mansfield toilets.
Troubleshooting steps for Kohler Aquapiston toilets.
Troubleshooting for American Standard Champion 3 toilets.
Steps to prepare the toilet and components before installation.
Step-by-step guide for installing the flush valve and flapper kit.
| Type | Fill Valve |
|---|---|
| Material | Plastic |
| Adjustable Height | Yes |
| Universal Fit | Yes |
| Model Number | 400H-002 |
| Installation | Easy to Install |
| Compatibility | Most toilet brands |
| Warranty | 5 years |