Do you have a question about the Fluidmaster PerforMAX and is the answer not in the manual?
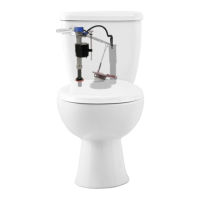
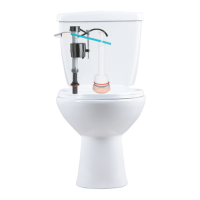
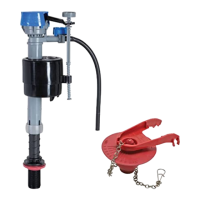
Instructions on how to shut off the water supply to the toilet tank.
Guidance on twisting the fill valve to set the correct height above the overflow pipe.
Connecting the water supply line to the new fill valve, hand-tightening only.
Instructions for restoring water flow and checking for leaks after installation.
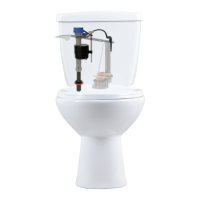
Ensuring the water level is approximately 1/2 inch below the overflow pipe.
Verifying the tank water level is about 1/2 inch below the overflow pipe after flushing.
Using the adjustment screw to raise or lower the water level as needed.
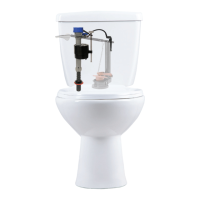
Using the dial to increase or decrease the bowl water level.
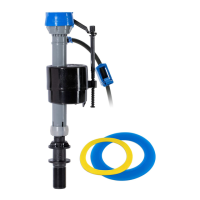
| Type | Fill Valve |
|---|---|
| Adjustable Height | Yes |
| Compatibility | Most Toilets |
| Noise Reduction | Yes |
| Material | Plastic |
| Anti-Siphon | Yes |
| Universal Fit | Yes |
| Quiet Fill Technology | Yes |
| Warranty | 7 Years |