7
STEP 5: FINISHING STEPS
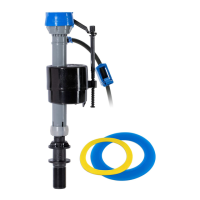
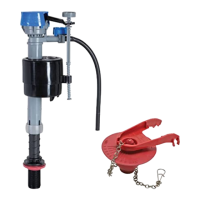
A: ATTACH WATER SUPPLY
CONNECTOR TO FILL VALVE
Twist to the right
(counterclockwise)
*Hand-tighten only.
DO NOT OVER TIGHTEN.
RIGHT
B: TURN ON WATER
Check for leaks.
(Go to www.Fluidmaster.com/support
for leak solutions.)
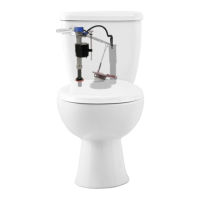
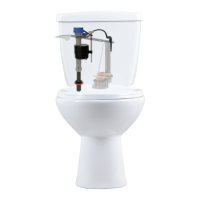
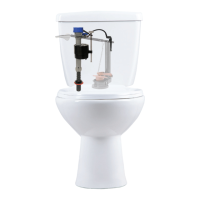
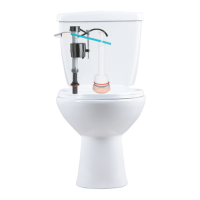
C: WATER LEVEL
After the tank stops filling, water level should fill the tank to
roughly ½ inch below top of overflow pipe to ensure a
proper flush. (Does not need to be exact.)
Over tightening may damage fill valve or coupling nut, potentially causing flooding. Make sure
the float cup does not touch the tank walls or tank lever and flush valve.
**
The top of the overflow pipe must be a minimum of 1" below tank lever hole.
Water Level
Overflow Pipe
Top of
Overflow Pipe
1/2"
**Lever Hole
*
TURN
COUNTER-
CLOCKWISE