
N
Nathan SmithJul 31, 2025
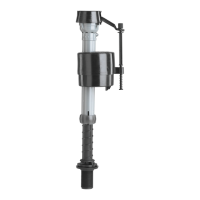
Why won't my Fluidmaster S2DBL Plumbing Product fill valve turn off?
- HHeather WalkerJul 31, 2025
If the Fluidmaster Plumbing Product fill valve won't turn off, it might be due to debris at the seal caused by sand and rust moving through water pipes. To resolve this, always clear debris from water lines. Alternatively, the seal inside the valve top may be damaged, in which case you should replace it with a genuine Fluidmaster 242 seal.