2
T
3”
1
S
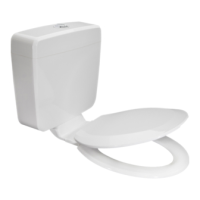
Locking
ring
1
2
3
18
17
16
15
14
13
12
11
10
9
8
7
6
18
17
16
15
14
13
12
11
10
9
8
7
6
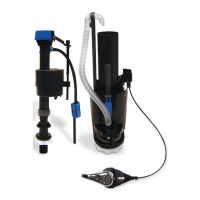
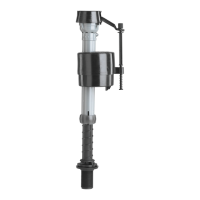
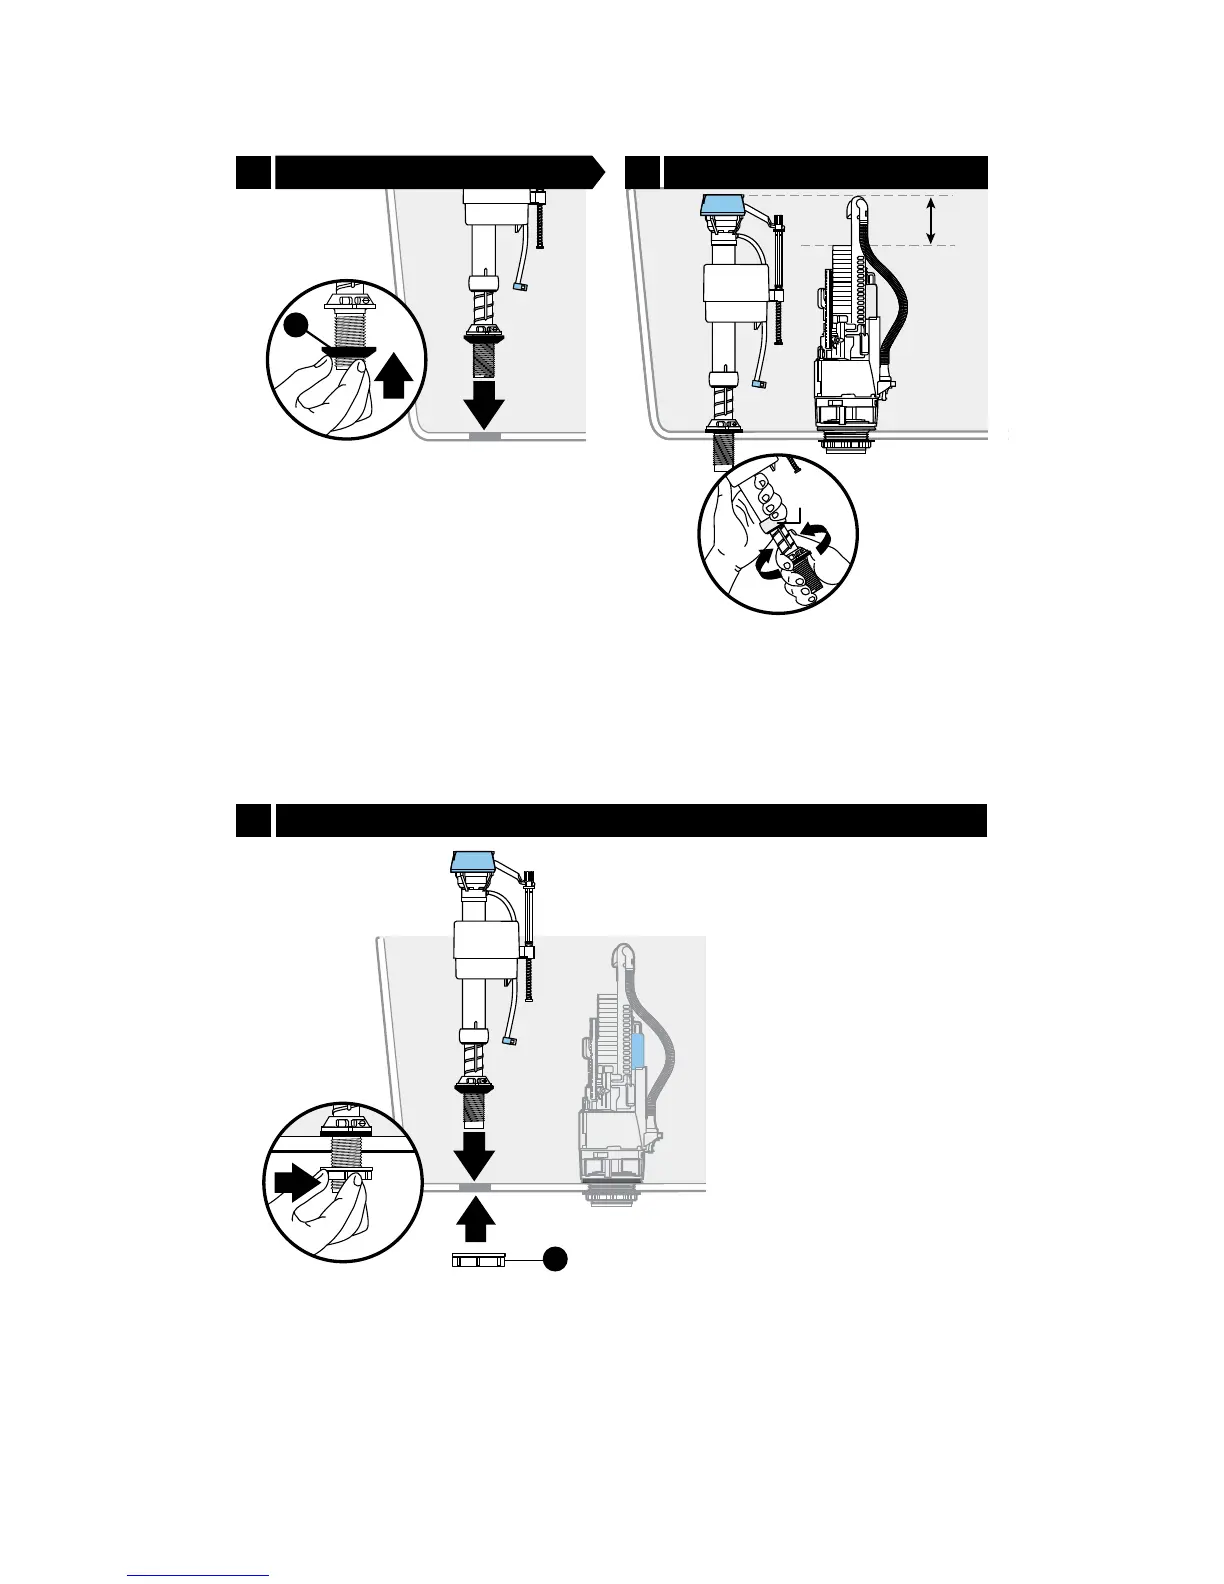
(1) Put shank washer (S), onto ll valve
shank and (2) place ll valve in tank.
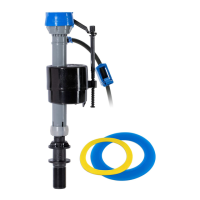
Check height of the ll valve. It must be
approximately 3” higher than the
overow tube. Adjust by twisting the
threaded shank in or out.
NOTE: DO NOT move the locking ring
to adjust shank.
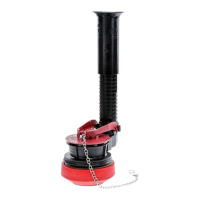
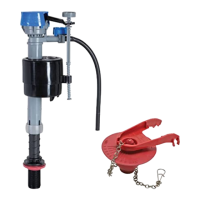
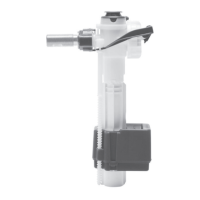
(1) Place ll valve in tank.
(2) Fasten ll valve lock nut (T) to shank
(3) hand tighten.
NOTE: DO NOT over-tighten.
www.uidmaster.com
7
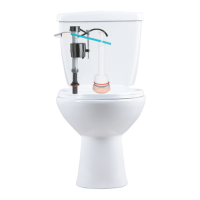
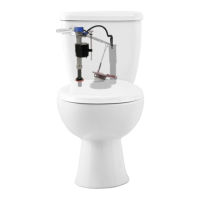
3.2 Reconnect 3.3 Adjust
Install3.4