Do you have a question about the Fluidmaster K-400H-039 and is the answer not in the manual?
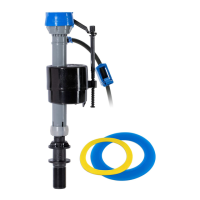
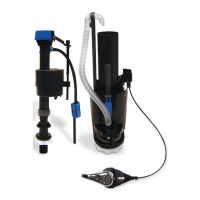
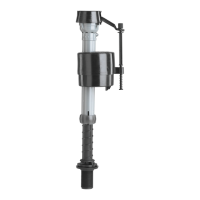
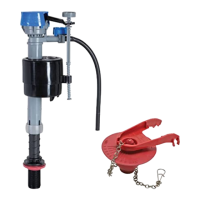
Lists and illustrates all components included in the PerforMAX® Fill Valve kit.
Lists the tools required for the installation process.
Instructions on how to shut off the water supply to the toilet.
Guide to flushing the toilet to remove most of the water from the tank.
Method for removing residual water from the toilet tank using absorbent materials.
Instructions for disconnecting the water supply connector from the old fill valve.
Steps to loosen and remove the locknut securing the old fill valve.
Guidance on removing the old fill valve, refill tube, clip, and shank washer.
How to detach the flapper chain from the toilet's flush lever.
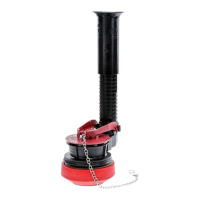
Instructions for removing the old flapper from the flush valve seat.
Action to remove protective material from the new flapper.
How to place the new flapper onto the flush valve seat.
Guide to connecting the flapper chain to the tank lever with proper slack.
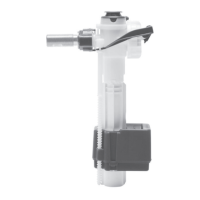
Method for adjusting the fill valve height to the correct level.
How to attach the refill tube to the fill valve's refill port.
Connecting the refill clip to the refill tube.
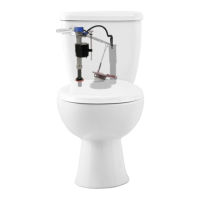
Placing the fill valve into the tank, ensuring proper tube orientation.
Securing the refill tube to the overflow pipe with the clip.
Securing the fill valve from below the tank with the locknut.
Connecting the water supply to the new fill valve.
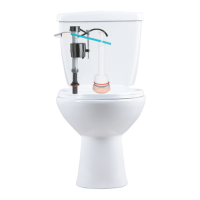
Instructions for turning the water supply back on and checking for leaks.
How to check and ensure the tank water level is set correctly.
Flushing the toilet to verify the water level after installation.
How to adjust the water level using the adjustment screw.
Performing a test flush with toilet paper to check performance.
Adjusting the flapper dial for optimal flushing efficiency.
Setting the final flapper dial position based on test results.
Adding water to the bowl to establish a baseline for testing.
Marking the water level in the bowl with a pencil.
Flushing to check if the bowl water level matches the marked line.
Adjusting the bowl water level using the dial.
Re-checking the bowl water level after adjustments.
The final flush to confirm successful installation and operation.
Addresses common fill valve operational problems: not turning on, off, or refilling.
Procedure to remove the fill valve cap and check for obstructions.
Instructions for replacing the fill valve seal.
Diagnosing and fixing low bowl water level issues.
| Product Type | Toilet fill valve |
|---|---|
| Model Number | K-400H-039 |
| Material | Plastic |
| Adjustable Height | Yes |
| Universal Fit | Yes |
| Compatibility | Most toilets |
| Warranty | 5 years |