6 7
Note: We will adjust the flapper in Step 9 after
setting the proper water level in the tank and bowl.
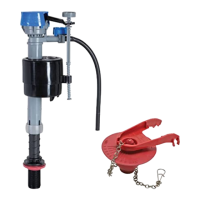
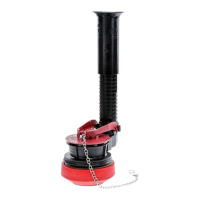
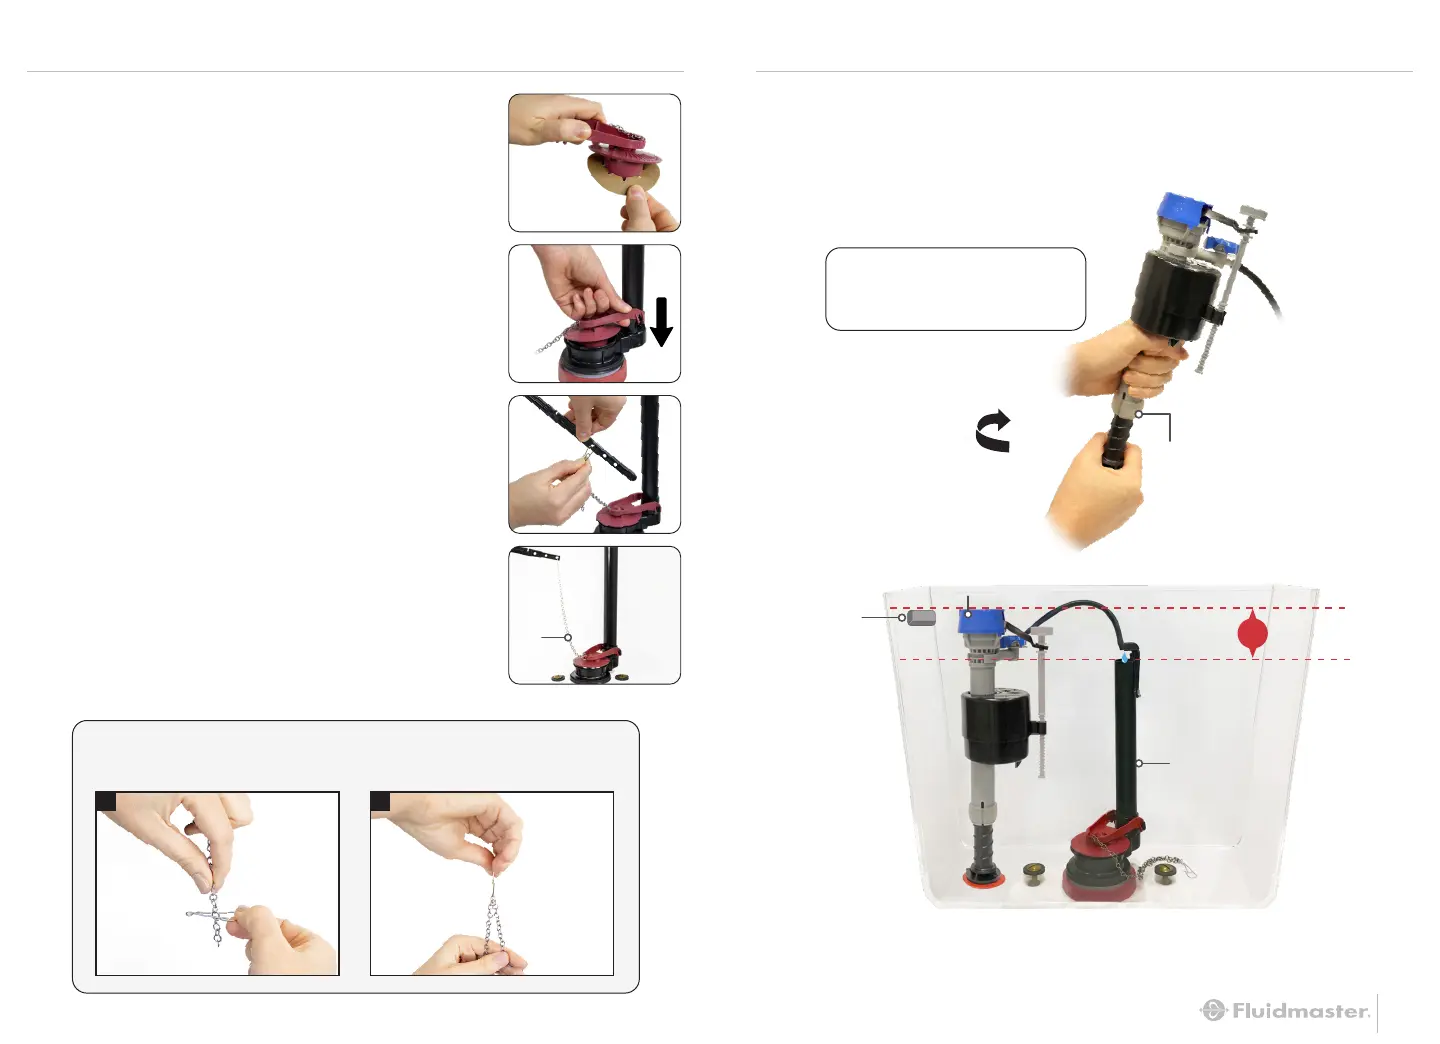
STEP 4: INSTALL NEW FLAPPER
A: REMOVE CARDBOARD FROM
UNDERNEATH FLAPPER
B: INSTALL NEW FLAPPER
Place flapper on top of flush valve seat and snap
arms onto flush valve mounting posts.
C: ATTACH FLAPPER CHAIN TO LEVER
Pinch clasp of clip and attach the clip to the tank
lever directly above the flapper. Leave roughly ½”
inch of slack in chain. (small “j” shape)
To adjust chain length, remove clip and reposition
lower on the chain for shorter length.
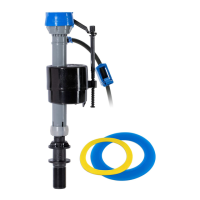
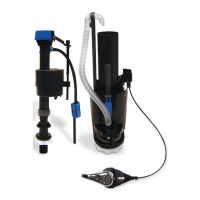
STEP 5: ADJUST HEIGHT OF NEW FILL VALVE
TIP: A quick and easy way to adjust the chain length.
Take the clip off the chain, dangle it through the small part of the clip (A),
then pull both sides of the chain downward until it snaps into place (B).
Press
Down
1/2”
Slack
(SMALL “J” SHAPE)
A B
A: TWIST FILL VALVE TO ADJUST HEIGHT
Top of fill valve cap should measure roughly 3"
above top of overflow pipe when installed.
*
If the top of your overflow pipe is not at least 1” below the bottom of the tank lever hole,
adjust it. If the overflow pipe is not adjustable, mark the overflow pipe 1” below the bottom
of tank lever hole and using a hacksaw, cut the overflow pipe at the specified mark.
TWIST
LEFT
NOTE:
Increasing height allows
more water to fill in the tank.
HOLD
Do Not Move Lock Ring
TOP OF FILL VALVE CAP
TOP OF OVERFLOW PIPE
3"
Fill Valve Cap
Overflow Pipe
*Lever Hole