N
2
1
A
K
3
K
18
17
16
15
14
13
12
11
10
9
8
7
6
5
4
3
2
1
18
17
16
15
14
13
12
11
10
9
8
7
6
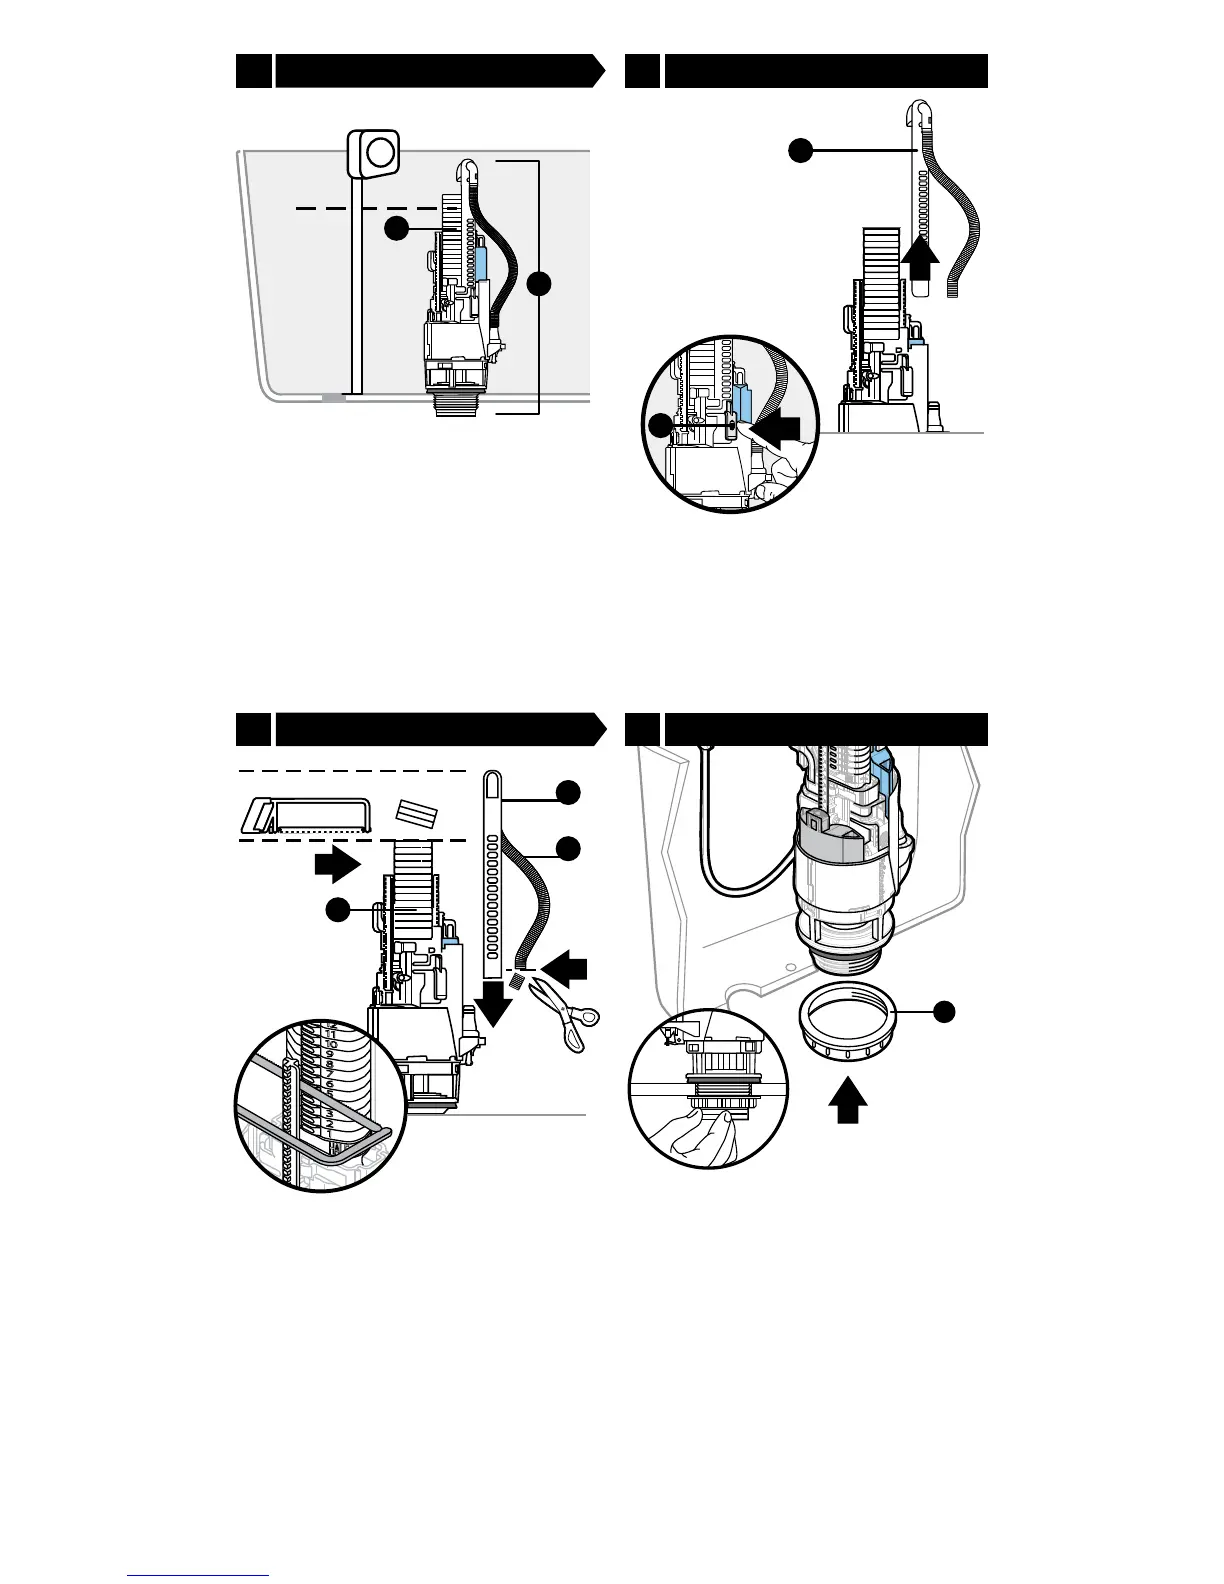
2
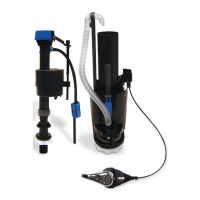
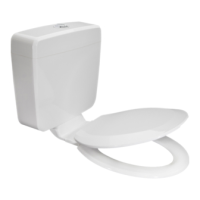
Place Dual Flush Valve (A) in tank
ensuring washer is seated fully onto
shank of Dual Flush Valve. Match height
of new overow tube (K) on Dual Flush
Valve with recorded measurement from
step 1.3.
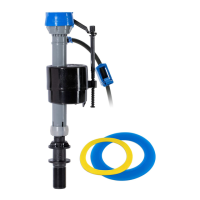
Remove Dual Flush Valve from tank.
(1) Press inward on release clip (N) and
(2) remove rell mount (W).
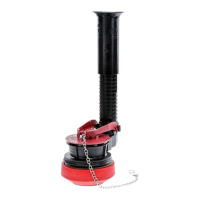
(1) Cut the excess overow tube (K) with
a saw at measurement taken in step 1.3.
NOTE: DO NOT cut below segment 2.
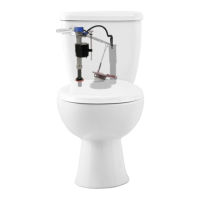
(2) Insert rell mount (W) ensuring it is
low enough to t inside the tank and
clears the lid, but high enough to allow
a minimum of 2” clearance between the
top of the overow tube and the top of
the rell mount.
(3) Cut corrugated rell hose (X) if
necessary.
NOTE: DO NOT cut lever attachment.
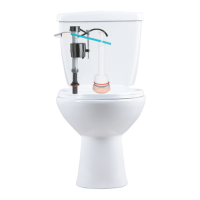
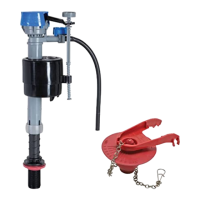
Place ush valve in tank. Install ush
valve lock nut (O) to ush valve
threaded shank and hand-tighten.
Flush valve should remain in same
position after nut is tightened.
NOTE: Hand tighten only.
www.uidmaster.com
5
2.2 2.3Measure
Remove rell mount
2.4 Cut to size Install in tank2.5
2” minimum