4
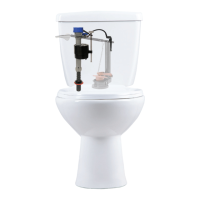
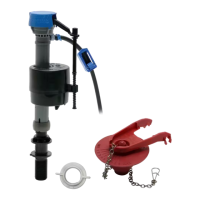
STEP 2: REMOVE OLD FILL VALVE
5
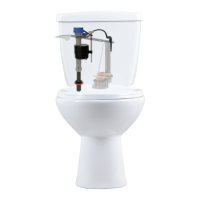
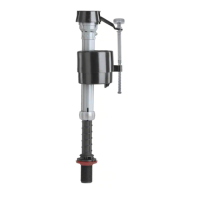
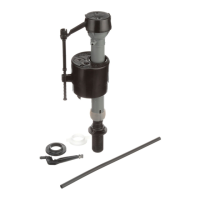
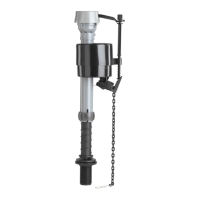
STEP 3: ADJUST HEIGHT OF NEW FILL VALVE
LEFT
LEFT
A: REMOVE CONNECTOR
Remove water supply
connector from bottom
of fill valve by twisting
connector nut to the left
(clockwise).
B: REMOVE OLD LOCKNUT
Below tank, twist locknut
to the left (clockwise) to
remove from fill valve.
Bucket
(Optional)
A: TWIST FILL VALVE TO ADJUST HEIGHT
Top of fill valve cap should measure roughly 3"
above top of overflow pipe when installed.
Towel
(Optional)
C: REMOVE OLD FILL VALVE
Including refill tube, refill
clip and shank washer.
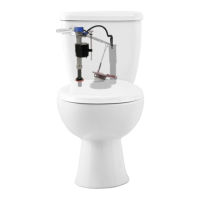
Drain any excess water
into bucket by removing
fill valve from tank.
(Pull fill valve up)
TWIST
LEFT
NOTE:
Increasing height allows
more water to fill in the tank.
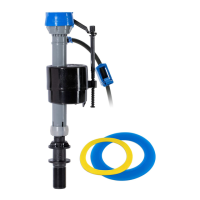
HOLD
Do Not Move Lock Ring
NOTE: Inspect water
supply connector.
Replace it if it is worn, or
you don’t know how old it is, to
prevent flooding and property damage.
*
The top of the overflow pipe must be a minimum of 1" below tank lever hole.
TOP OF FILL VALVE CAP
TOP OF OVERFLOW PIPE
3"
Fill Valve Cap
Overflow Pipe
*Lever Hole