4
STEP 2: REMOVE OLD FILL VALVE
LEFT
LEFT
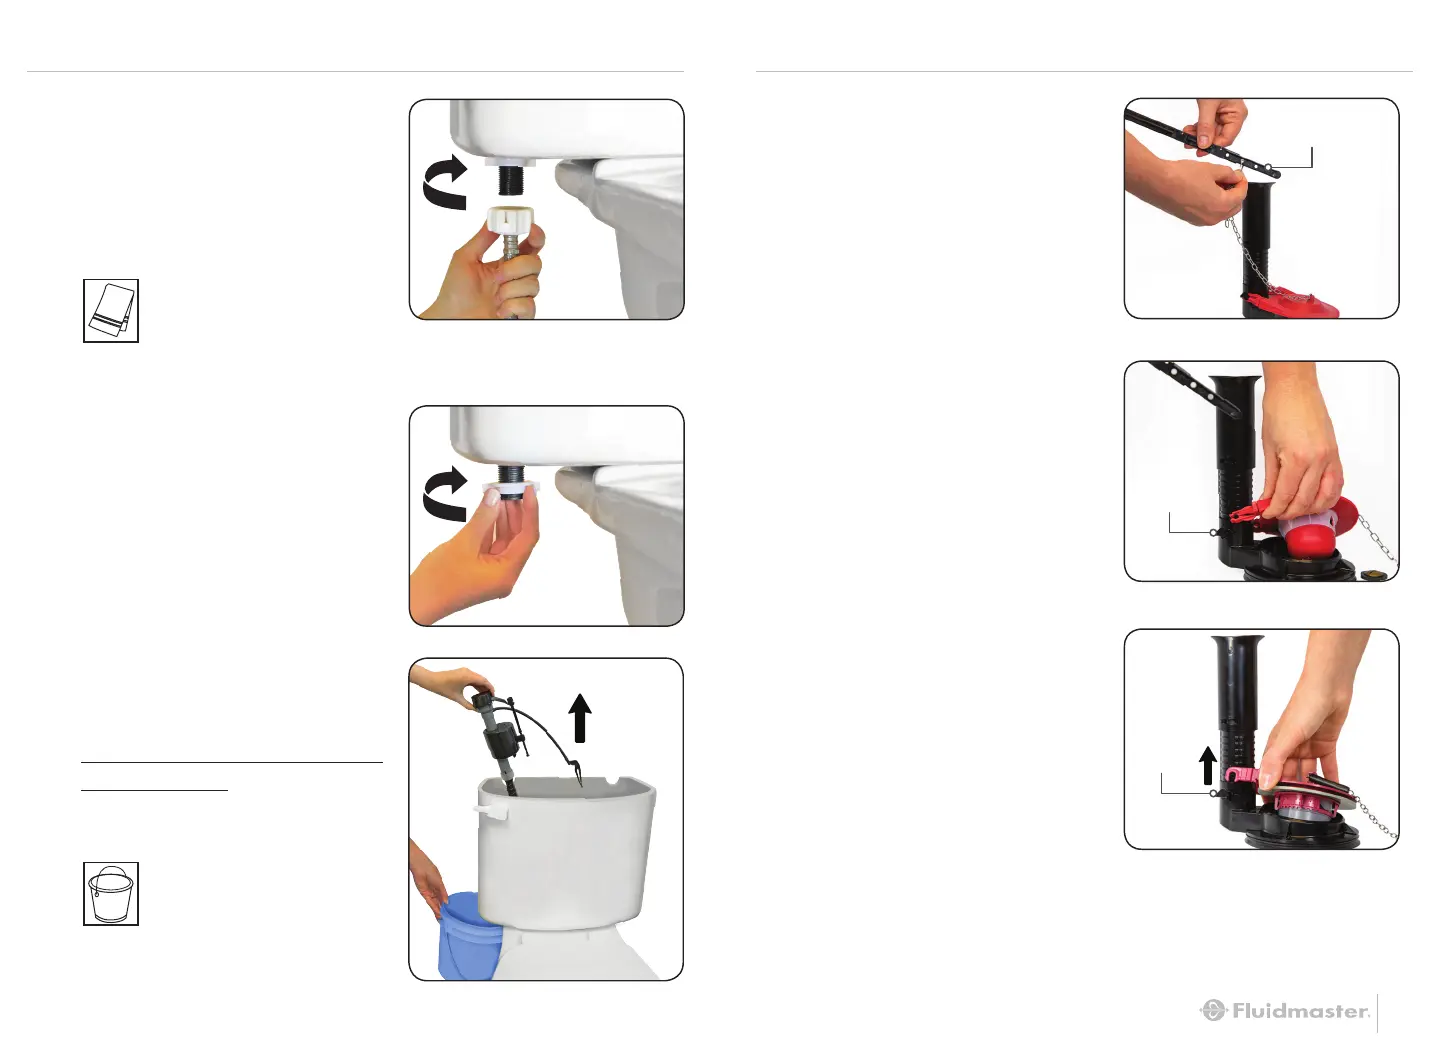
A: REMOVE CONNECTOR
Remove water supply
connector from bottom
of fill valve by twisting
connector nut to the left
(clockwise).
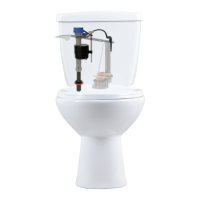
B: REMOVE OLD LOCKNUT
Below tank, twist locknut
to the left (clockwise) to
remove from fill valve.
Bucket
(Optional)
Towel
(Optional)
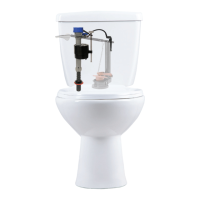
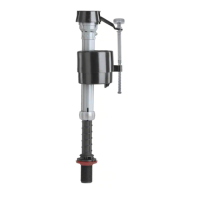
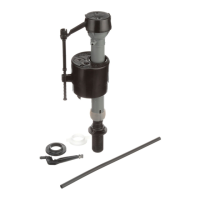
C: REMOVE OLD FILL VALVE
Including refill tube, refill
clip and shank washer.
Drain any excess water
into bucket by removing
fill valve from tank.
(Pull fill valve up)
NOTE: Inspect water
supply connector.
Replace it if it is worn, or
you don’t know how old it is, to
prevent flooding and property damage.
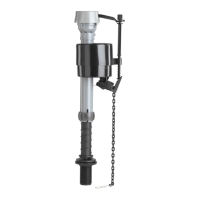
STEP 3: REMOVE OLD FLAPPER
5
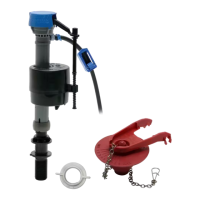
A: REMOVE FLAPPER CHAIN
Pinch clasp to unhook
chain from tank lever.
B: REMOVE FLAPPER FROM
FLUSH VALVE SEAT
Simply unhook or lift flapper
arms off the flush valve
mounting posts, depending
on the type of flapper.
Tank Lever
Mounting
Post
Mounting
Post