718 30G/100G
Product Overview
6
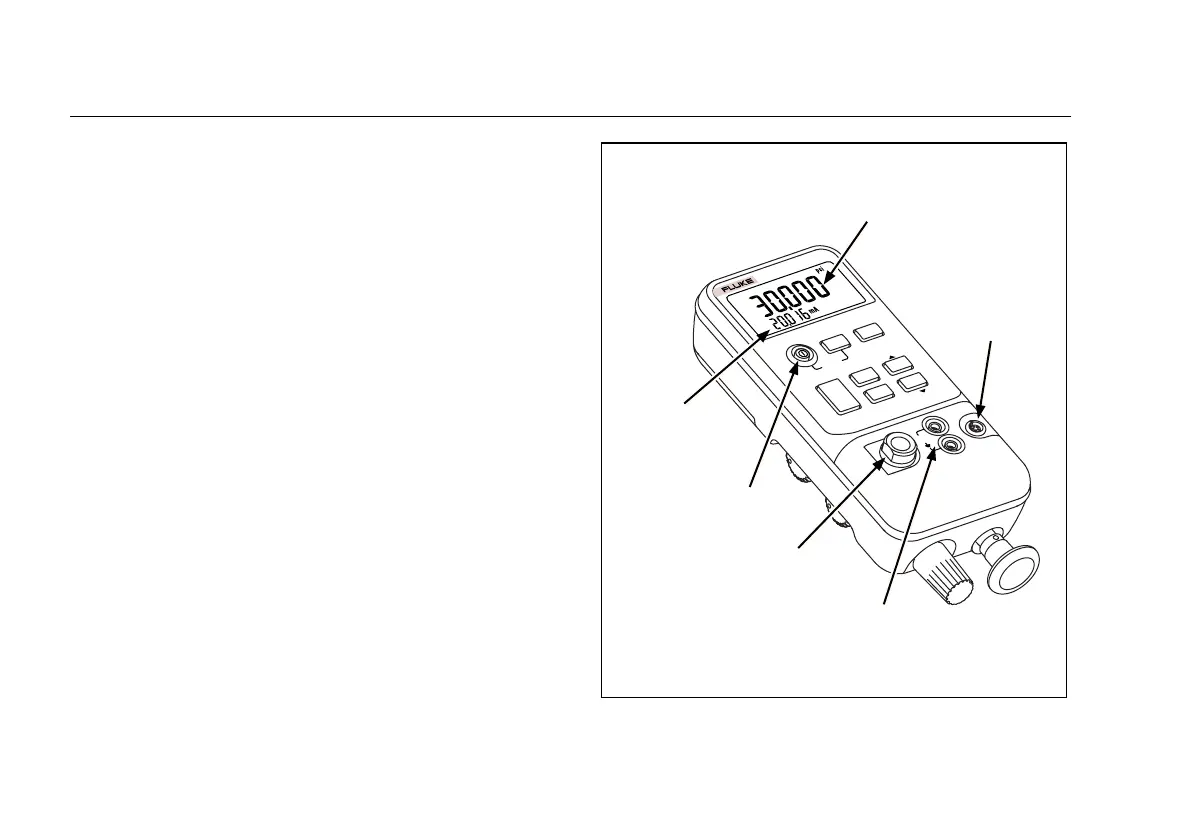
Getting Aquainted with the Calibrator
Press
O
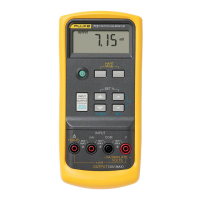
to turn the Calibrator on and off. The Calibrator
displays pressure and current measurements
simultaneously. See Figure 2.
The upper part of the display shows the applied pressure
or vacuum. (Vacuum is shown as a negative value.) Press
U
to select a different unit. When you cycle the power
off and on, the Calibrator retains the unit you last used.
The lower part of the display shows the current (up to 24
mA) applied to the current (mA) inputs. The current inputs
are fused with a 0.125 A, 250 V fast fuse (Littelfuse
type
2AG).
To source loop voltage, press U while pressing O on.
Current mA
measurement
Pressure
measurement
Pressure
module input
Pressure
sensor input
(Install filter here)
Current
input
On/Off Button
718
PRESSURE
CALIBRATOR
HOLD
COM
mA
30V
MAX
0-30psi 0-206kPa
RANGE
90psi 620kPa
MAX
UNITS
ZERO
DAMP
MIN
CLR
MAX
HOLD
LOOP
POWER
BAROMETRIC ADJ.
wh005f.eps
Figure 2. Front Panel Features
 Loading...