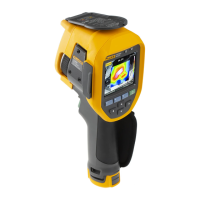
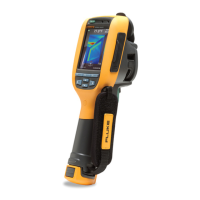
Ti32, TiR32, Ti29, TiR29, Ti27, TiR27
Users Manual
14
chosen not to do so in order to preserve the extreme sensitivity of the
instrument. If any of these artifacts do appear in your properly focused infrared
image, please be assured that it is only because there is not enough of a
thermal differential in the scene to indicate the presence of an anomaly or
issue. In essence, the imager is so sensitive, that it is “seeing itself” optically,
radiometrically, and electronically. Typically, increasing span, changing color
palette, or introducing a thermal differential into the scene will eliminate the
appearance of any artifacts, and will still allow the appropriate interpretation of
the infrared image.
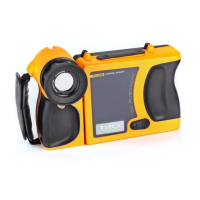
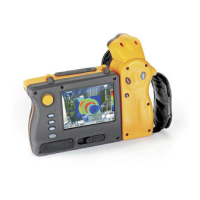
Optional telephoto and wide-angle lenses expand the flexibility and allow
more applications for your infrared inspection work.
To install and use an optional lens on the Imager:
1. With your Imager OFF, insert the SD memory card with firmware codes
for your optional lens into the SD memory card slot on the side of your
Imager.
2. Turn on the Imager by pressing .
3. Follow directions displayed on the LCD to install the proper files onto the
Imager’s internal memory.
4. After file installation, remove the SD memory card with the firmware files
and reinsert the standard SD memory card used for storing images.
5. Attach the optional lens onto the Imager by aligning the dot on the lens
with the dot on the Imager, see Figure 1.
6. Gently push optional lens into position and rotate clockwise until lens
locks into proper position.
Note
It is important to select the proper lens option within your Imager’s
Settings/Lens menu.
Shop for Fluke products online at:
1.877.766.5412
www.MyFlukeStore.com