7
Check/Set the Control Throws
The propeller should still not be installed.
Measure and if necessary, use the programming in your
transmitter or adjust the throws mechanically to achieve the
throws speci ed. The linkages are factory-connected and
if your transmitter does not have servo travel adjustments
make sure the throws are within 1/16" (1-2mm) of the
speci ed throws.
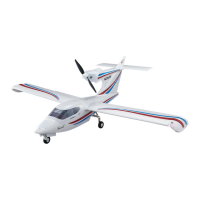
NOTE: The control throws are measured at the widest part
of each surface.
When done, unplug the battery.
DownUp Up Down
3/8
"
[10 mm] 12°
FLAPS
1/2 Flap
11/16
"
[ 17mm] 21°
Full Flap
These are the recommended control surface throws:
5/8"
[16mm]
21°
7/8"
[22mm]
12°
3/8"
[10 mm]
10°
15/16"
[24mm]
32°
1-1/2"
[38mm]
21°
1/2"
[13 mm]
15°
5/8"
[16mm]
21°
7/8"
[22mm]
12°
3/8"
[10 mm]
10°
15/16"
[24mm]
32°
1-1/2"
[38mm]
21°
1/2"
[13 mm]
15°
AILERON
ELEVATOR
LOW RATE HIGH RATE
RUDDER
DownUp Up Down
RightLeft RightLeft
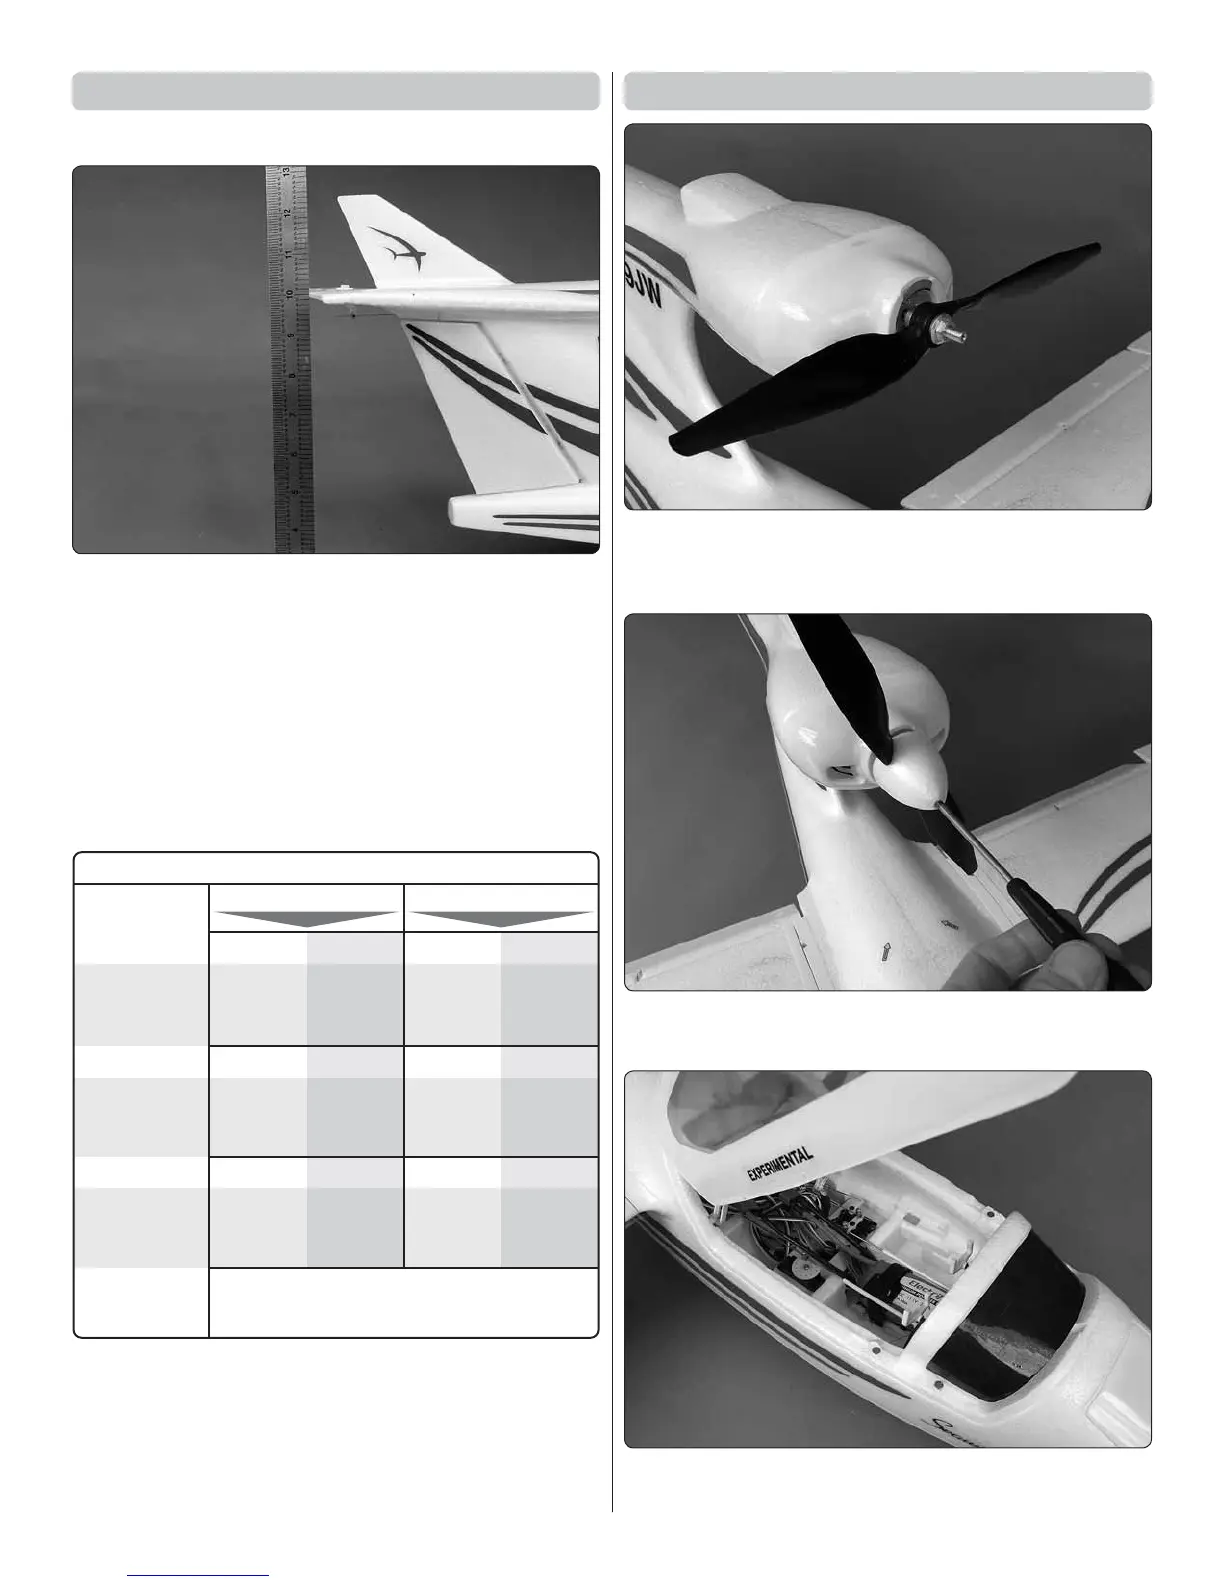
Mount the Propeller
❑
1. Install the prop/collet adapter onto the motor shaft.
Then, tighten the nut with a crescent wrench or 10mm
wrench (not included).
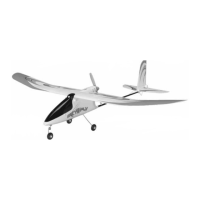
❑
2. Install the foam spinner and secure it with a 2.5 x
14mm machine screw.
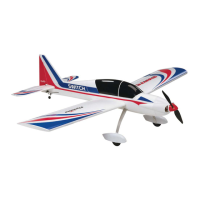
❑
3. Install the motor battery on the battery tray and
secure it with the battery strap.