5
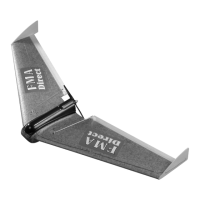
STEP 3: Using the supplied 2” x 4”, 120 grit screen cloth, carefully
sand the tips of the wings where the winglets will be bonded to the
wing halves.
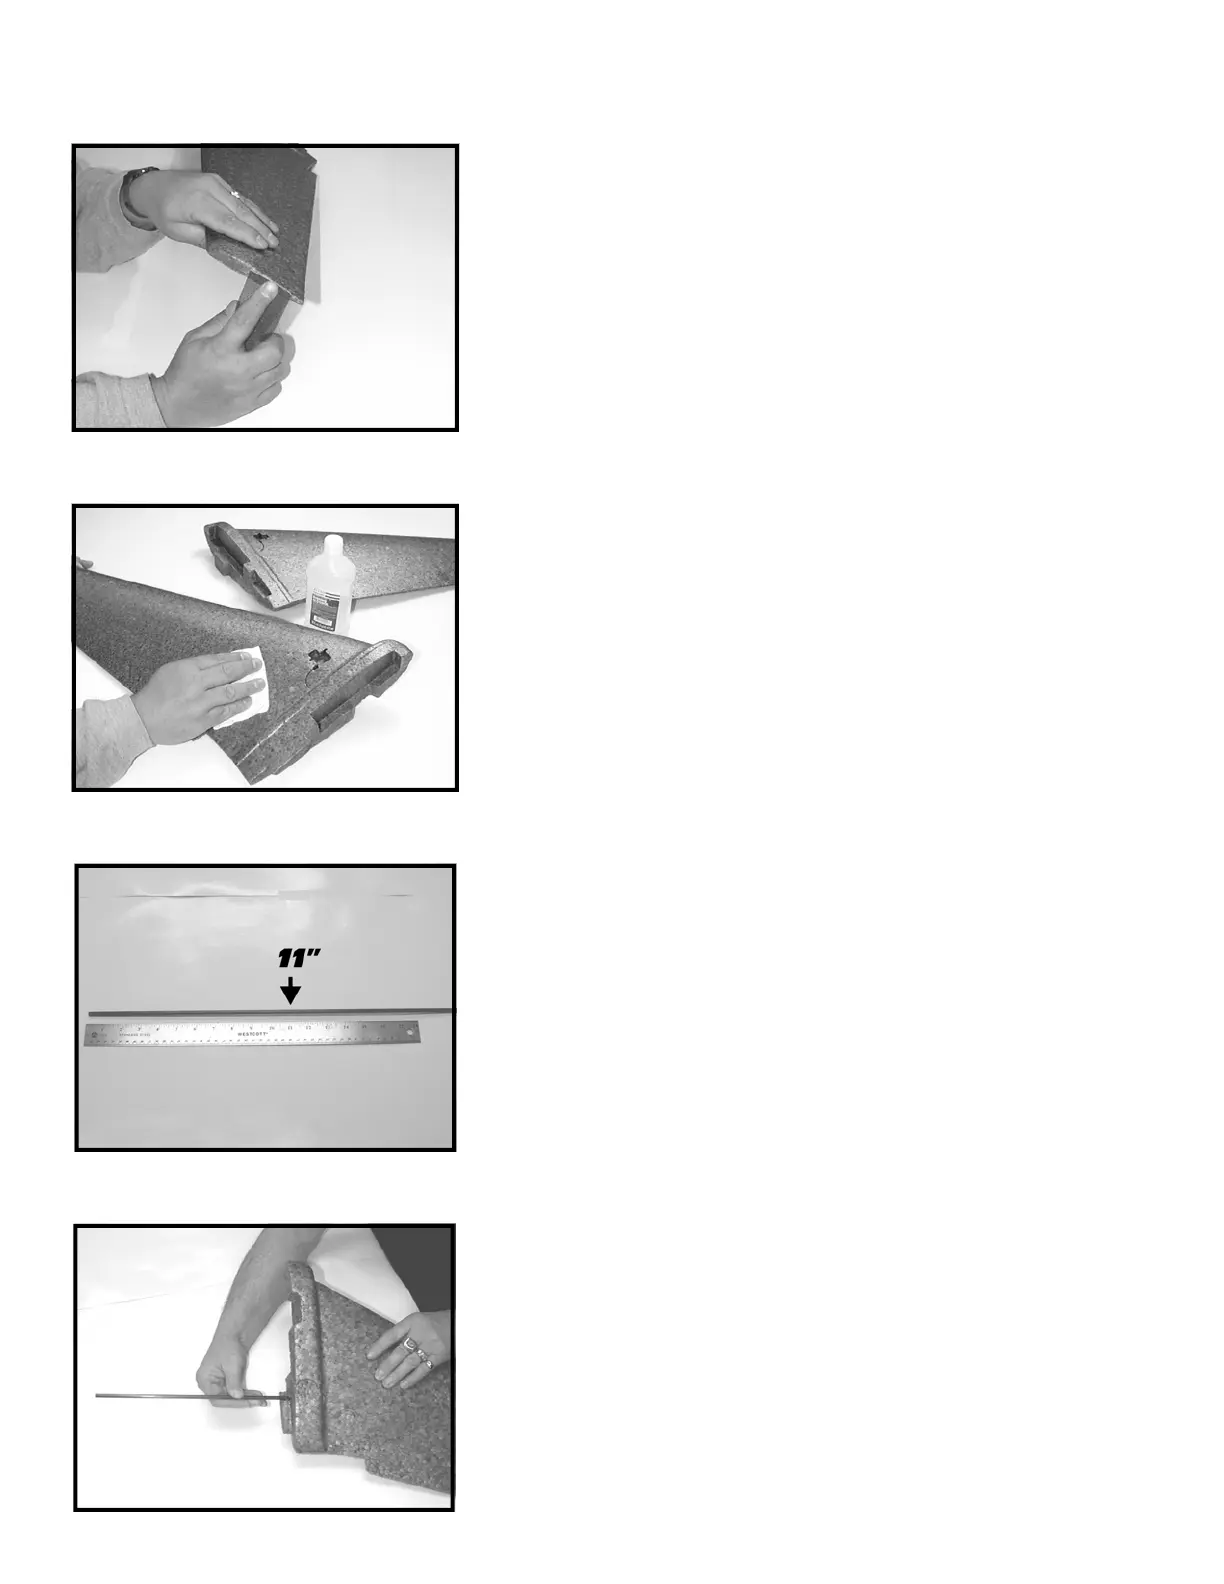
STEP 4: Using rubbing alcohol and a soft, clean cloth, thoroughly
clean the wing halves all over to remove sanding residue and other
contaminants. A good cleaning will improve the bond obtained when
applying adhesives and adhesive tapes to ARCEL
(TM)
.
STEP 5: The new improved RAZOR kits and ARF’s now come with a
pre-cut, 22” long, 5.5mm diameter carbon fiber arrow shaft. The shaft
has been incorporated into the model as a wing spar to further en-
hance wing strength during high powered aerobatics and the occa-
sional but often unavoidable crash. Locate the rod in your kit and
mark the center at 11” using a felt marker.
STEP 6: Dry fit the shaft into the pre-drilled hole in the left wing
panel as shown. Make sure that there is no problem pushing the
shaft into the wing section until the mark you made in STEP 5 meets
the center line of the fuselage. Once you are satisfied with the fit, re-
move the shaft, and mix up a modest portion of epoxy. Hold the wing
so that the wing tip is facing the floor and dribble the epoxy down
into the hole using a popsicle stick or the like. Also coat one half of
the shaft itself. Fit the shaft back into the hole all the way to the cen-
ter mark and wipe away any excess glue.
 Loading...