Fit 19
tip of your nger without inserting your nger beyond its rst knuckle. Also see
NOTE above and fig. 5).
WARNING: If your seat post is not inserted
in the seat tube as described in B.1 above,
the seat post may break, which could
cause you to lose control and fall.
2. Front and back adjustment. The saddle can
be adjusted forward or back to help you get the
optimal position on the bike. Ask your dealer to
set the saddle for your optimal riding position
and to show you how to make this adjustment.
If you choose to make your own front and
back adjustment, make sure that the clamp
mechanism is clamping on the straight part of
the saddle rails and is not touching the curved part of the rails, and that you
are using the recommended torque on the clamping fastener(s) (Appendix D
or the manufacturer’s instructions).
3. Saddle angle adjustment. Most people prefer a horizontal saddle; but some
riders like the saddle nose angled up or down just a little. Your dealer can
adjust saddle angle or teach you how to do it. If you choose to make your
own saddle angle adjustment and you have a single bolt saddle clamp on
your seat post, it is critical that you loosen the clamp bolt sufciently to allow
any serrations on the mechanism to disengage before changing the saddle’s
angle, and then that the serrations fully re-engage before you tighten the
clamp bolt to the recommended torque (Appendix D or the manufacturer’s
instructions).
WARNING: When making saddle angle adjustments with a single bolt
saddle clamp, always check to make sure that the serrations on the
mating surfaces of the clamp are not worn. Worn serrations on the
clamp can allow the saddle to move, causing you to lose control and
fall.
Always tighten fasteners to the correct torque. Bolts that are too tight can
stretch and deform. Bolts that are too loose can move and fatigue. Either
mistake can lead to a sudden failure of the bolt, causing you to lose control
and fall.
Note: If your bicycle is equipped with a suspension seat post, the
suspension mechanism may require periodic service or maintenance. Ask
your dealer for recommended service intervals for your suspension seat post.
Small changes in saddle position can have a substantial effect on performance
and comfort. To nd your best saddle position, make only one adjustment at a
time.
to adjust your saddle position as described in B without exceeding the limits
set by the height of the top of the seat tube and the ”Minimum Insertion” or
“Maximum Extension” mark on the seat post.
B. Saddle position
Correct saddle adjustment is an important
factor in getting the most performance and
comfort from your bicycle. If the saddle
position is not comfortable for you, see
your dealer.
The saddle can be adjusted in three
directions:
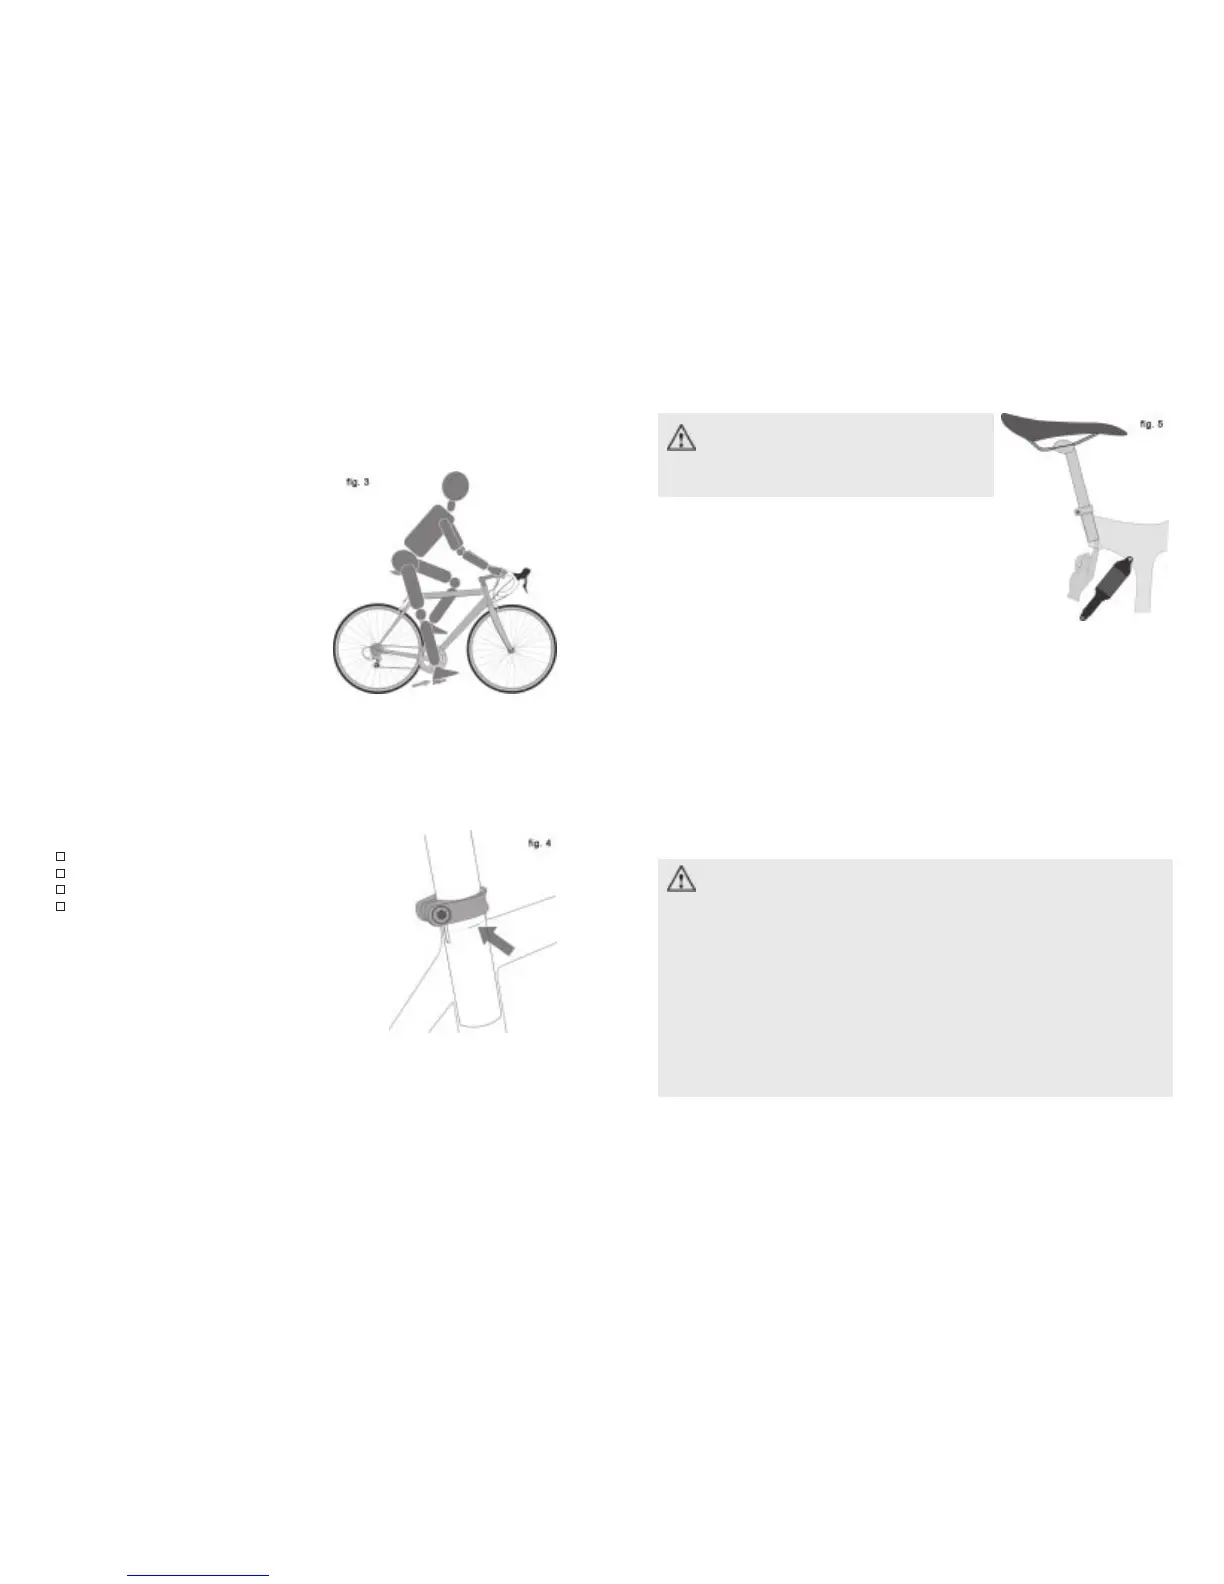
1. Up and down adjustment. To check for
correct saddle height (g. 3):
•sitonthesaddle;
•placeoneheelonapedal;
•rotatethecrankuntilthepedalwith
your heel on it is in the down position
and the crank arm is parallel to the
seat tube.
If your leg is not completely straight, your saddle height needs to be adjusted. If
your hips must rock for the heel to reach the pedal, the saddle is too high. If your
leg is bent at the knee with your heel on the pedal, the saddle is too low.
Ask your dealer to set the saddle for your optimal riding position and to show
you how to make this adjustment. If you choose to
make your own saddle height adjustment:
loosen the seat post clamp
raise or lower the seat post in the seat tube
make sure the saddle is straight fore and aft
re-tighten the seat post clamp to the
recommended torque (Appendix D
or the manufacturer’s instructions).
Once the saddle is at the correct height, make sure
that the seat post does not project from the frame
beyond its “Minimum Insertion” or “Maximum
Extension” mark (g. 4).
NOTE: Some bicycles have a sight hole in the seat
tube, the purpose of which is to make it easy to see whether the seat post is
inserted in the seat tube far enough to be safe. If your bicycle has such a sight
hole, use it instead of the “Minimum Insertion” or “Maximum Extension” mark
to make sure the seat post is inserted in the seat tube far enough to be visible
through the sight hole.
If your bike has an interrupted seat tube, as is the case on some suspension
bikes, you must also make sure that the seat post is far enough into the frame
so that you can touch it through the bottom of the interrupted seat tube with the