9
Hardware
Rear Panel
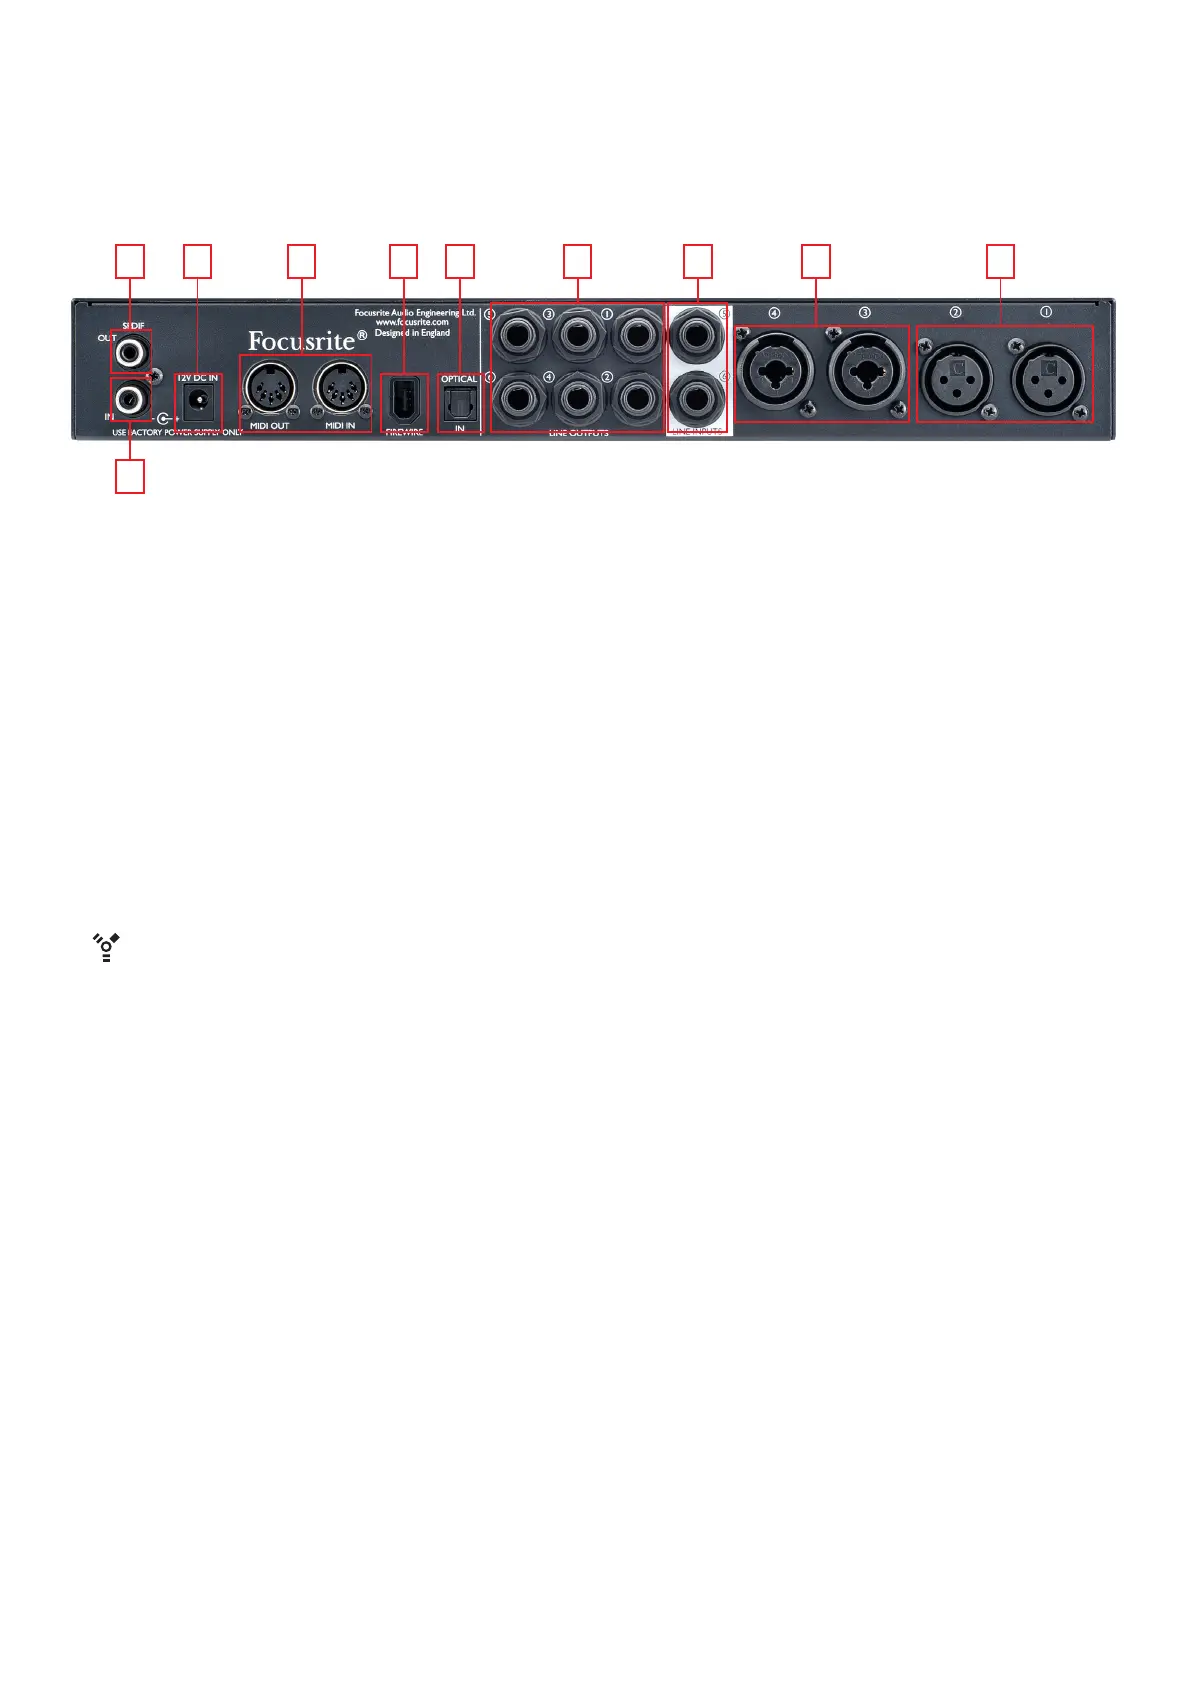
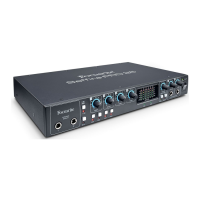
The rear panel carries most of the Saffire PRO26’s input and output connections
12364810 95
7
1. MIC INPUTS 1 and 2 – two standard 3-pin XLR sockets for connecting microphones to Channels 1 and 2. These sockets will be
operational when no jack plug is inserted in the corresponding front panel Line/Inst input (see “Front Panel” on page 10).
2. MIC/LINE INPUTS 3 and 4 - two Combo input sockets for Channels 3 and 4. These connectors can accept either a male
XLR plug, ¼” TRS (balanced) jack plugs or ¼” TS (unbalanced) jack plugs. Channel sensitivity is switched automatically to
microphone level when an XLR is inserted, and to line level when a jack plug is inserted.
3. LINE INPUTS 5 and 6 – two ¼” TRS (balanced) jack sockets for the connection of line level sources.
4. OPTICAL INPUT - TOSLINK connector able to carry eight channels of digital audio in ADAT format at 44.1/48 kHz sample rate or
four channels at 88.2/96 kHz. These are simply additional inputs (11 to 18) to the Saffire PRO 26.
5. S/PDIF OUT – this phono (RCA) socket provides a two-channel digital audio output from the interface. The signal present at this
connector is freely assignable in Saffire MixControl to follow any two-channel audio source within the mixer.
6. LINE OUTPUTS 1 to 6 – six ¼” TRS (balanced) jack sockets. Outputs 1 and 2 will normally be used as the primary stereo monitor
outputs, but it is possible to re-allocate all the outputs in Saffire MixControl in any manner to suit the method of working.
7. S/PDIF IN – this phono (RCA) socket allows a two-channel digital audio source to be connected to the Saffire PRO 26. These
signals appear to Saffire MixControl as two further inputs (7 & 8).
8. FIREWIRE – IEEE 1394-compliant FireWire 400 port. Connect this to your computer’s FireWire port (see “Getting Started”).
9. MIDI IN and MIDI OUT – standard 5-pin DIN sockets for connection of external MIDI equipment. The Saffire PRO 26 acts as a
“Break-out (and Break-in) Box”, allowing MIDI data to/from your computer to be distributed to additional MIDI devices.
10. Power supply input – connect the supplied AC adaptor here to power the Saffire PRO 26 if your computer cannot supply DC
power via FireWire for any reason, or if you using the Saffire PRO 26 as a “stand-alone” device.




 To Next Page