EN
- 2 -
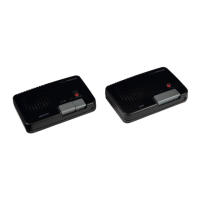
DESCRIPTION
- The MASTER intercom can make the call (ringer) and activate the audio transmission. It has control over
communication. The SUB intercom can only make one call (ring) to the MASTER.
- SUB intercom monitor function.
- Volume control.
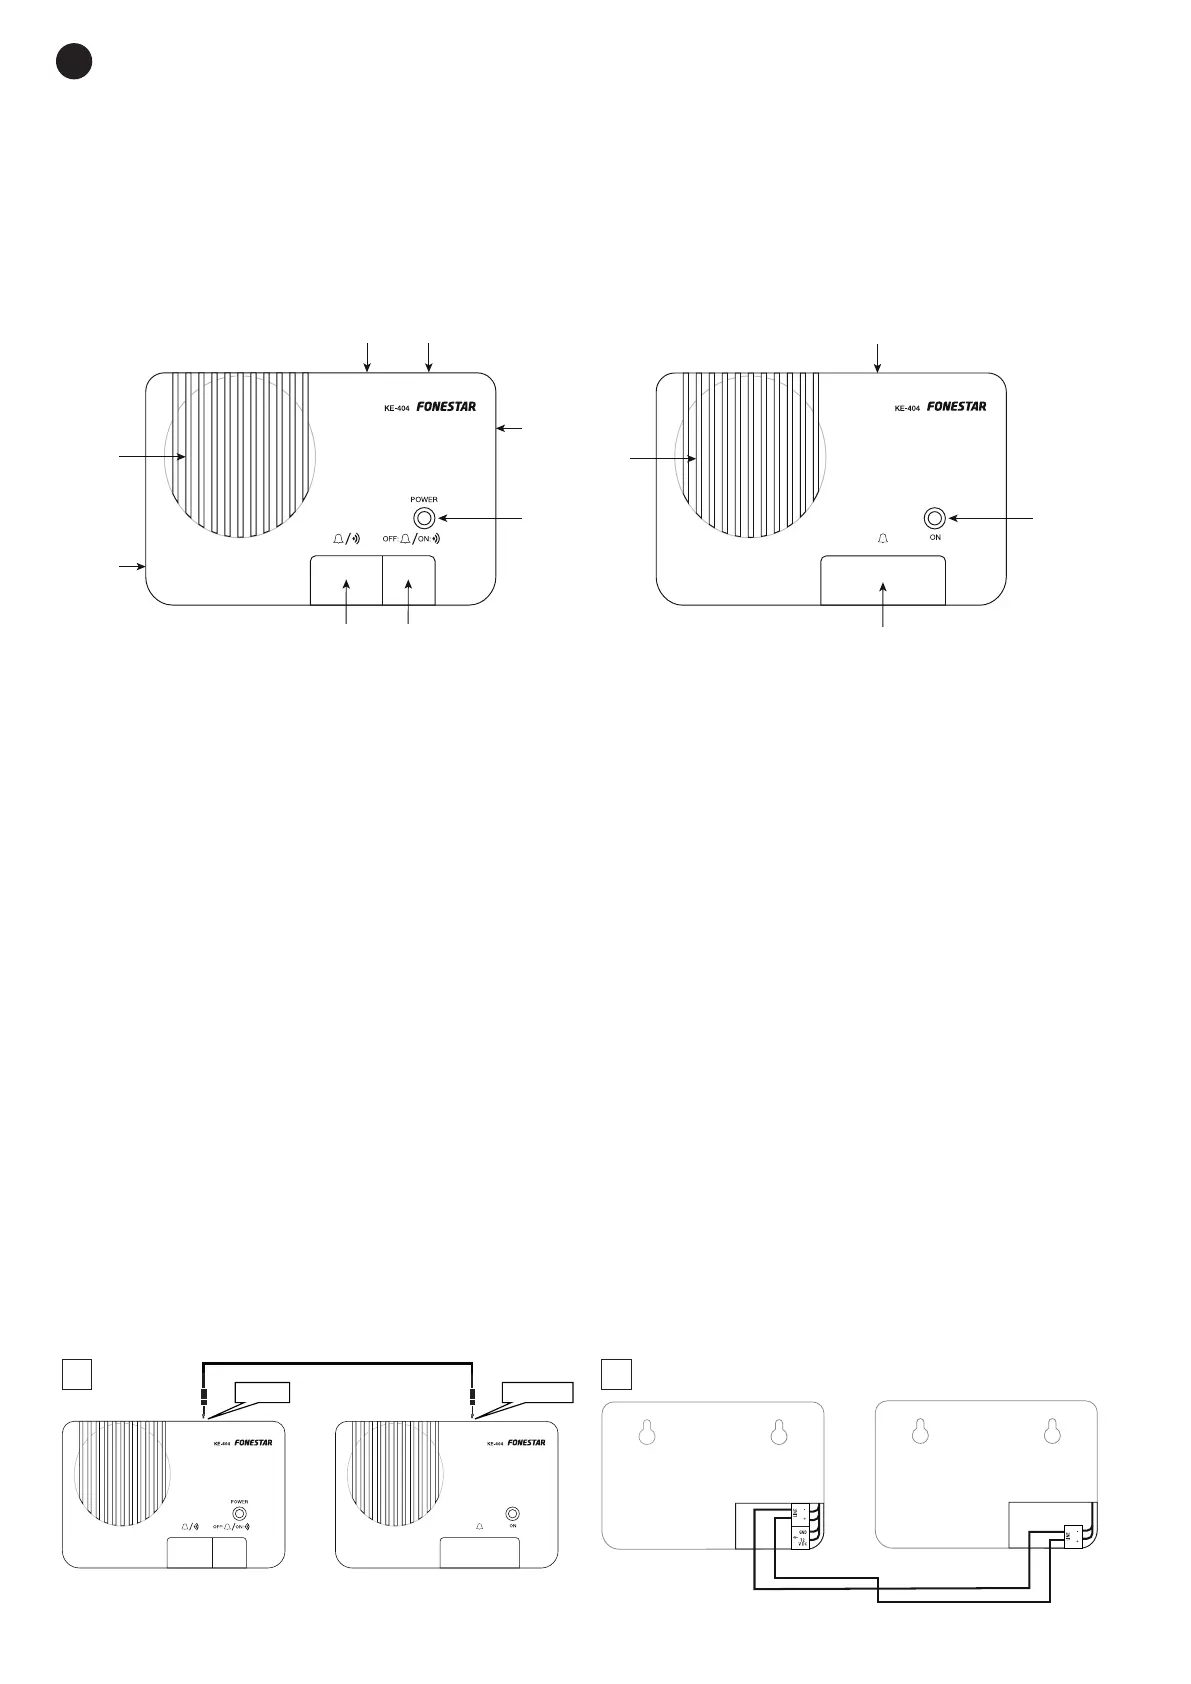
CONTROLS AND FUNCTIONS
MASTER SUB
1
3
2
4
5
6
7
8
10
11
9
MASTER
SUB
1.- MASTER unit speaker.
2.- Compartment for connections and battery holder. For more information, please refer to the
CONNECTIONS AND INSTALLATION section.
3.- TO SUB: connection with the SUB unit.
4.- 9 V DC: power supply input 9-12 V DC for MASTER unit.
5.- MASTER unit volume control.
6.- LED power indicator of the MASTER unit.
7.- Button for the selection of the operating mode. For more information, please refer to the INSTRUCTIONS
FOR USE section.
8.- MASTER unit power button.
9.- Secondary unit speaker. For more information, please refer to the INSTRUCTIONS FOR USE section.
10.- TO MASTER: connection with the MASTER unit. Use the cable provided.
11.- LED power indicator of the SUB unit. The indicator lights up when the MASTER unit is activated, leaving
the SUB unit ready to send messages to the MASTER unit.
12.- Call button. Press this button to call the MASTER unit.
CONNECTIONS AND INSTALLATION
- Connect the audio cable between the units. This is possible by two methods: Using provided cable with
2.5 mm jack connectors (1) or via connection terminals on the rear panel after removal of the cover (2).
1.- Connect both cable ends to the TO SUB and TO MASTER connectors on both intercoms.
2.- To use the connection terminals you must remove the cover and use 1 parallel cable with stripped
ends and interconnect L- in both units and L+ in both units.
NOTE: Connect the devices by means of the before mentioned methods only.
MASTER
SUB
MASTER
SUB
1
to SUB to MASTER
MASTER
SUB
12 V DC
12 V DC
9-12 V DC
9 V
LINE +
LINE -
MASTER
SUB
MASTER
SUB
GND
MASTER
1
3
2
1
2
1
2
~3 mm
6 mm
to SUB to MASTER
MASTER
SUB
12 V DC
12 V DC
9-12 V DC
9 V
LINE +
LINE -