Do you have a question about the FoodSaver FM5400 Series and is the answer not in the manual?
| Type | Vacuum Sealer |
|---|---|
| Seal Type | Heat Seal |
| Sealing Method | Automatic |
| Bag Compatibility | FoodSaver bags and rolls |
| Power | 120W |
| Vacuum Settings | 2 (Dry/Moist) |
| Operating Modes | Vacuum and Seal, Seal Only |
| Special Features | Built-in roll storage and cutter |
| Included Accessories | 11" x 10' Vacuum Seal Roll, 3 Quart Heat-Seal Bags |
Basic safety precautions to reduce risk of fire, electric shock, and injury.
Safety feature to reduce electric shock risk, plug fits only one way.
Tips for using the appliance, like not substituting for canning, using proper bags.
Instructions for short power-supply cords and extension cords.
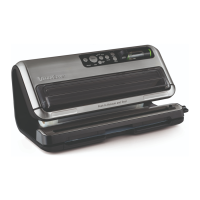
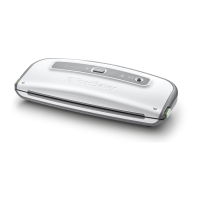
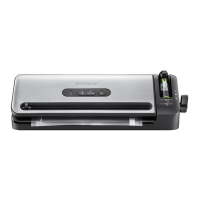
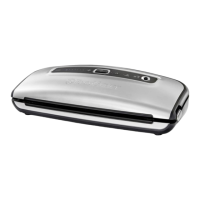
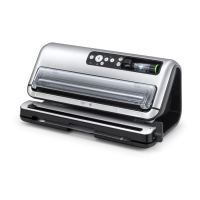
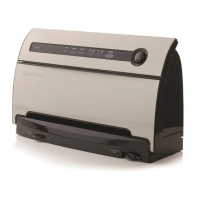
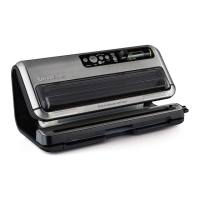
Detailed description of all labeled components from A to O.
Explains the function of each button and indicator light on the control panel.
Press the power button to turn on the appliance.
Open the Express Bag Maker Lower Seal and Cut Bar by pulling forward.
Insert the roll from either side until it sets into the notched area.
Pull bag material forward to the white line, sliding edges to the indicator.
Close the bag maker and turn the unlock/seal lever to seal.
Turn lever to unlock, pull bag from dispenser to desired length.
Turn Unlock/Seal Lever to seal position to create the first seal.
Slide Bag Cutter across to get the current bag.
Repeat steps 1-3 to make more bags.
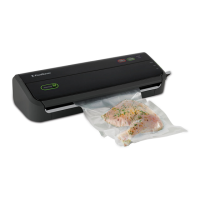
Insert the open end of the bag into the Vacuum View Window.
Push and release the Vacuum and Seal Bar to start the process.
Manually control vacuum process to avoid crushing delicate items.
Press Seal Button to seal and remove the bag when complete.
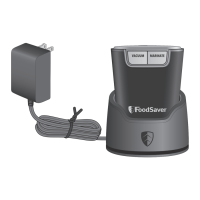
Pull the Retractable Handheld Sealer from the appliance.
Place sealer end over valve on bag or container.
Press the Accessory button to vacuum zipper bags and containers.
Requires adapter disassembly for use with canisters or marinators.
Press the Accessory button for vacuuming in canisters.
Press the Marinate button for marinating in canisters.
Instructions for cleaning the main appliance, including drip tray and gaskets.
Instructions for emptying and cleaning the reservoir of the handheld sealer.
Discusses how vacuum sealing extends food life and the role of mold, yeast, and bacteria.
Explanation of mold characteristics and how vacuum sealing affects its growth.
Explanation of yeast, fermentation, and growth conditions.
Discusses bacteria, odor, discoloration, and anaerobic bacteria risks.
Emphasizes maintaining low temperatures and the limitations of vacuum sealing.
Guidelines for safely thawing and reheating vacuum-sealed foods.
Tips for pre-freezing meat and fish before vacuum sealing.
How to reseal hard cheeses after use.
Importance of blanching vegetables before vacuum sealing.
Using canisters for storing leafy vegetables after washing and drying.
Pre-freezing soft fruits and berries before vacuum sealing.
Using canisters or pre-freezing for soft or airy baked goods.
Using filters to prevent particles from entering pump.
Using canisters for crushable snack foods to maintain freshness.
Pre-freezing liquids before vacuum sealing or using bottle stoppers.
Sealing non-food items for protection against oxidation, corrosion, and moisture.
Unit overheating or red light flashing due to heavy usage.
Problems with bag placement, wrinkles, or pump overload.
Addressing loose or torn upper gaskets and cleaning.
Solutions for improper sealing due to liquid, debris, or wrinkles.
Troubleshooting steps for when the control panel has no lights.
Steps to take if the unit does not operate after closing the window.
Ensuring proper bag material length and alignment for insertion.
Causes for air re-entry like wrinkles, moisture, or punctures.
Addressing bag melting due to a hot sealing strip.
Checking container lid placement and accessory button usage.
How to properly pull the roll from the dispenser.
Information on where to get additional help and support.
Identifies the upper seal profile as a replacement part.
Identifies the reservoir accessory as a replacement part.
Identifies the lower seal profile as a replacement part.
Identifies the cutter accessory as a replacement part.
Identifies the drip tray accessory as a replacement part.
Details the 5-year limited warranty for defects in material and workmanship.
Exclusions for incidental or consequential damages and warranty limitations.
Instructions on how to obtain warranty service in the U.S.A. and Canada.