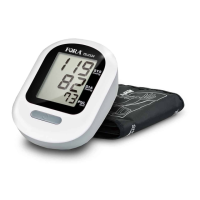
EN-5
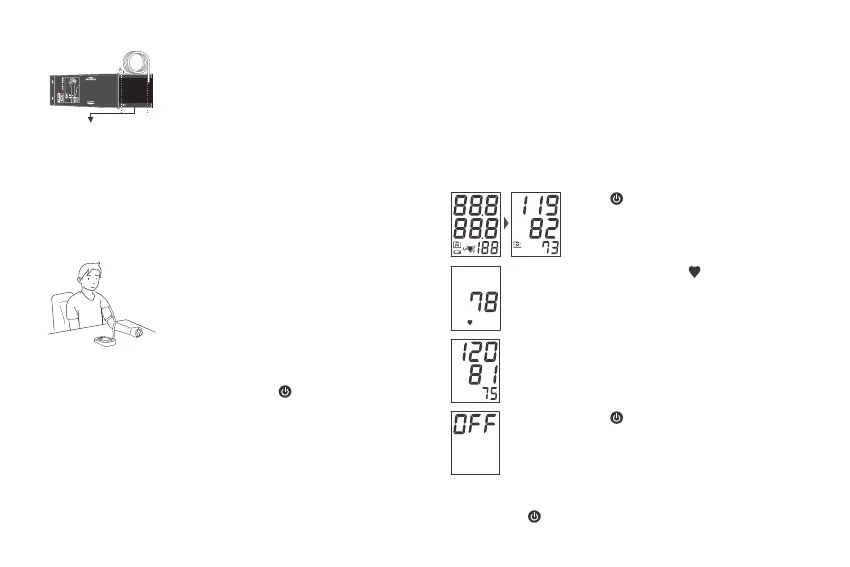
4. Measurement is in progress.
After the meter is turned on, the cu will begin to inate
automatically.
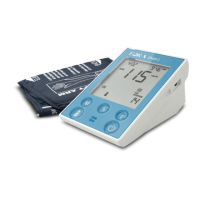
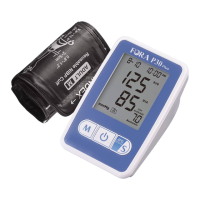
TAKING MEASUREMENTS
Always apply the pressure cu before turning on the
meter.
1. Press . All the LCD symbols and the
last blood pressure result will appear.
Then the cu will begin to inate
automatically.
2. The heart symbol “ ” will ash when
pulse is detected during the ination.
3. After the measurement, the meter
displays the systolic pressure, diastolic
pressure and pulse rate.
4. Press to switch o. Or it will switch
o automatically after being idle for 3
minutes.
WARNING:
• If you press during measurement, the monitor will be
turned o.
INDEX
RED LINESHOULD BE AT THE INSID
INDEX MUST
The range index of cuff should
fall within this range
4. Leave a little free space between
the arm and the cu; you should
be able to t two ngers between
them. Clothing must not restrict the
arm. Remove all clothing covering or
constricting the measurement arm.
5. Press the hook material rmly against
the pile material. The top and bottom
edges of the cu should be tightened
evenly around your upper arm.
Proper Measurement Position
1. Sit down for at least 10 minutes before
measuring.
2. Place your elbow on a at surface.
Relax your hand with the palm facing
up.
3. Make sure the cu is about the
same height as the location of
your heart. Press . Remain still
and do not talk or move during the
measurement.
WARNING:
If the cu is relatively lower (higher) than the heart, the
obtained blood pressure value could be higher (lower) than
the actual value. A 15 cm dierence in height may result in an
error around 10 mmHg.