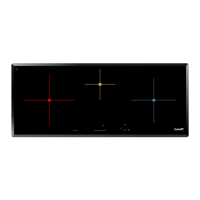
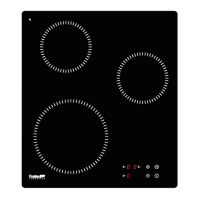
28
Power management:
The hole cooking hob is equipped by a maximum of power. When the booster function is
activated, and not to exceed the maximum power, the electronic system orders to reduce
automatically the power level of an other heating zone. The display is blinking on [ 9 ] during a
few seconds and then shows the maximum of power allowed :
Heating zone selected The other heating zone: (example: power level 9)
[ P ] is displayed [ 9 ] goes to [ 6 ] or [ 8 ] depending the type of zone
Timer
The timer is able to be used simultaneous with all 3 or 4 heating zones and this with different time
settings (from 0 to 99 minutes) for each heating zone.
Setting and modification of the cooking time :
Example for 16 minutes at power 7 :
Action Control panel Display
Zone selection press display [ 0 ] selected [ 0 ] and control light on
Select the power level slide on the “SLIDER“ to [ 7 ] [ 7 ]
Select « Timer » press display [ CL ] [ 00 ]
Set the units slide on the “SLIDER“ to [ 6 ] [ 0 fixed ] [ 6 blinking ]
Valid the units press display [ 06 ] [ 0 blinking ] [ 6 fixed ]
Set the tens slide on the “SLIDER“ to [ 1 ] [ 1 blinking ] [ 6 fixed ]
Valid the tens press display [ 16 ] [ 16 ]
The time is confirmed and the cooking starts.
To stop the cooking time:
Example for 13 minutes at power 7 :
Action Control panel Display
Zone selection press display [ 7 ] selected [ 7 ] and control light on
Select « Timer » press key [ 13 ] [ 13 ]
Deactivate the units slide on the “SLIDER“ to [ 0 ] [ 1 fixed ] [ 0 blinking ]
Valid the units press display [ 10 ] [ 1 blinking ] [ 0 fixed ]
Deactivate the tens slide on the “SLIDER“ to [ 0 ] [ 0 blinking ] [ 0 fixed ]
Valid the tens press display [ 00 ] [ 00 ]
Automatic stop at the end of the cooking time:
As soon as the selected cooking time is finished the timer displays blinking [ 00 ] and a sound
rings.
To stop the sound and the blinking it is enough to press the key [ 00 ].
Egg timer function :
Example for 29 minutes :
Action Control panel Display
Activate the hob press display [ 0/I ] zone control lights are on
Select« Timer » press display [ CL ] [ 00 ]
Set the units slide on the “SLIDER“ to [ 9 ] [ 0 fixed ] [ 9 blinking ]
Valid the units press display [ 09 ] [ 0 blinking ] [ 9 fixed ]
Set the tens slide on the “SLIDER“ to [ 2 ] [ 2 blinking ] [ 9 fixed ]
Valid the tens press display [ 29 ] [ 29 ]
After a few seconds the control light stops with blinking.
As soon as the selected cooking time is finished the timer displays blinking [ 00 ] and a sound
rings.
To stop the sound and the blinking it is enough to press the display [ 00 ]. The hob switches off.
 Loading...