14
5. Enter the Reference value: this is the temperature value you expect the logger to
display.
6. Enter the MicroLite value: this is the temperature value the logger is currently
displaying, when compared with the reference value.
7. Click Calibrate.
To restore default calibration, click Default. This will remove any calibration applied to
the MicroLite.
2.3.6. Communication Setup
Communication between the PC and the MicroLite unit takes place automatically
whenever you send a command to the MicroLite. However, the Communication Setup
dialog box can be used for more advanced communication options.
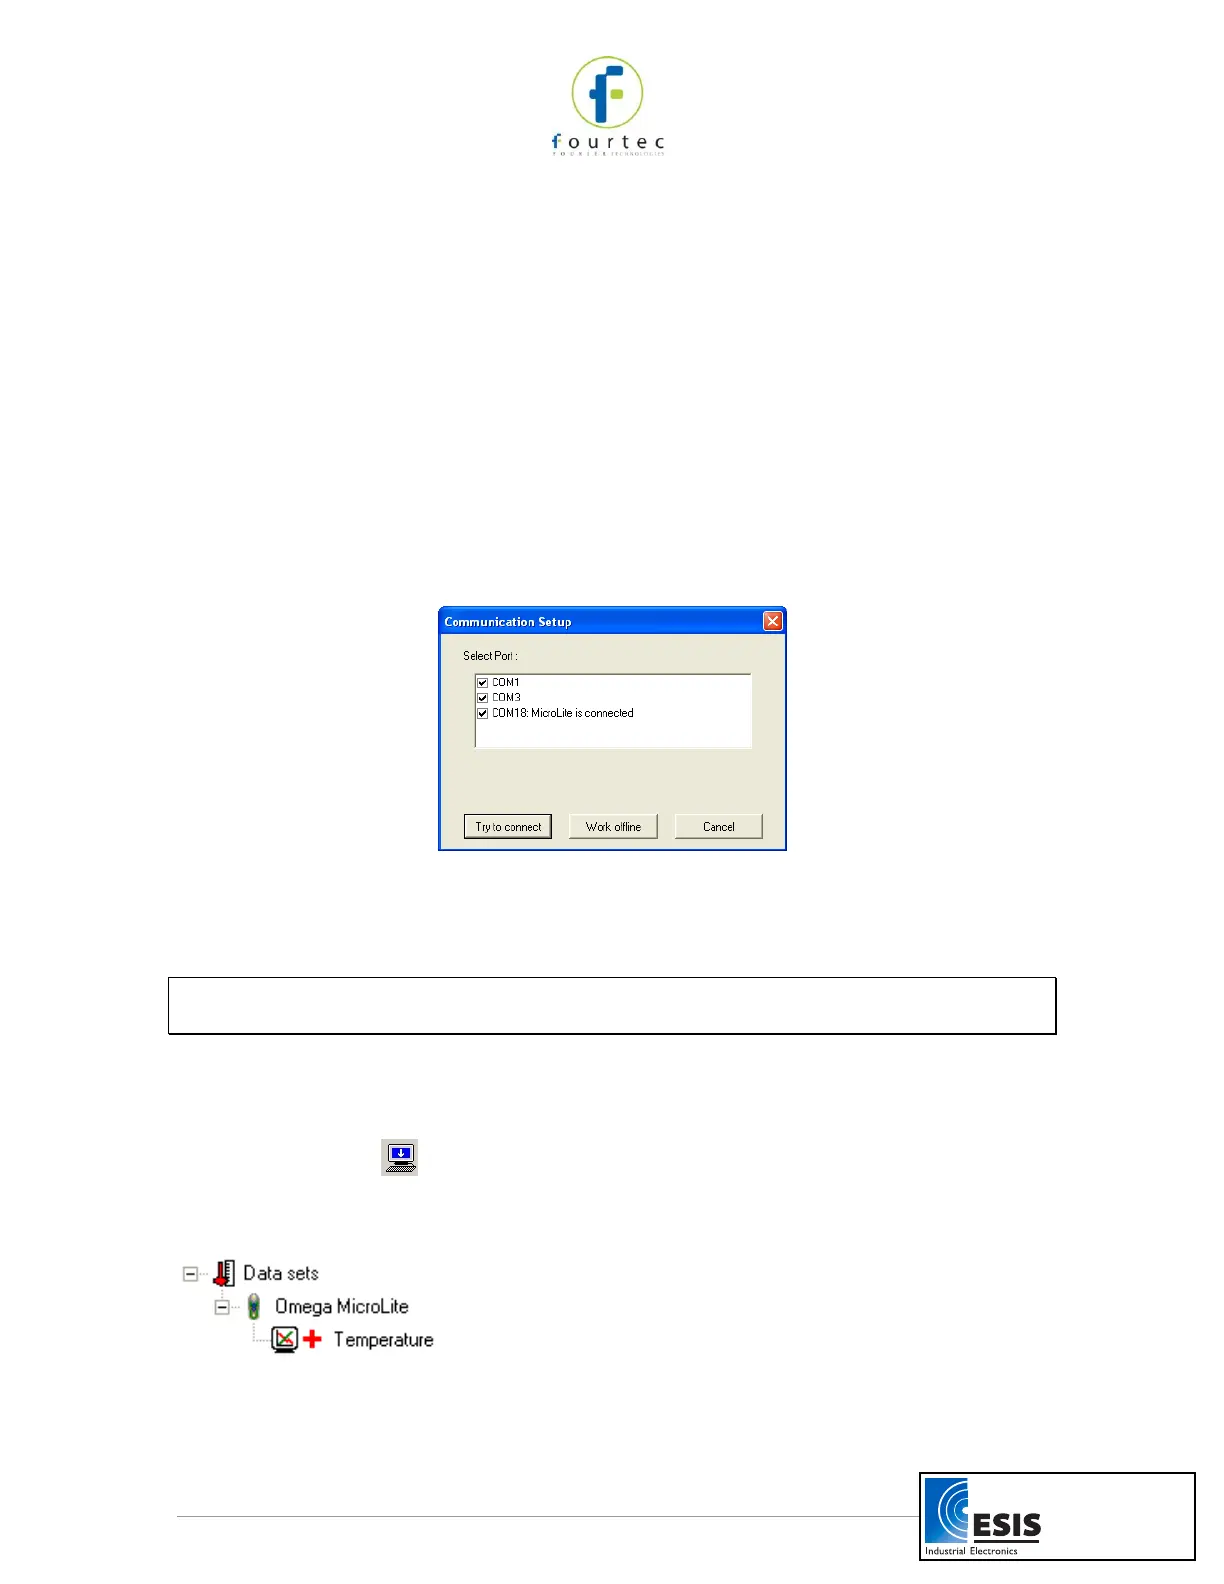
Click Logger on the main menu and select Com setup to open the Communication
Setup dialog box:
Figure 6: Communication Setup dialog box
The selected COM ports are available for communication.
1. Click Try to connect to establish communication.
2. Click Work offline to work with saved files and no logger detection is required.
Note: You can speed up the MicroLite detection process by only selecting the COM
which is being used by the MicroLite.
2.3.7. Downloading Data
1. Connect MicroLite to the PC.
2. Open the MicroLab Lite software.
3. Click Download on the main toolbar.
The MicroLite will first be detected and then the download will begin. Once the data has
been downloaded, it will be displayed both in the graph and in the table, and a new data
icon will be added to the Data Map:
You can now connect a different MicroLite to the PC and download its data as well. The
number of downloads is limited only by the memory available on the computer.
www.esis.com.au
Ph 02 9481 7420
Fax 02 9481 7267
esis.enq@esis.com.au