605-01-3 67 7
NOTICE: Medium-strength thread-lock is recommended on all bolts.
1. Please read the installation guidelines on page 5 for instructions on how to properly lift and secure
the vehicle.
2. Record the front vehicle ride height to ensure the proper lift is attained after kit is installed. READ
INSTALLATION GUIDELINES ON HOW TO PROPERLY ADJUST PRELOAD.
NOTICE: The spring preload is set by FOX for a stock weight vehicle to last the life of the product. Any
additional spring preload may negatively eect the life of the spring.
NOTICE: The FOX coil overs are extended travel meaning their length is longer than the factory units, and
FOX recommends TRD O Road (Red) CV axles. The TRD 3” lift kit is also compatible.
FRONT SHOCK INSTALLATION
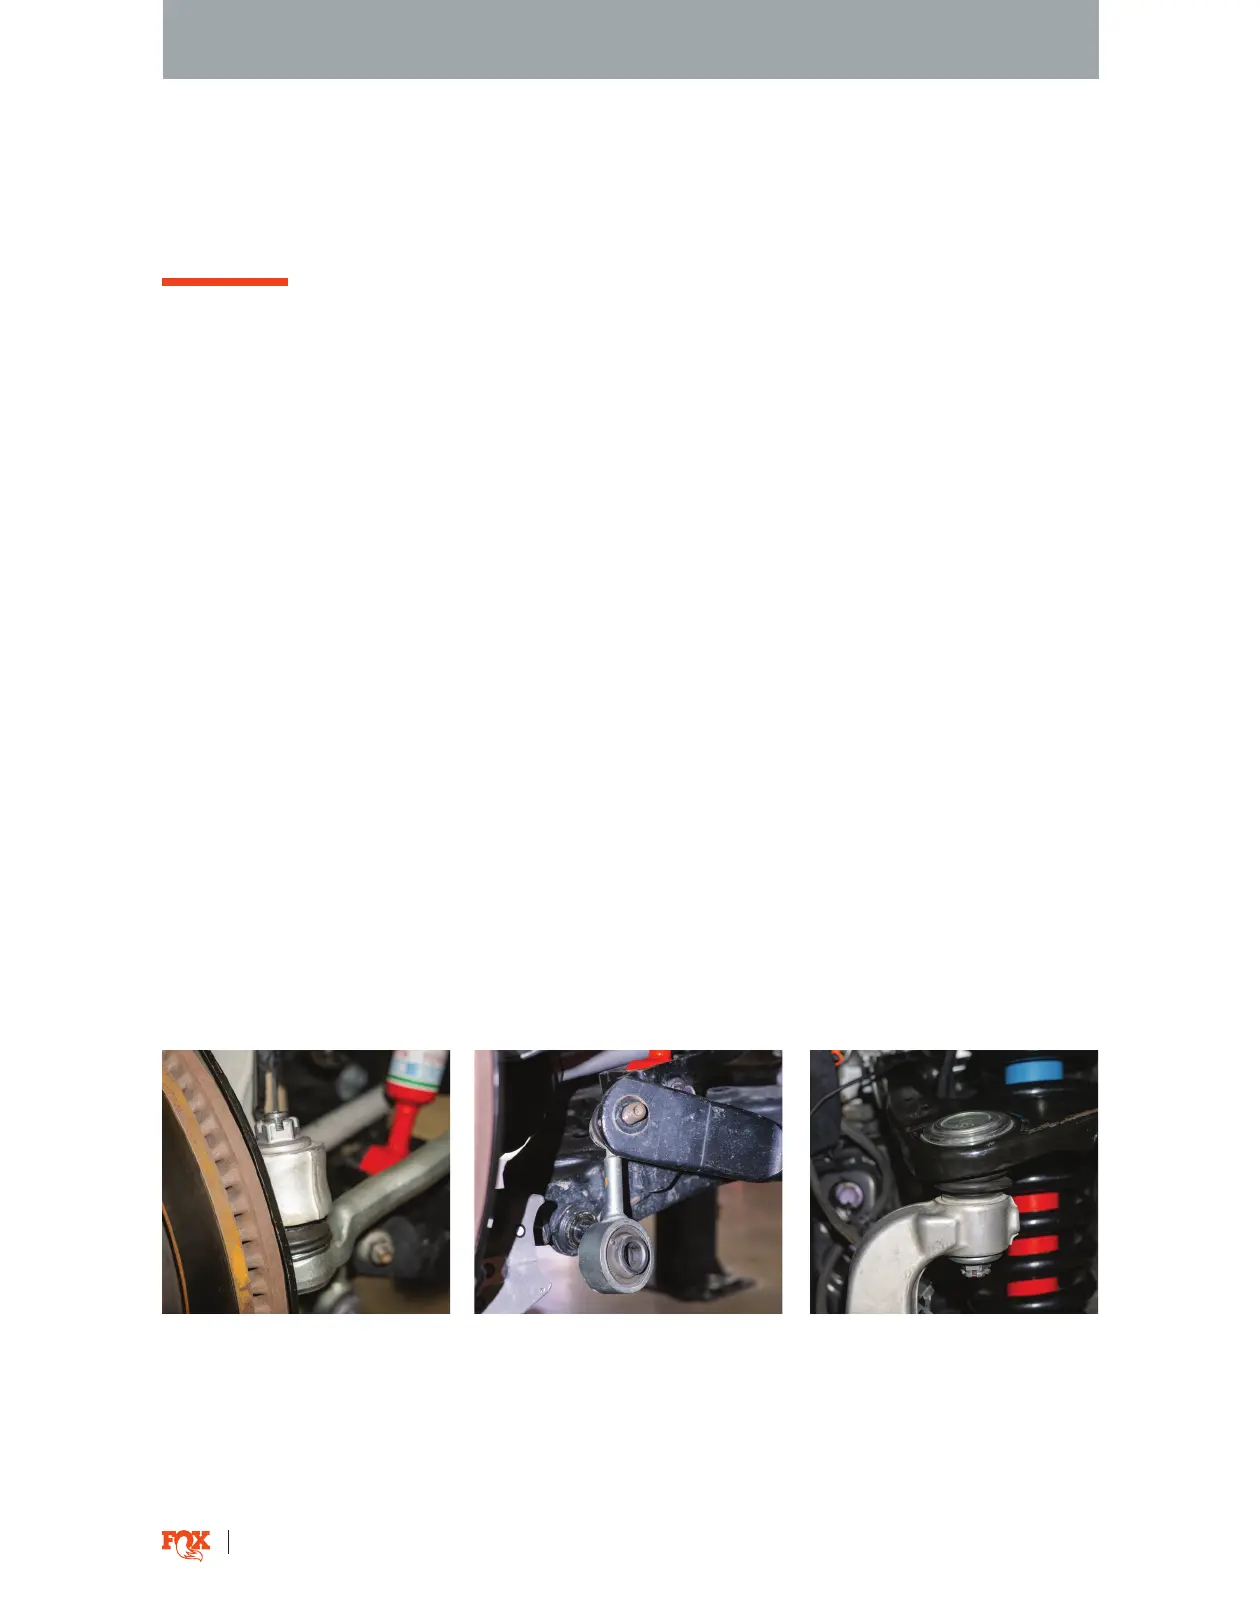
Fig. 1: Tie rod end link. Fig. 2: Sway bar end link.
STOCK SHOCK REMOVAL
3. Remove both front wheels from the vehicle.
4. Detach the tie rod end link at the spindle steering arm on both sides of the Vehicle (Fig. 1).
5. Disconnect the sway bar end link on both sides of the vehicle (Fig. 2).
6. Take o the nut connecting the upper control arm (UCA) to the upright. Tap the ball joint stem with a
hammer to break it free. Proceed with caution, the UCA has spring tension (Fig. 3). Detach the UCAs on
both sides of the vehicle.
Fig. 3: Disconnect UCA.