6
CT-200
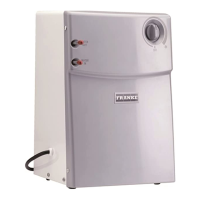
Under Sink Chiller Unit Installation Instructions and Use and Care Guide
INSTALLATION INSTRUCTIONS
1. After chiller is unpacked, place upright for 24 hours before plugging it in.
2. Ensure the water supply is turned off.
3. Install a suitable drinking water dispensing faucet (sold separately) per the instructions. The following
steps outline how the chiller is to be connected to a Franke COLD ONLY Little Butler
®
dispensing
faucet. Any other faucet may require additional steps or hardware to install.
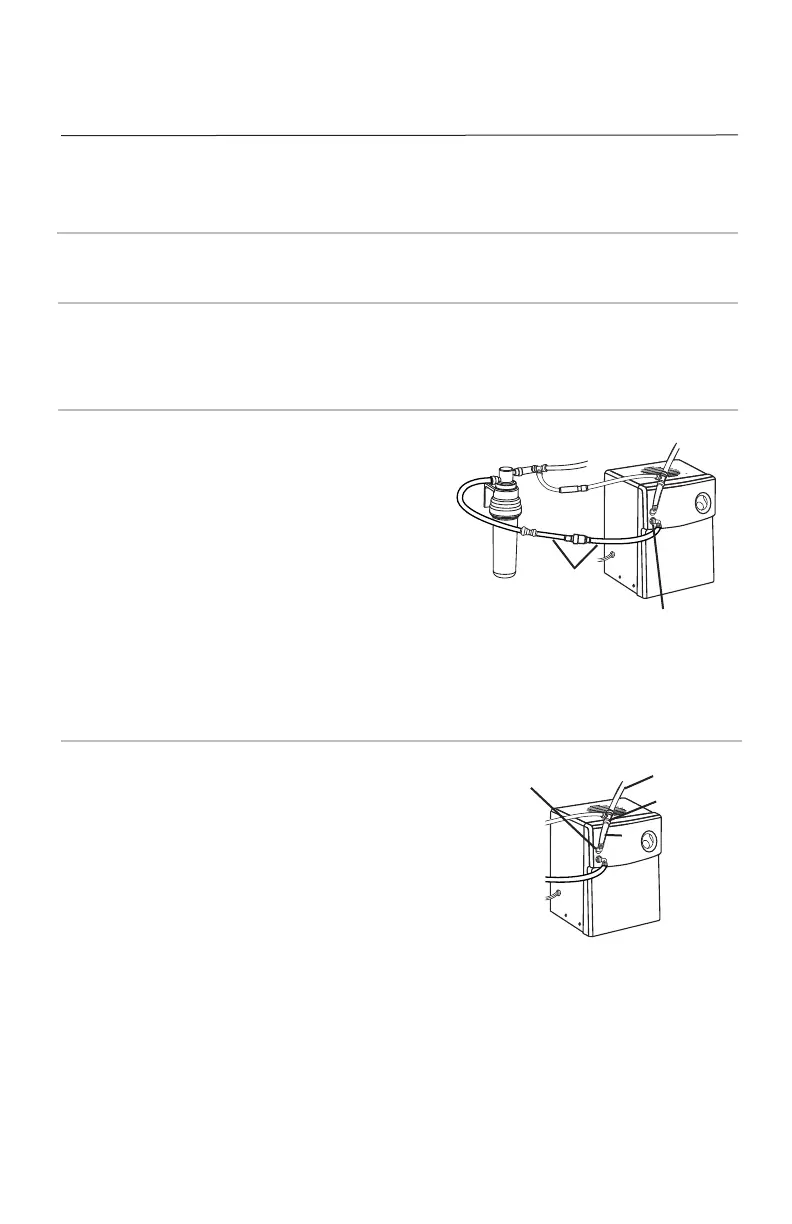
4. Connect the 3/8" black tubing (12) from the exit of
the Franke filtration system (8) to the 3/8" to 1/4"
reducer push fitting (13). Cut a piece of the white
1/4" poly tubing (7) long enough to connect the
reducer push fitting to the “water in” connection
on the chiller. If the SB60 pressure safety valve
(14) is utilized, insert it between the 3/8" to 1/4"
reducer push fitting (13) and the elbow push
fitting (15). If not utilized, connect the tubing (7)
from the reducer push fitting (13) to one of the
elbow push fittings (15), and connect the other
end of the elbow push fitting to the “water in”
connection on the chiller.
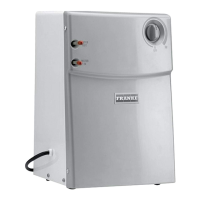
5. Next connect the other elbow push fitting (15) to
the “water out” connection on the chiller. Cut a
piece of the blue 1/4" poly tubing (3) long enough
to connect to the 1/4" tee push fitting (2). The tee
push fitting (2) may be connected directly to the
chiller “water out” connection in place of the
elbow push fitting (15) if your particular installation
has room to do this. Connect blue 1/4" tubing (3)
to the side of the tee push fitting (2) going to the
inlet of the drinking water faucet.
1.
8.
12.
13.
14.
15.
15.
2.
“Water in” connection
“Water out” connection
7.
3.
3.