HCMF Service Manual
For Technical Support, Call 800-537-2653. Page 19 Doc. No. 19005309 - Copyright 2012 Franke, Inc.
Section 10 – Component Adjustments
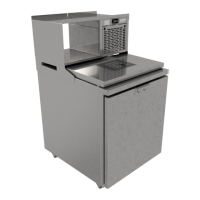
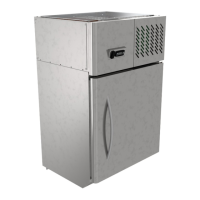
The HCMF is designed with some adjustable components including removable mirror-image door
hinges to change the swing, plus a controller that can change the target temperature set point.
Remove upper hinge, left off door then
remove the bottom hinge.
Mount lower hinge, place door on
bottom hinge pin &secure top hinge.
1. Using a 10 mm wrench or socket to remove the two upper
hinge bracket-mounting bolts, while supporting the weight of
the door. [Tip: If a second person is available, have them
support the weight of the freezer door.]
2. Remove upper hinge bracket from the door bushing.
3. Lift the door up and off the lower hinge pin.
4. Remove the two M6 hex bolts from lower hinge bracket.
5. Locate the mirror image bracket mounting holes on the right
side of the freezer cabinet frame. Remove fill plugs with sharp
flat blade screwdriver. [Save them.]
6. Take the upper hinge-mounting bracket and reinstall it in the
lower hinge position with the hinge pin up, using the same
two mounting bolts.
7. Rotate the Freezer Door 180 degrees and place what was the
upper hinge bushing on the lower hinge mounting bracket pin.
8. Position the remaining [former lower] hinge mounting bracket
with the pin in the [now] upper door hinge bushing and secure
that bracket with the two remaining M6 Hex mounting bolts.
9. Take the hole fill plugs and press them back into the left side
bracket mounting holes.
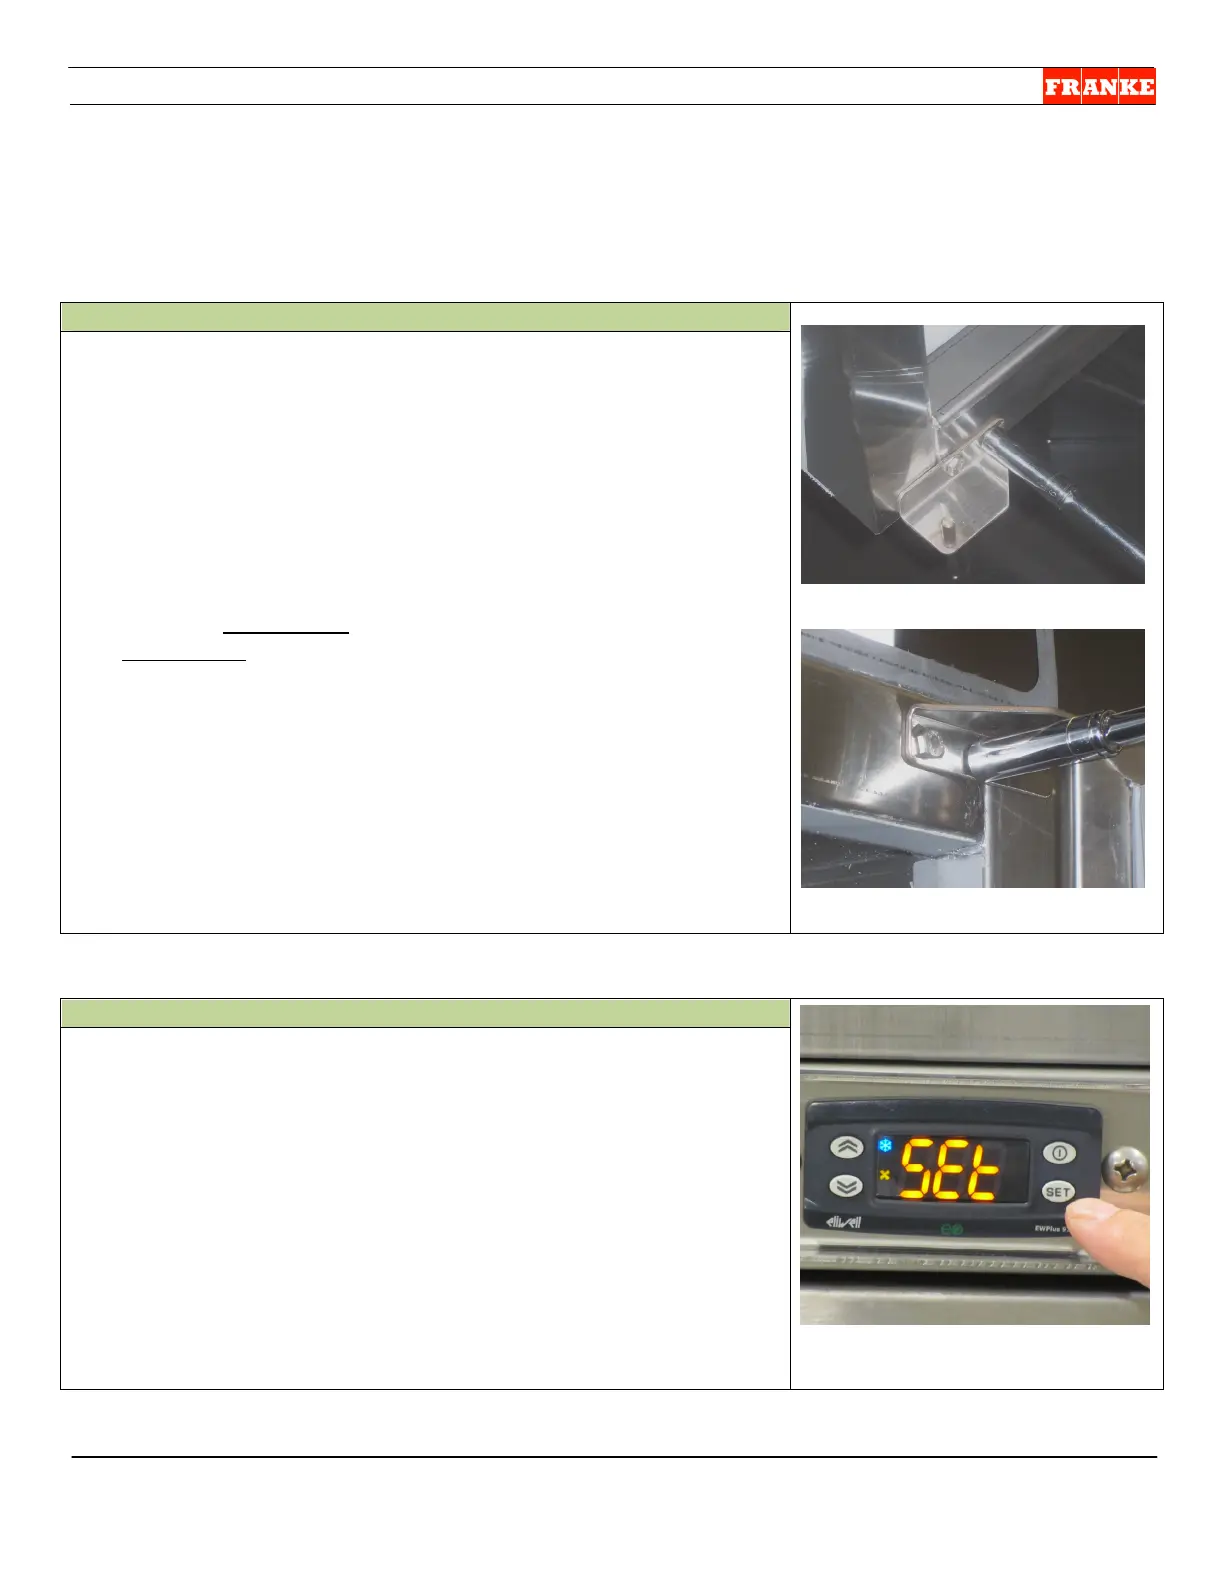
1. Push ‘SET’ button to display: SEt then press it again to display
the set point temperature, which is factory set at -5 to -7 F.
2. Push the up-arrow button (upper-left) to raise target
temperature or the down-arrow button (lower-left) to lower set
point.
3. The current compartment temperature will automatically
reappear. (If the target temperature was reduced, the
compressor should come on to lower the compartment
temperature.)
(See Section 7 to initiate a Manual Defrost Cycle)
 Loading...