SM 51 G / CM 55 G
– 12 –
EN
Installation instructions
Model CM 55 G (Fig. 5a/Fig. 5b/Fig. 5c)
Measure the width of the cabinet shoulder (S), which normally can be 16, 18 or 20 mm. 16 mm shoulder: on each fixing
bracket (F) position 2 lugs (T) marked with the number 16. 18 mm shoulder: on each fixing bracket (F) position 2 lugs (T)
marked with the number 18. 20 mm shoulder: the 20 mm shoulder does not require any lug.
Position the brackets (F) against the cabinet shoulder and at the bottom on the oven support top. Secure the brackets (F)
with the screws (V). Fit the oven in the cabinet, open the door completely and fix it to the brackets (F) using the 4 screws
(V) and 4 plastic spacers (D).
Model SM 51 G (Fig. 5d)
Fit the appliance in the compartment; fix the oven to the cabinet with the 4 screws and the 4 bushings provided, using
the holes prepared in the side panels.
Note: (applies to all models) If the oven is to be fitted under a cooktop, firstly turn the top connection (R)
to the right or left so that the oven fits properly (Fig. 6).
Room ventilation
Build-in gas ovens can only be installed and operate correctly in a permanently ventilated room as provided by standards
UNI-CIG 7129-7131.
In order for the gas oven to operate correctly, the combustion air required for the burner must flow through the room
due to natural ventilation.
The air must come into the room through holes in the exterior walls with an unobstructed cross-section of at least
100 cm
2
.
These holes must made in such a ways as be free of any obstructions, both internal and external, and preferably close to
the floor at the opposite side from the combustion flue. Should it not be possible to provide the holes in the room in
which the oven is installed, the required air may come from an adjacent room, which may not be a bedroom or room
subject to fire hazard.
Evacuation of combustion fumes
The room must be equipped to exhaust the combustion fumes to the exterior, via a hood directly connected to a flue or
directly to the exterior.
If a hood cannot be installed, an electric fan must be installed in a window or wall facing the exterior of the building.
Electrical connection
Ensure that the mains supply voltage and capacity correspond to the rating on the dataplate visible at the centre of the
oven base when the door is open and in the “Technical Data” section of this booklet.
The oven MUST be equipped with a ground plant. The plug to be fitted to the
power cord and the mains socket must be of the same type (as required by
established legislation). Before making the connection, check the operation of the
ground plant.
The manufacturer is not liable for any damage or injury due to the lack of or
incorrect execution of the ground plant.
When installing the oven, the power cord must be equipped with an omni-polar
power switch with air gap between the contacts of at least 3 mm located within
easy reach of the oven.
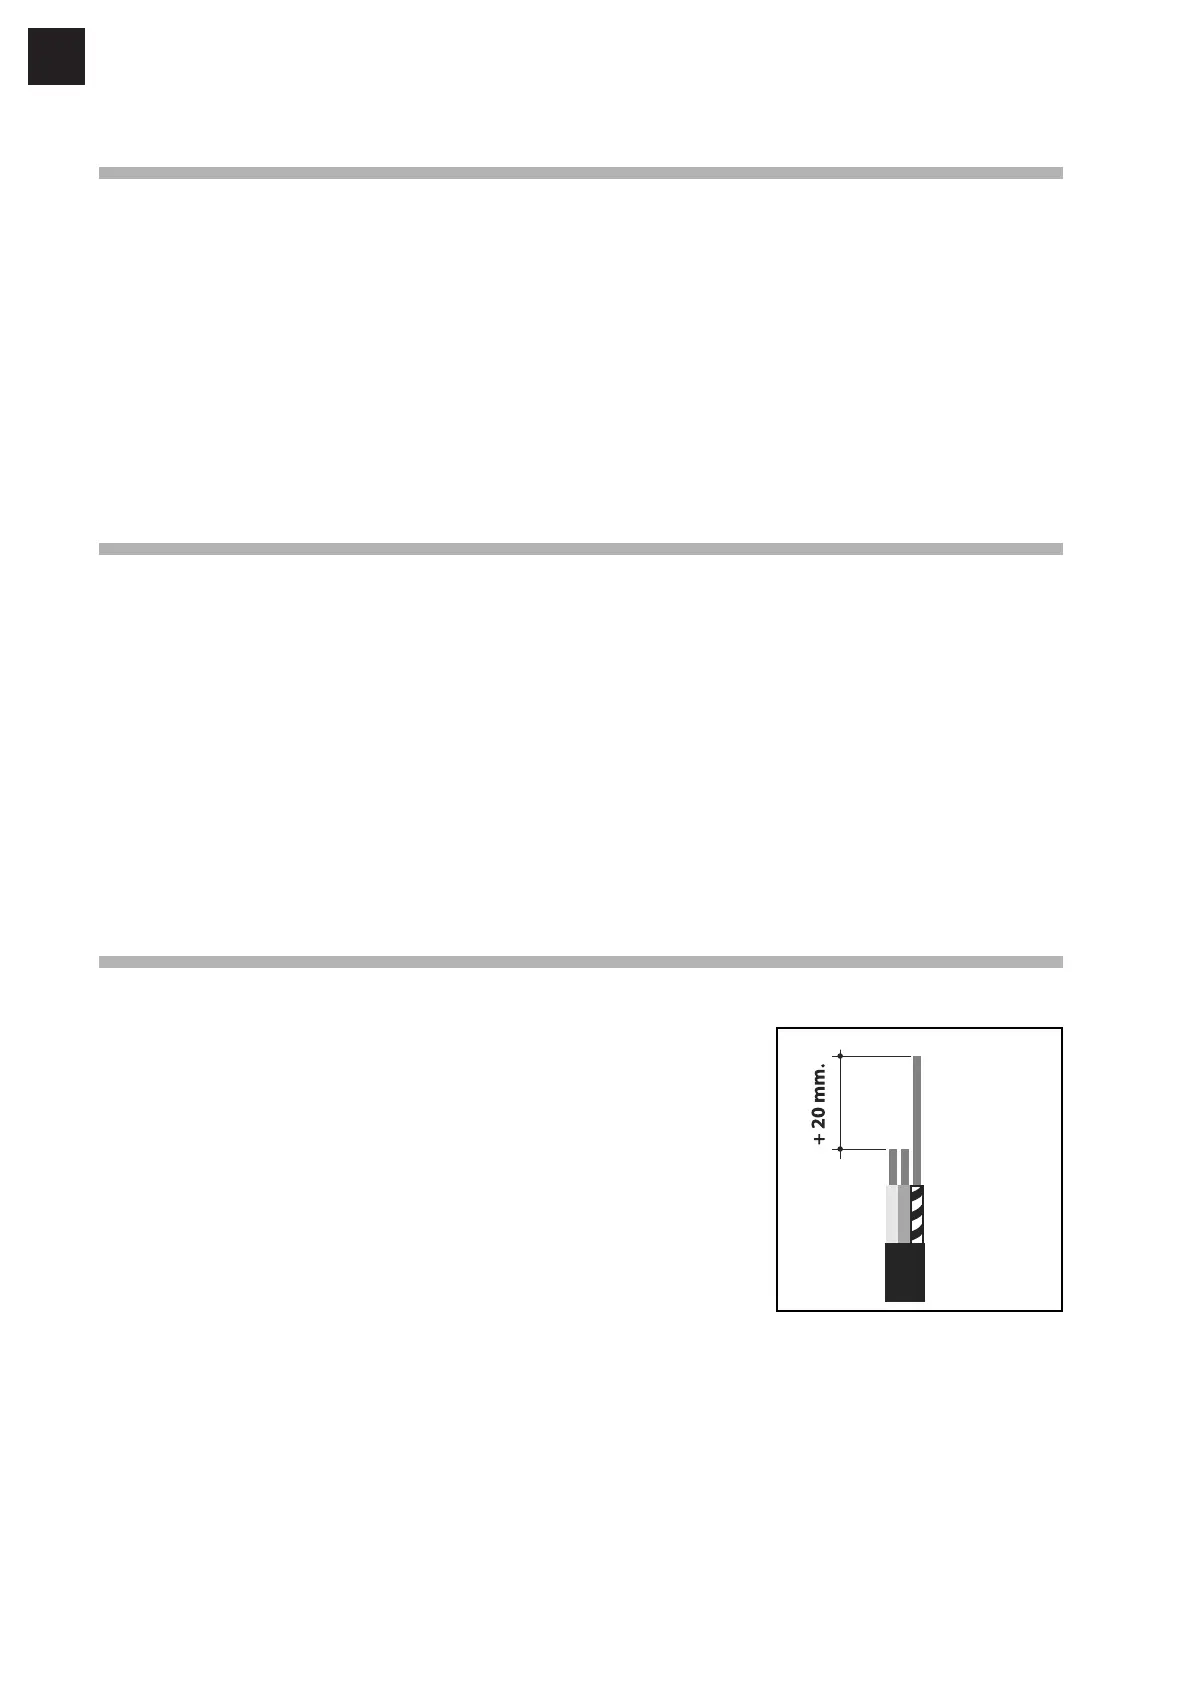
Important: If the power cord has to be replaced, the rear casing must be removed
by unscrewing its mounting bolts. The cross-section of the wires of the new cable
may not be less than 1.5 mm
2
(3x1.5 cable); the yellow-green ground cable must
be at least 20 mm longer than the other two at the oven end of the cable.
Do not use reductions, adapters or shunts on the cable as this can lead to overheating and burning.
3x1.5 mm2
 Loading...