iiiil
NOTE
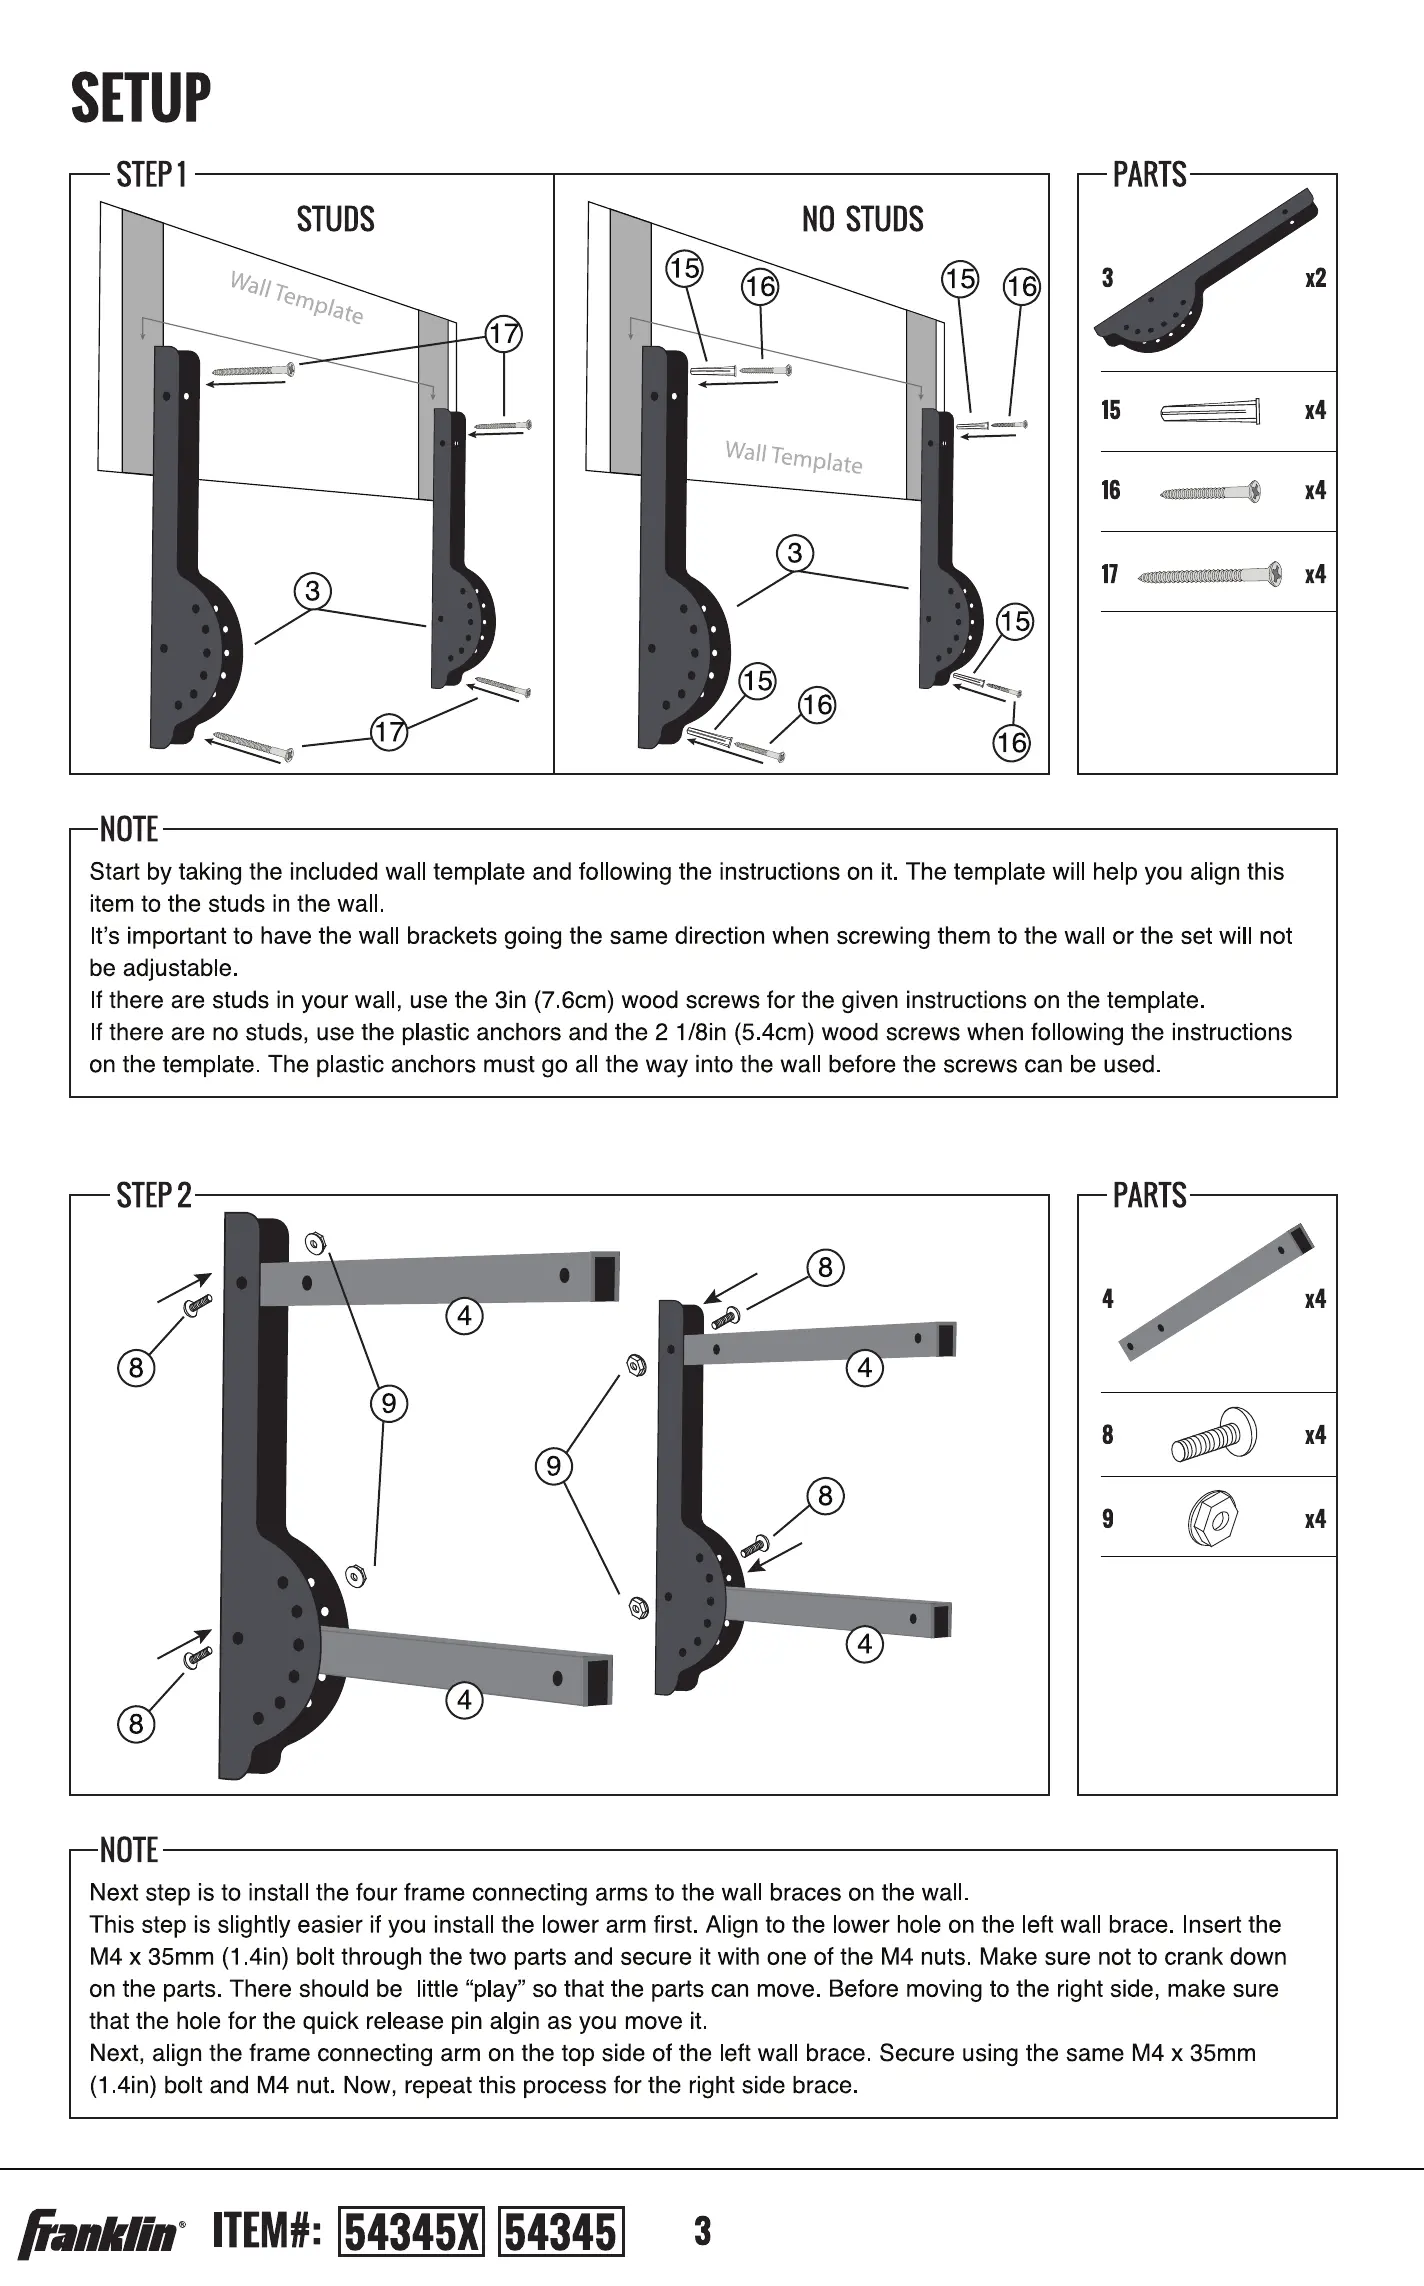
Start by taking the included wall template and following the instructions on it. The template will help you align this
item to the studs in the wal
It's important to have the wall brackets going the same direction when screwing them to the wall or the set will not
be adjustable
If there are studs in your wall, use the 3in (7 6cm) wood screws for the given instructions on the template.
If there are no studs, use the plastic anchors and the 2 1/8in (5.4cm) wood screws when fol owing the instructions
on the template The plastic anchors must go all the way into the wall before the screws can be used
PARTS
2
10
11
NOTE
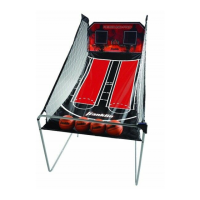
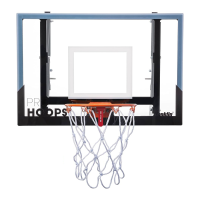
Now it's time to install the rim onto the backboard Orient the backboard so that you can read the words Pro Hoops
on it. You are now looking at the front.
Align the rim to the two holes towards the bottom of the backboard. Slide the two 3/8in (lcm) bolts through the rim
and then through the backboard. The threaded end should be sticking out the back Of the backboard. Secure into
place using the two 3/8in (lcm) nuts.
STEP4
7
NOTE
Next step is to install the net onto the rim.
ITEM}:
PARTS
2
14
x4
14
xl
xl
STEP2
4
8
9
4
8
NOTE
PARTS
0
9
8
4
8
4
4
8
9
Next step is to insta I the four frame connecting arms to the wall braces on the wall
This step is slightly easier if you install the Ower arm first. Align to the lower hole on the left wall brace. Insert the
M4 x 35mm (1 4in) bolt through the two parts and secure it with One of the M4 nuts Make sure not to crank down
on the parts. There should be little "play" so that the parts can move. Before moving to the right side, make sure
that the hole for the quick release pin algin as you move it
Next, align the frame connecting arm on the top side of the left wall brace Secure using the same M4 x 35mm
(1 4in) bolt and M4 nut. Now, repeat this process for the right side brace
c
4