Frigomatic Milano Manual v1 PAGE 12
CHAPTER 6
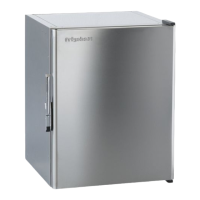
ALUMINIUM EVAPORATOR
6.1 - The evaporator is the unit that is installed in the cabinet to cool it and thereby keep it
at the desired temperature. Several types of evaporators are available and the choice
between them depends on the size and layout of the cabinet. Before starting the
installation make sure that the insulation is at least as effective as recommended.
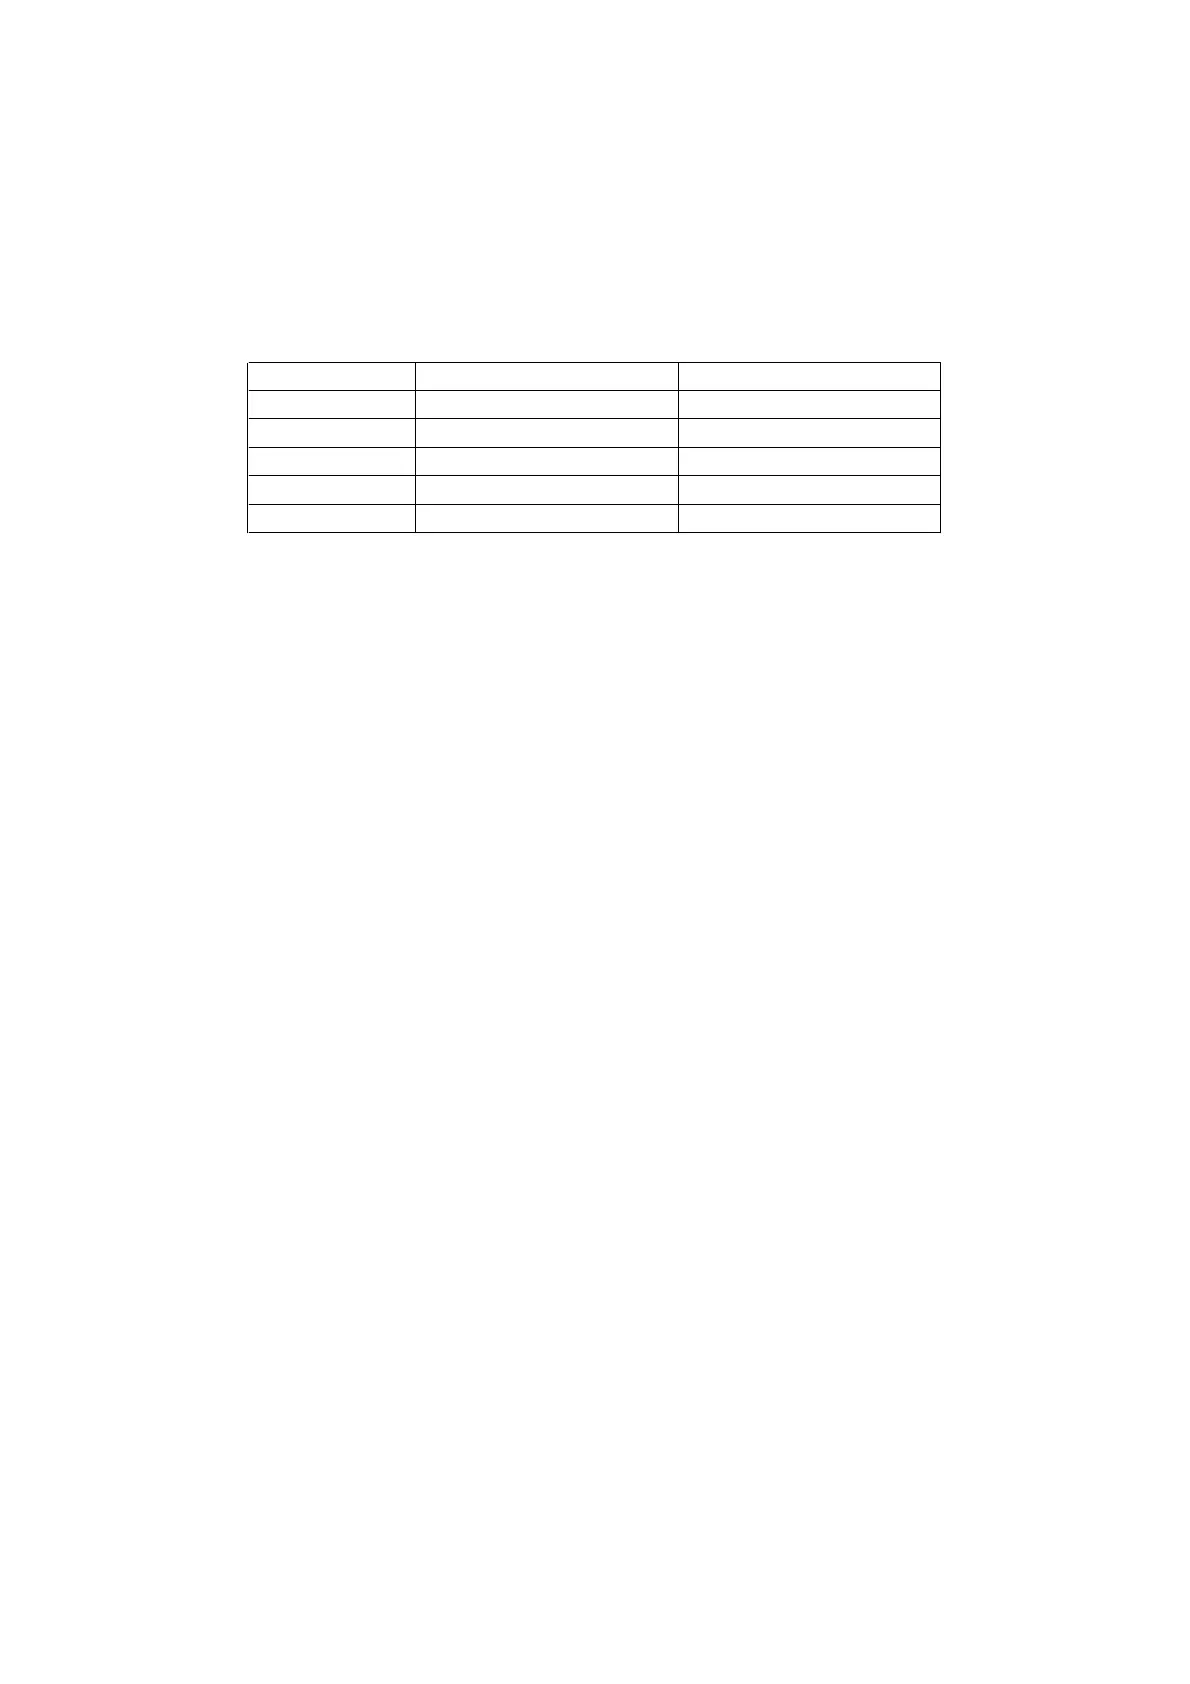
USAGE POLYURETHANE POLYSTYRENE
Deep Freeze 4.1/4 inches (100 mm) 6.1/2 inches (160 mm)
A greater thickness is not detrimental and will conserve energy.
6.2 - POSITION
Install the evaporator as high as possible as cold air falls and therefore the space above
the evaporator may not be cold enough for storage. Consider carefully how you will use
the cabinet, how you will for instance reach into it and whether you wish to produce ice
cubes. The connecting pipe goes out of the cabinet to the condensing unit and requires a
hole having a minimum diameter of 1"1/2 (30mm). This hole should be drilled as high as
possible to reduce the loss of cold. When selecting the route that the pipe will take, try to
choose one that will protect it from damage, by both cutting and compression, even inside
lockers, and then drill the necessary holes along that route. Carefully seal the hole you
drilled in your cabinet (consider also the passage of the capillary or thermostat cable).
6.3 - INSTALLATION
The assistance of another person is very useful at this point. Unroll completely the
evaporator pipe and arrange the two end couplings so that they will pass one after the
other through the sequence of holes that you have prepared, the male coupling (IM)
proceed the female coupling (IF). Do not remove the end brass plugs at this stage, as they
will provide an important protection from dirt and moisture. Take extreme care of the point
where the capillary comes out of the main refrigeration pipe as it is very vulnerable at this
point, feed the end of the pipe into the cabinet, out through the hole and then carefully,
leading with the hand all the way, through the sequence of holes. Try to avoid inducing
force at any stage and keep curves to as large a radius as possible to avoid kinking. Do
not keep bending and re bending any section of the pipe as copper work hardens and
each successive bend becomes more difficult until the pipe will fail. If you have an
excessive length simply roll it up and fasten it to prevent vibrations.
6.4 - EVAPORATOR MODEL "H"
You can install this evaporator in any position.
Drill the four mounting holes in roof or wall of the cabinet. Use two of the four screws
provided together with the two studs in the holes in the back or base of the evaporator
(closed end), preposition the screws and then slide on the evaporator using the slots.
Finally enter the other two stainless steel screws through the holes, then the spacers and
hence into the structure of the cabinet. Tighten all screws.
6.5 - EVAPORATOR MODEL "F"