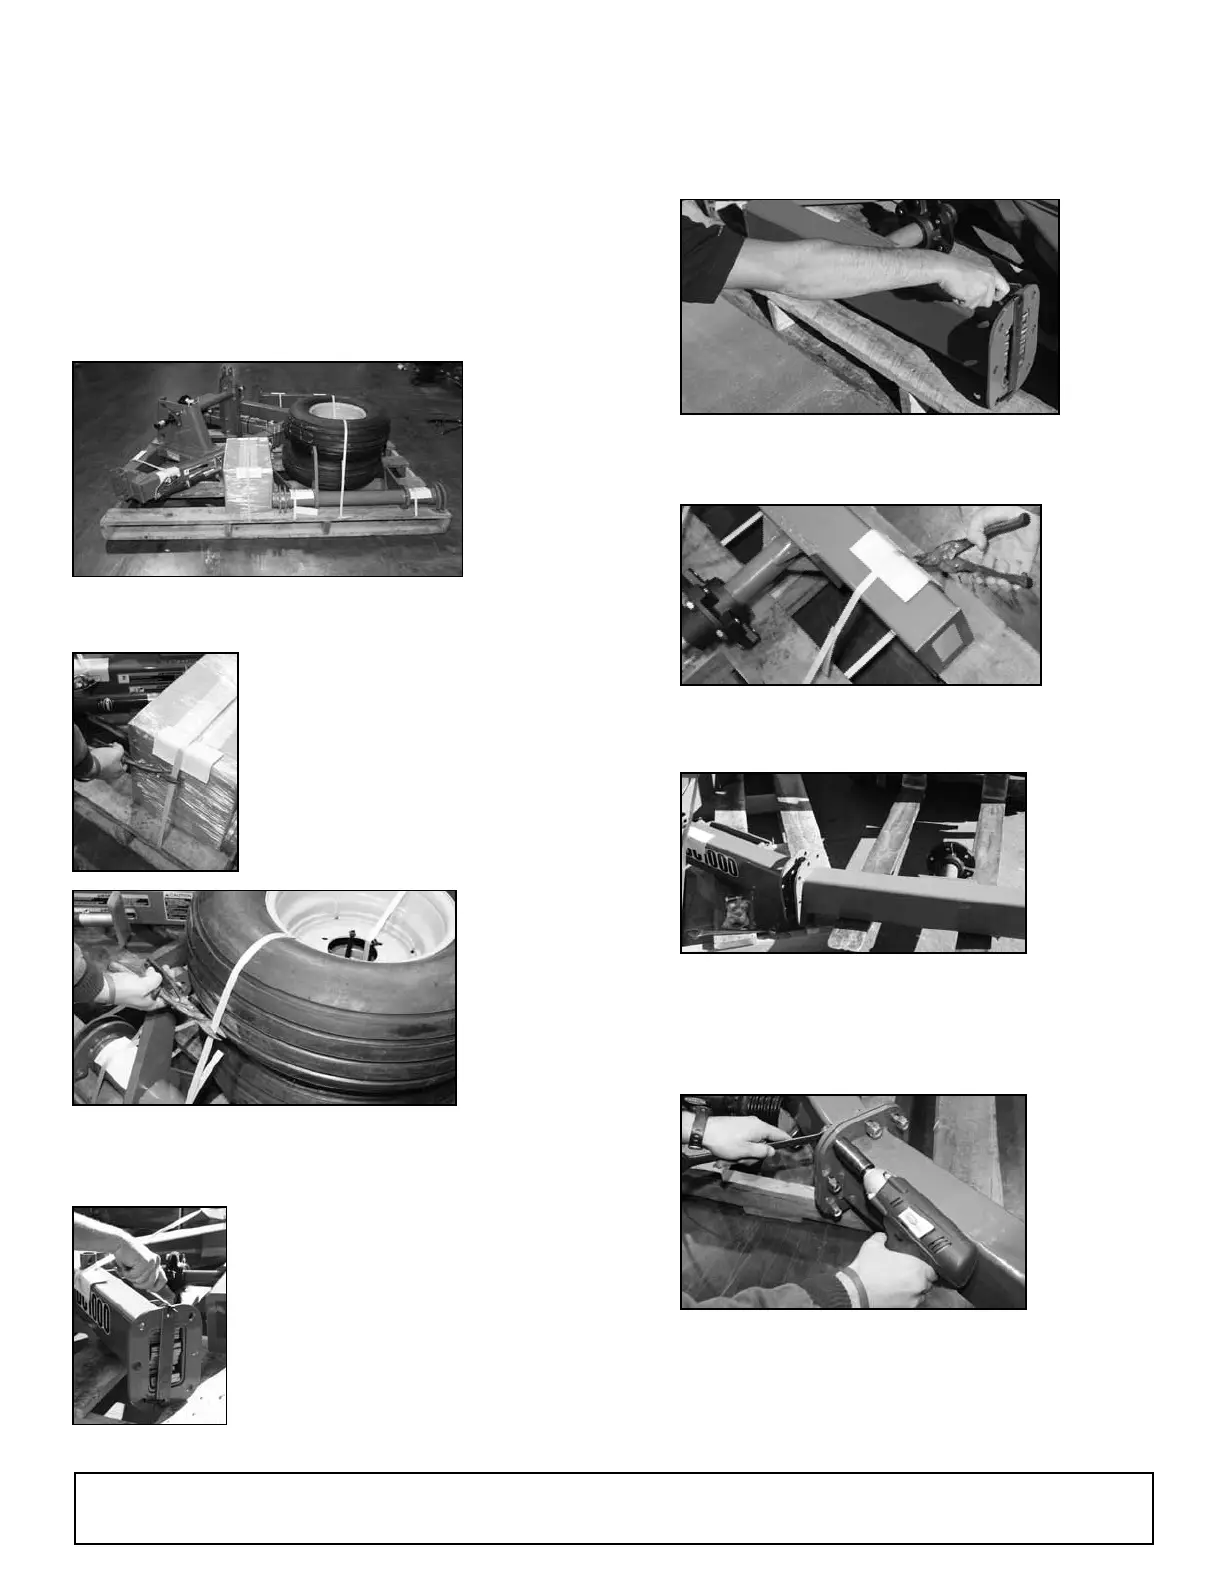
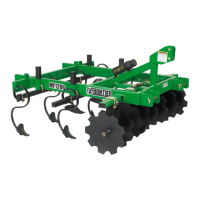
ASSEMBLY & SET UP
• Removing caddy from pallet
Assembly & Set Up 13
1. Place pallet in open area to begin
assembly.
2. Remove box of
hardware and set
aside.
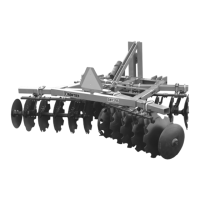
3. Remove tires and wheels from pallet
and set in assembly area.
5. Cut weight retaining strap on end of frame
and rear wheel assembly.
8. Using 15/16” socket, install eight 5/8” x
2” bolts and nylon locknuts into frame and
tighten. (Ref #6)
Note: Ref # refers to the DC1000 Hardware Check
Sheet included at the end of this manual (pg. 12) and in
the hardware box that ships with caddy.
TOOLS REQUIRED: rubber hammer, impact wrench, 1 1/8” socket & wrench, adj. wrench, 3/4” socket
& wrench, regular hammer, 1/2” socket, socket wrench, 15/16” socket, 9/16” socket, allen wrenches, 7/8”
socket, grease gun, and Teon tape or pipe compound.
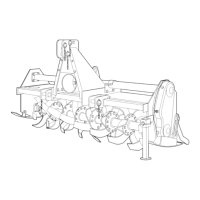
7. Using forklift, move frame and rear wheel
assembly and line up bolt holes with main
frame. Make sure wheel is to the inside. Use
caution as assembly is extremely heavy.
(continued on next page)
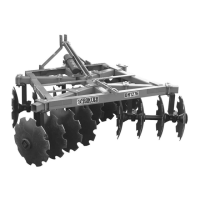
4. Cut weight retaining
strap on end of the
main A-frame.
6. Remove bands from frame and rear wheel
assembly.