Optional Equipment 18
Optional Equipment Con’t.
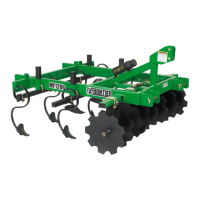
Outrigger Kit
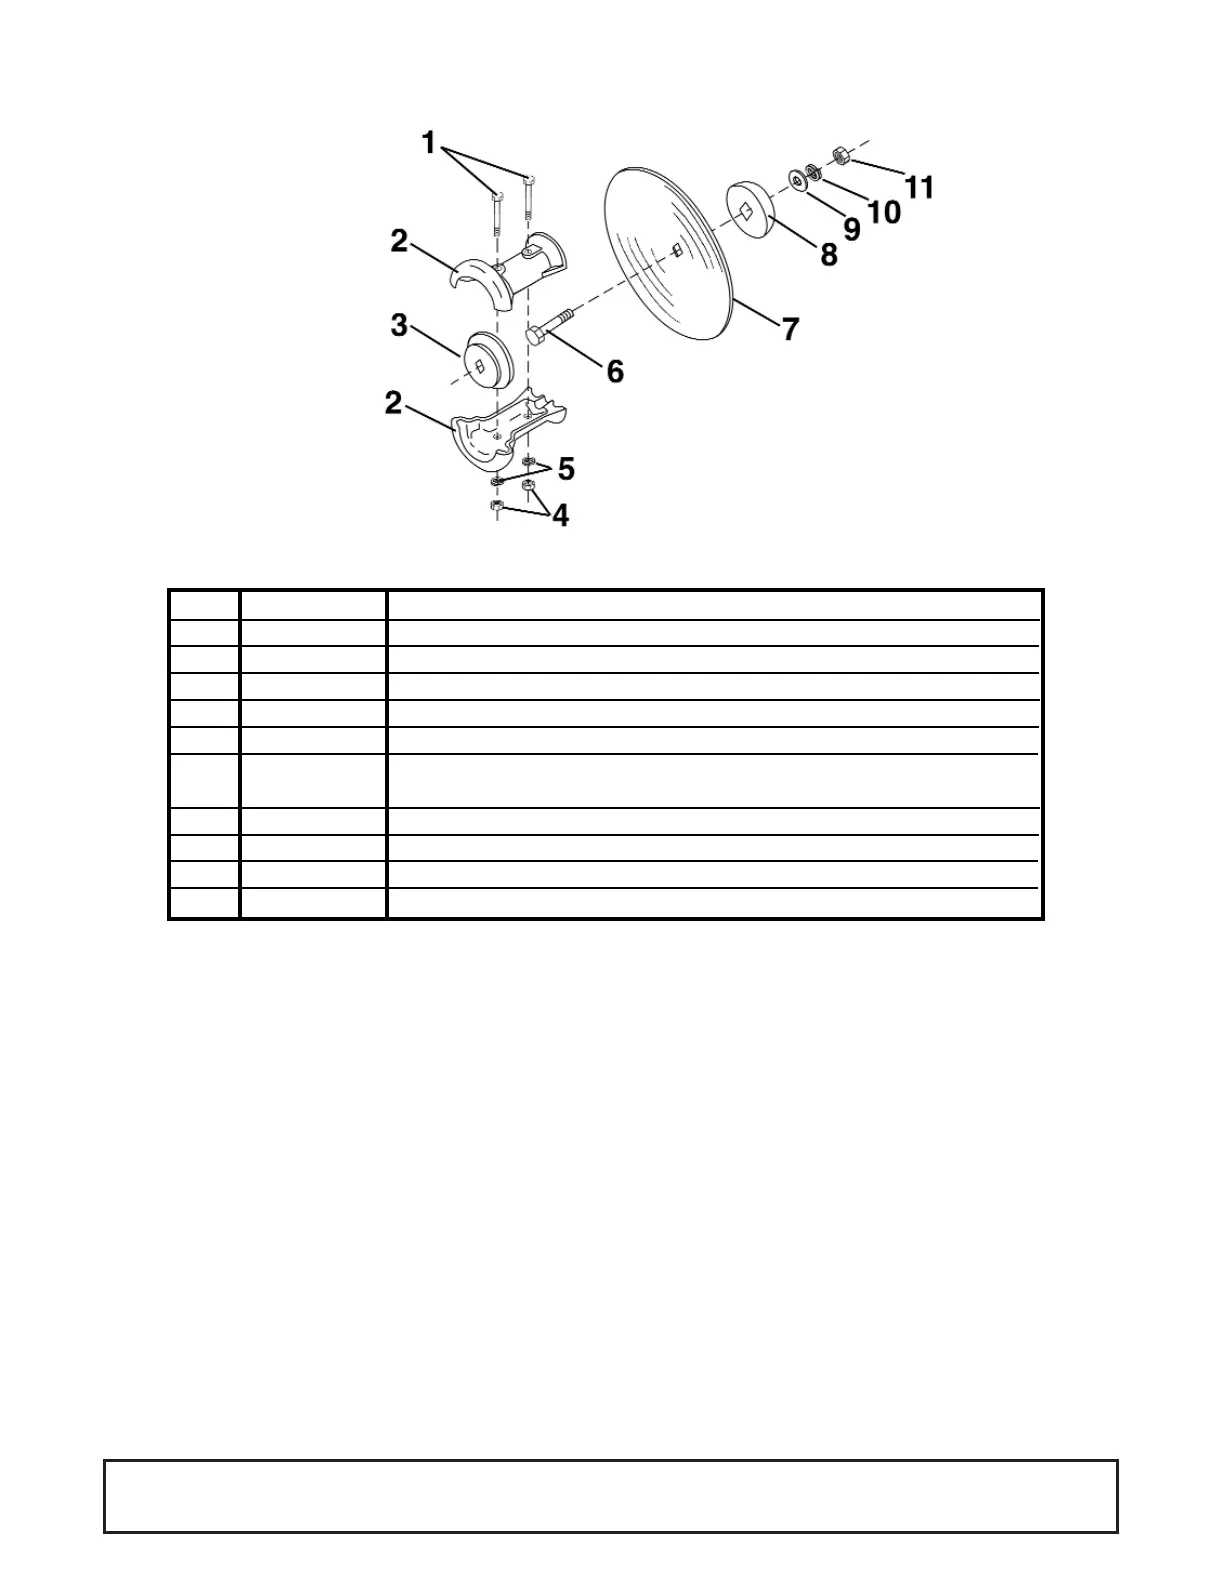
Figure 4
DH12 Series TLT703-16
(includes all parts for assembly)
1 TL12163 HEX BOLT,
1
/2” X3
1
/2" GR. 5 4
2TLT-OR2 OUTRIGGER HALF 4
3* TLT-OR1 OUTRIGGER WASHER, 1 1/8" *Note
4TLT-26 HEX NUT,
1
/2"4
5TLT-25 LOCK WASHER, 1/2" 4
6TLT-760 HEX BOLT, 3/4"X31/2" GR. 5 2
7 TL5-16118-1 DISC BLADE, 16" X 1" PLAIN or *MS
TL5-18118-1 DISC BLADE, 18" X 1" PLAIN *MS
8TLT-1 END WASHER, 1 1/8" 2
9TLT-723 FLAT WASHER,
3
/4"2
10 TLT-31 LOCK WASHER,
3
/4"2
11 TLT-27 HEX NUT,
3
/4"2
Ref.#Part # Description Qty
*Note: Item #3, Part# TLT-OR1 is not included with this assembly. The TLT-OR1 is standard
equipment on the rear gangs of the DH12 series.
Outrigger kits only attach to rear gang with out-
rigger washers (ref. #3). Outrigger washers DO
NOT come with kit. They are standard equip-
ment on rear gangs of the DH12 series. To
attach outriggers, remove cast iron end washer
(ref. #8), 3/4" flat washer (ref. #9), 3/4" lock
washer (ref. #10), and 3/4" hex nut (ref. #11)
from 3/4" x 3 1/2" Gr. 5 bolt (ref. #6). Remove
1/2" hex nuts & lock washers (ref. #4 & #5) from
1/2" x 3 1/2" Gr. 5 bolts (ref. #1). Take outrigger
halves (ref. #2) and pull apart wide enough to
clamp over outrigger washer (ref. #3) on gang
assembly. Re-apply the 1/2" hex nuts & lock
washers (ref. #4 & #5) to 1/2" x 3 1/2" Gr. 5 bolt
(ref. #1) and tighten. Make sure the 3/4" x 3
1/2" Gr. 5 bolt (ref. #6) is pulled out as far as
possible before tightening. Once tightened,
apply the outrigger disc blade (ref. #7) on the
3/4" x 3 1/2" Gr. 5 bolt (ref. #6), followed by the
cast iron end washer (ref. #8), 3/4" flat washer
(ref. #9), 3/4" lock washer (ref. #10), and 3/4"
hex nut (ref. #11). Tighten and outrigger is
ready for operation.
*NOTE- DH12 models use 16"outrigger
blades.
*NOTE- Retighten all fasteners after first oper-
ational use.
Outrigger Kit Mounting Instructions