Scan to PC
219
Scan
4
10 Select and set an item.
The following items appear:
Note • To delete the input data and return to the [Server Address Book] screen, select [Cancel].
For more information on the setting items, refer to "5 Tools" > "Setup" > "Add Address Book Entry" in the Administrator
Guide.
11 When the settings are completed, select [Registered].
Note • To return to the previous screen, select [Back].
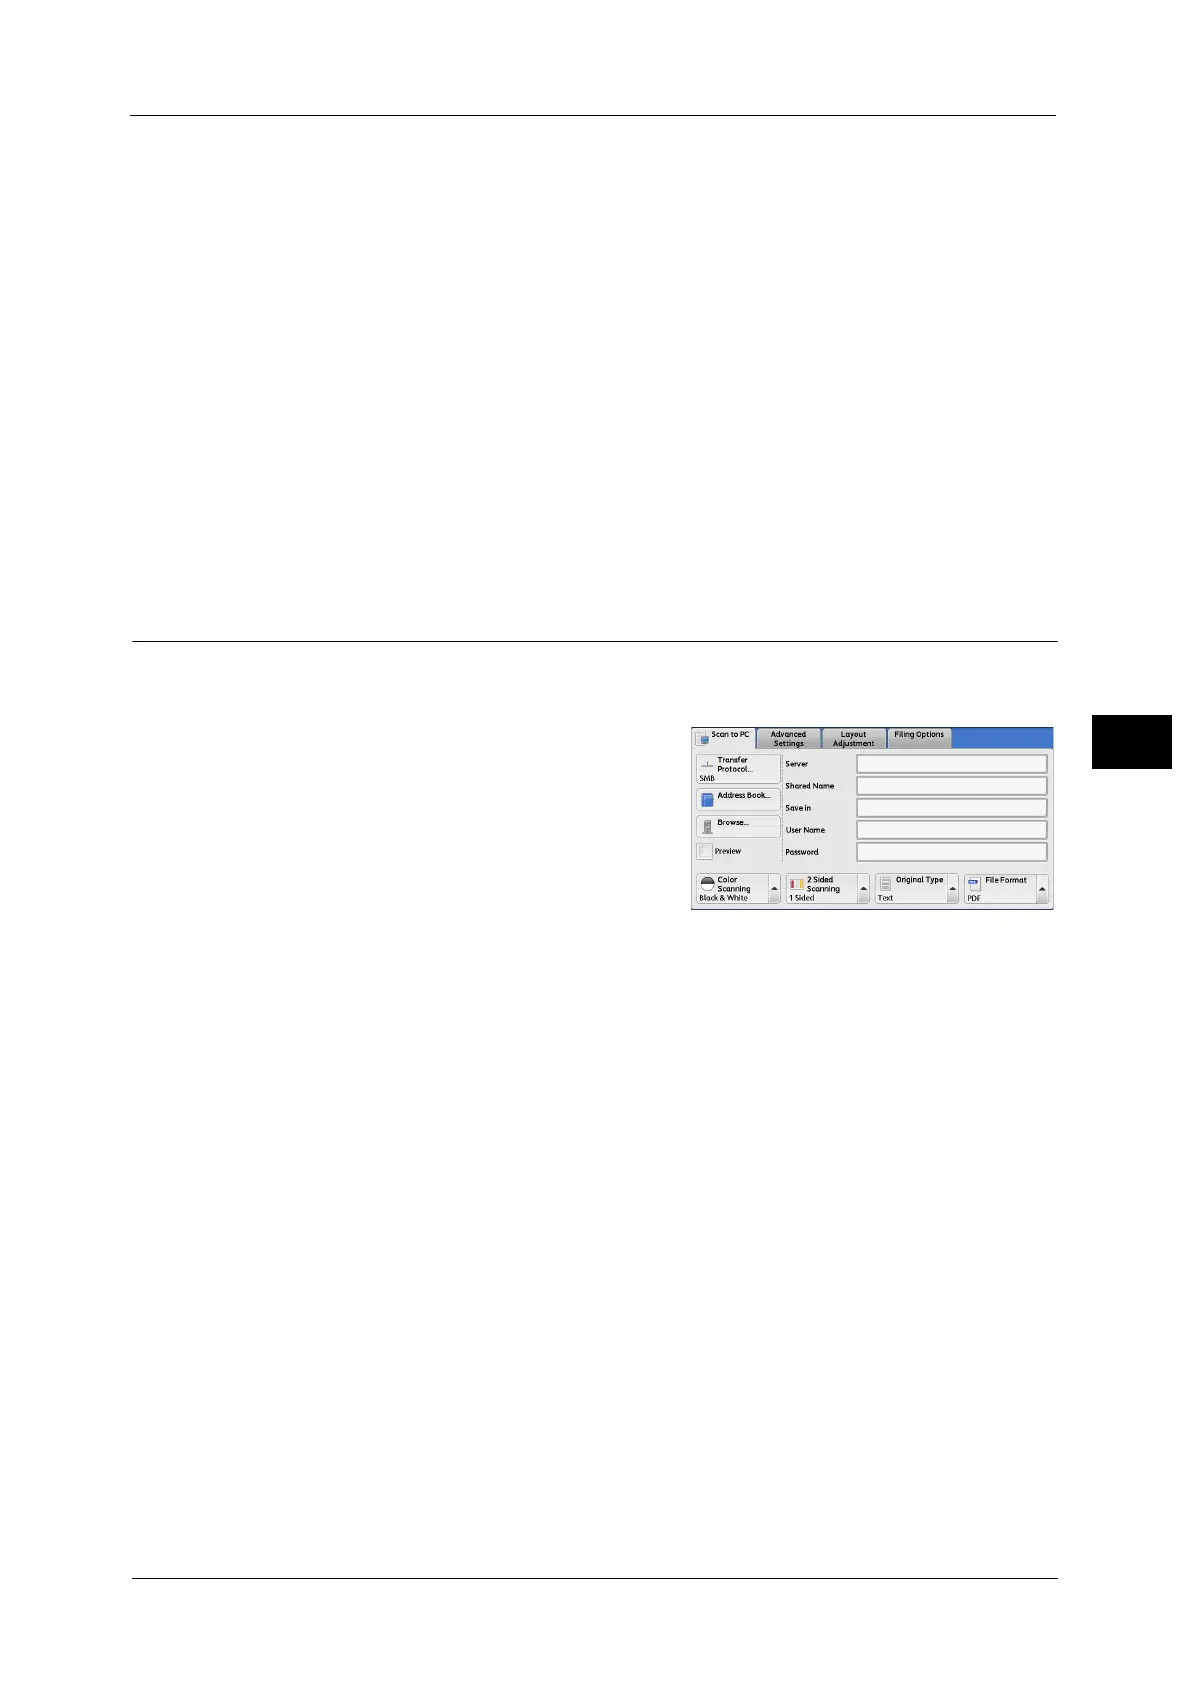
Browse (Specifying a Destination PC by Browsing Your Network)
This feature displays a hierarchy consisting of server names and folders. You can specify a
save destination by tracing the hierarchy.
1 Select [Browse].
2 Select the destination to save the data in. Select [Previous] or [Next] to move to another
level.
Important • You can specify recipients for SMB only.
Save in
Shows the current location in the hierarchy.
Add to Address Book
Displays the [Add to Address Book] screen.
Refer to "[Add to Address Book] Screen" (P.220).
Previous
Allows you to move to the upper directory.
Note • This button is grayed out if there is no upper directory.
Next
Allows you to move to the lower directory.
Note • This button is available when a folder is selected.
z
Address Type
z
Shared Name (SMB Only)
z
Name
z
Save in
z
Index
z
User Name
z
Transfer Protocol
z
Password
z
Server Name/IP address
z
Port Number
 Loading...