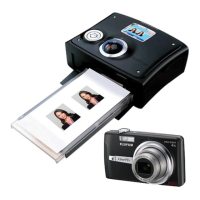
Fuji IP-10 Digital Passport System: Quick Reference Guide
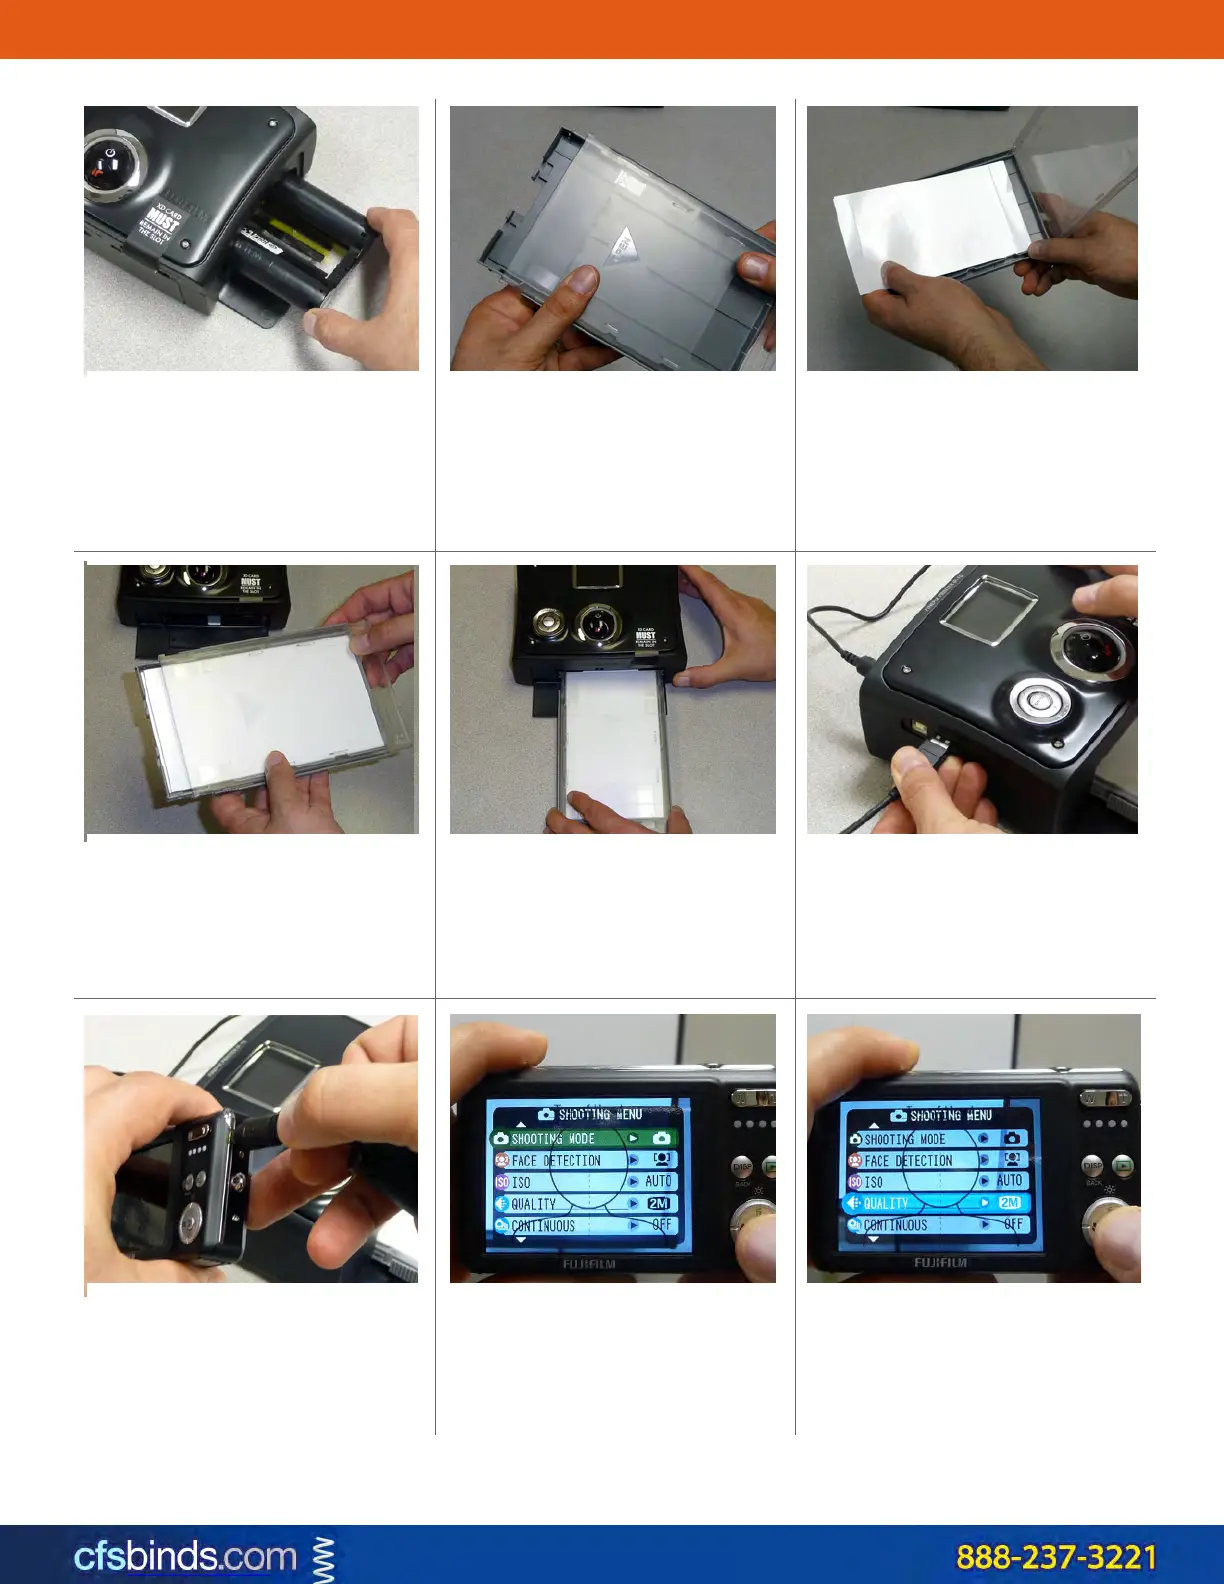
2. Slide the top of the paper tray
about 1/2” forward, so that the lid
can rotate up.
3. Load the paper into the tray with
the glossy side up.
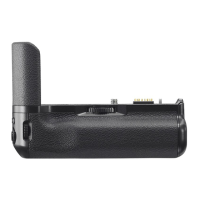
1. Make sure the ink ribbon
cartridge is free of slack. Place it in
the right side of the printer & close
the door. Be sure to slide it in as
per the directional arrow on the
cartridge.
5. Slide the paper tray into the slot
on the front of the printer.
6. Plug the power cord and the USB
extension cable into the printer. It
should power on and start up by
itself. If not press the large, domed
power button.
4. Close the lid, but do not slide the
top back into its original position.
8. Power on the camera & press the
MENU/OK button in the center of
the round cursor controls.
9. Press the cursor down ring to
select QUALITY. Press MENU/OK to
change the setting.
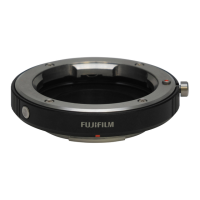
7. Connect the camera USB cable to
the extension, then plug the
smaller end into the side of the
camera.
Copyright 2011 CFS Products, Inc. All rights reserved.