Front
Quick Reference Guide
Starting a study
New patient
1 Tap Enter Patient Information from the
startup screen or + New Patient from the
touch panel.
2 Enter patient information.
3 Tap Scan to start imaging.
All data saved during the study are linked
to the patient.
Exam types
1 Select the transducer and exam button.
2 Select a transducer and exam type.
3 Double-tap on the exam type or tap
Scan to start imaging.
Scanning
• 2D is the default mode. Press 2D to
return to the default mode.
• Press M to scan in M Mode.
• Press C to scan in color Doppler.
• Press D to scan in Doppler.
M Mode
1 Use the touchpad to position the M-line
in the 2D image.
2 To display both the M-line and trace,
press UPDATE/ or press M again.
3 Press the UPDATE/ button to toggle
between the image and the trace.
Color Doppler
1 Use the Color Type control to switch
between Color Velocity (CVD) and Color
Power (CPD), or CVD and Color Variance
(Var), depending on the exam type. You
may need to tap + More Controls on the
touch panel to find the control.
2 Position the color box by dragging your
finger on the touchpad.
3 Press SELECT/ to control the size
of the color box, then resize by dragging
your finger on the touchpad.
Doppler
1 Use the Doppler Mode control to switch
between PW, CW, and TDI Doppler
imaging (CW and TDI are available only in
the cardiac exam). You may need to tap +
More Controls to find the control.
2 Use the touchpad to position the D-line
and gate in the 2D image.
3 To display the spectral trace, press
UPDATE/
or press D again.
4 Press the UPDATE/ button to toggle
control between the image and the trace.
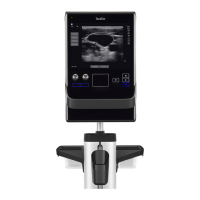
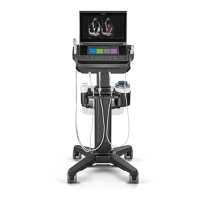
Turning on the system
Press the power button located at the back of the system
1
2 3 4
5
6 7 9
8
10
Back
12
11
Key:
1
Time gain compensation
2
Gain control
3
Depth
4
Select and Update
5
Touchpad
6
Labels, Calcs, Calipers
7
Save buttons
8
Freeze
9
Modes
10
Touch panel with touch controls
11
USB ports
12
Power button