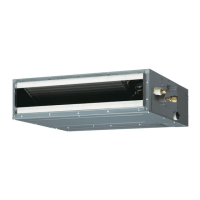
En-12
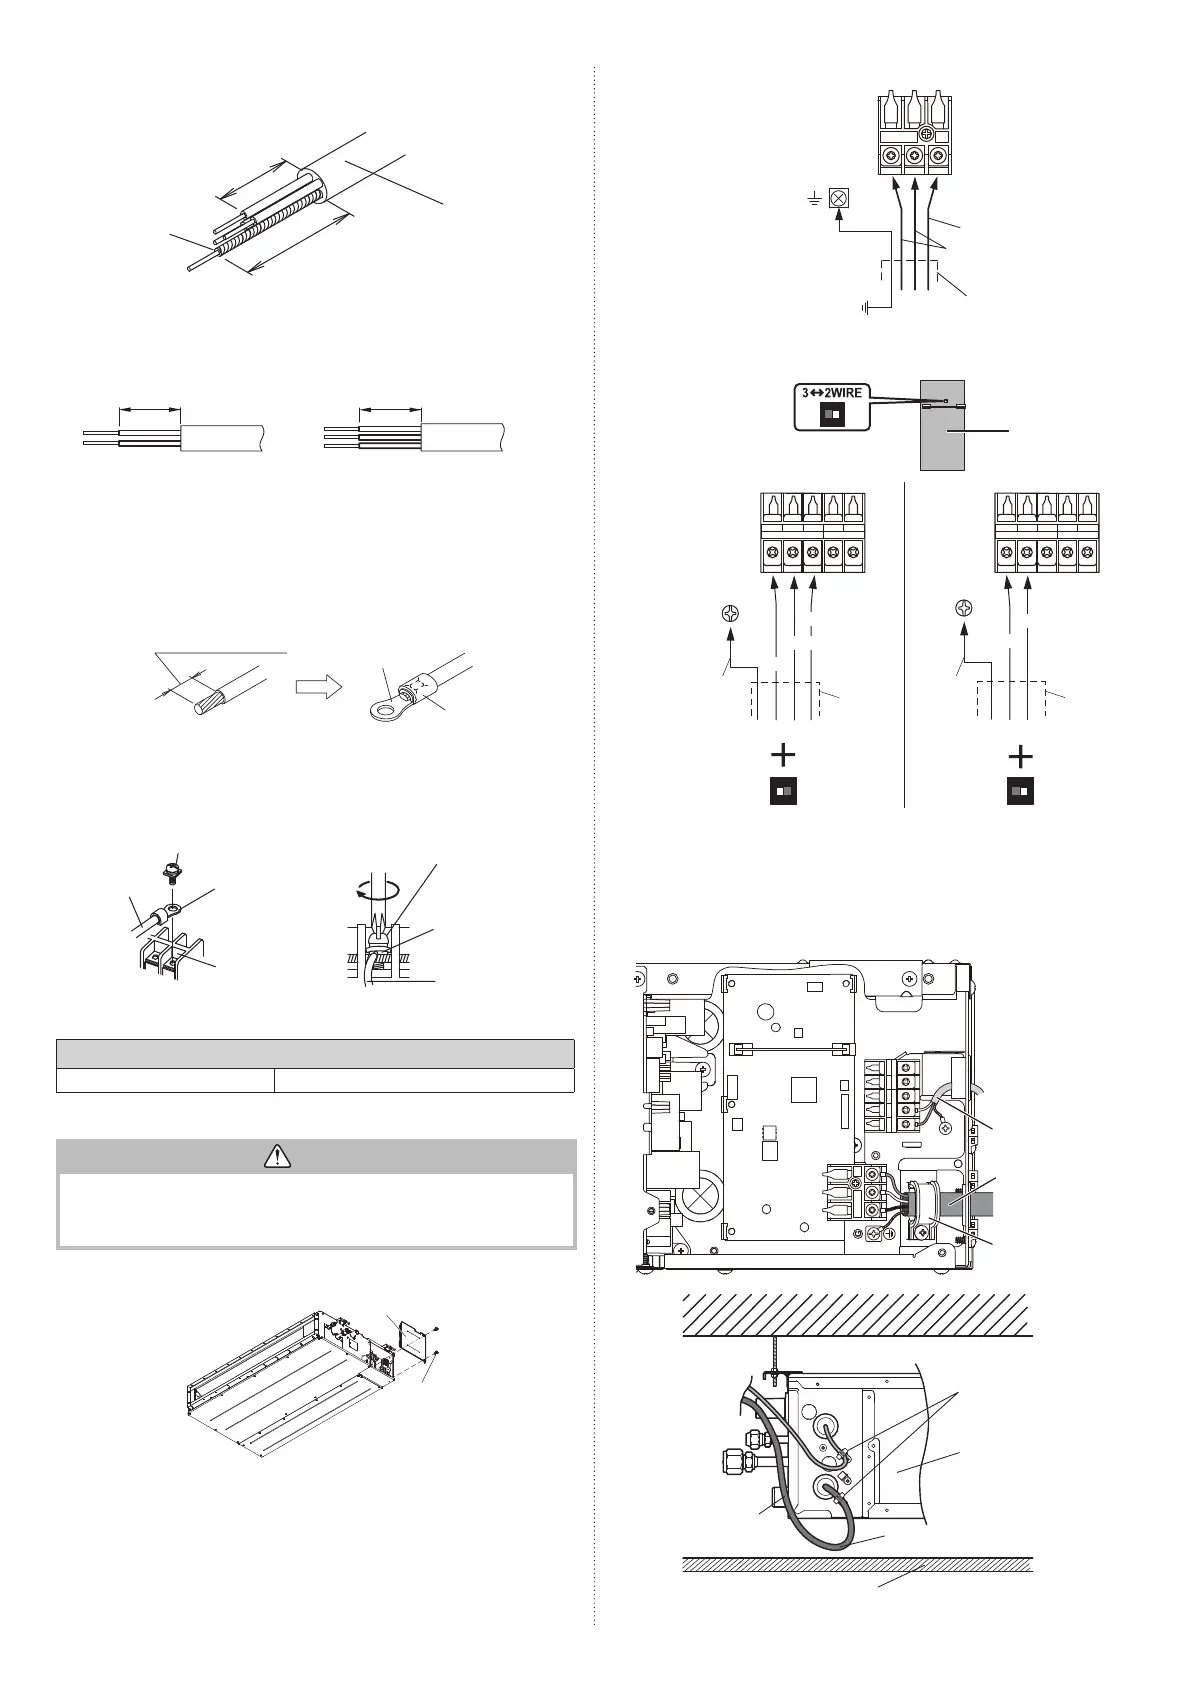
3.6.2. Connection cable preparation
■
Connection cable
Keep the earth (ground) wire longer than the other wires.
Connection cable
20 mm
30mm or more
Earth (Ground)
wire
• Use a 4-core wire cable.
■
Remote controller cable
For 2-wire type
For 3-wire type
30 mm 30 mm
3.6.3. How to connect wiring to the terminals
■
Caution when wiring cable
To strip off the insulation of a lead wire, always use a special tool such as a wire stripper.
If there is no special tool, carefully strip off the insulation by using a knife or other utensil.
(1) Use ring terminals with insulating sleeves as shown in the fi gure to connect to the
terminal block.
(2) Securely clamp the ring terminals to the wires by using an appropriate tool so that the
wires do not come loose.
Strip : 10 mm
Ring terminal
Sleeve
(3) Connect specifi ed wires securely, and fasten them so that there is no stress applied on
the terminals.
(4) Use a screwdriver with an appropriate bit size to tighten the terminal screws. Using of
screwdriver with inappropriate bit size will damage the screw heads, and the screws
will not be tightened properly.
(5) Do not overtighten the terminal screws. Otherwise, the screws may break.
Screw with special washer
Wire
Ring terminal
Terminal blocks
Wire
Screw with special washer
Ring terminal
(6) Refer to the table for the terminal screw tightening torques.
(7) Please do not fi x 2 power supply cables with 1 screw.
Tightening torque [N·m (kgf·cm)]
M4 screw 1.2 to 1.8 (12 to 18)
3.6.4. Connection wiring
CAUTION
• Be careful not to mistake the power supply cable and connection wires when install-
ing.
• Install so that the wires for the remote controller will not come in contact with other
connection wires.
(1) Remove the control box cover
(2) Connect the connection cable.
Cover
Screw
■
Connection cable
Y1 Y2
TO REMOTE CONTROL UNIT Ex IN
Y3 1 2 Y1 Y2
TO REMOTE CONTROL UNIT Ex IN
Y3 1 2
12 3
Control line
Connection cable
(power supply)
Power line
Outdoor
unit
Earth (ground)
DIP switch
Print circuit board
(PCB)
2-wire type
White
Red
Remote
controller
cable
Remote controller
Factory setting “2 WIRE”
3-wire type
Black
White
Red
Remote
controller
cable
Remote controller
Set to “3 WIRE”
EarthEarth
Connecting the
Optional parts
■
Remote controller cable
*Earth (Ground) the remote controller if it has a earth (ground) wire.
NOTES: Be sure to change the DIP SW to the corresponding remote controller.
When a 2-wire remote controller is connected to a “3WIRE” setting, power will
not be supplied.
When a 3-wire remote controller is connected to a “2WIRE” setting, a
communication error will be detected.
(3) After wiring is complete, secure the remote controller cable, connection cable with
the cable clamps.
Y1 Y2
TO REMOTE CONTROL UNIT Ex IN
Y3 1 2
12 3
Connection cable
(power supply)
Remote controller
cable
Cable clamp
Cable tie
(medium, accessories)
Avoid covering the air
inlet with the wiring.
Avoid touching the ceiling
with the wiring
Ceiling
Connection cable
(power supply)
Do not bind the power supply cable and other cables together.
9374342532_IM.indb 129374342532_IM.indb 12 2018/12/11 10:11:352018/12/11 10:11:35
 Loading...