– 142 –
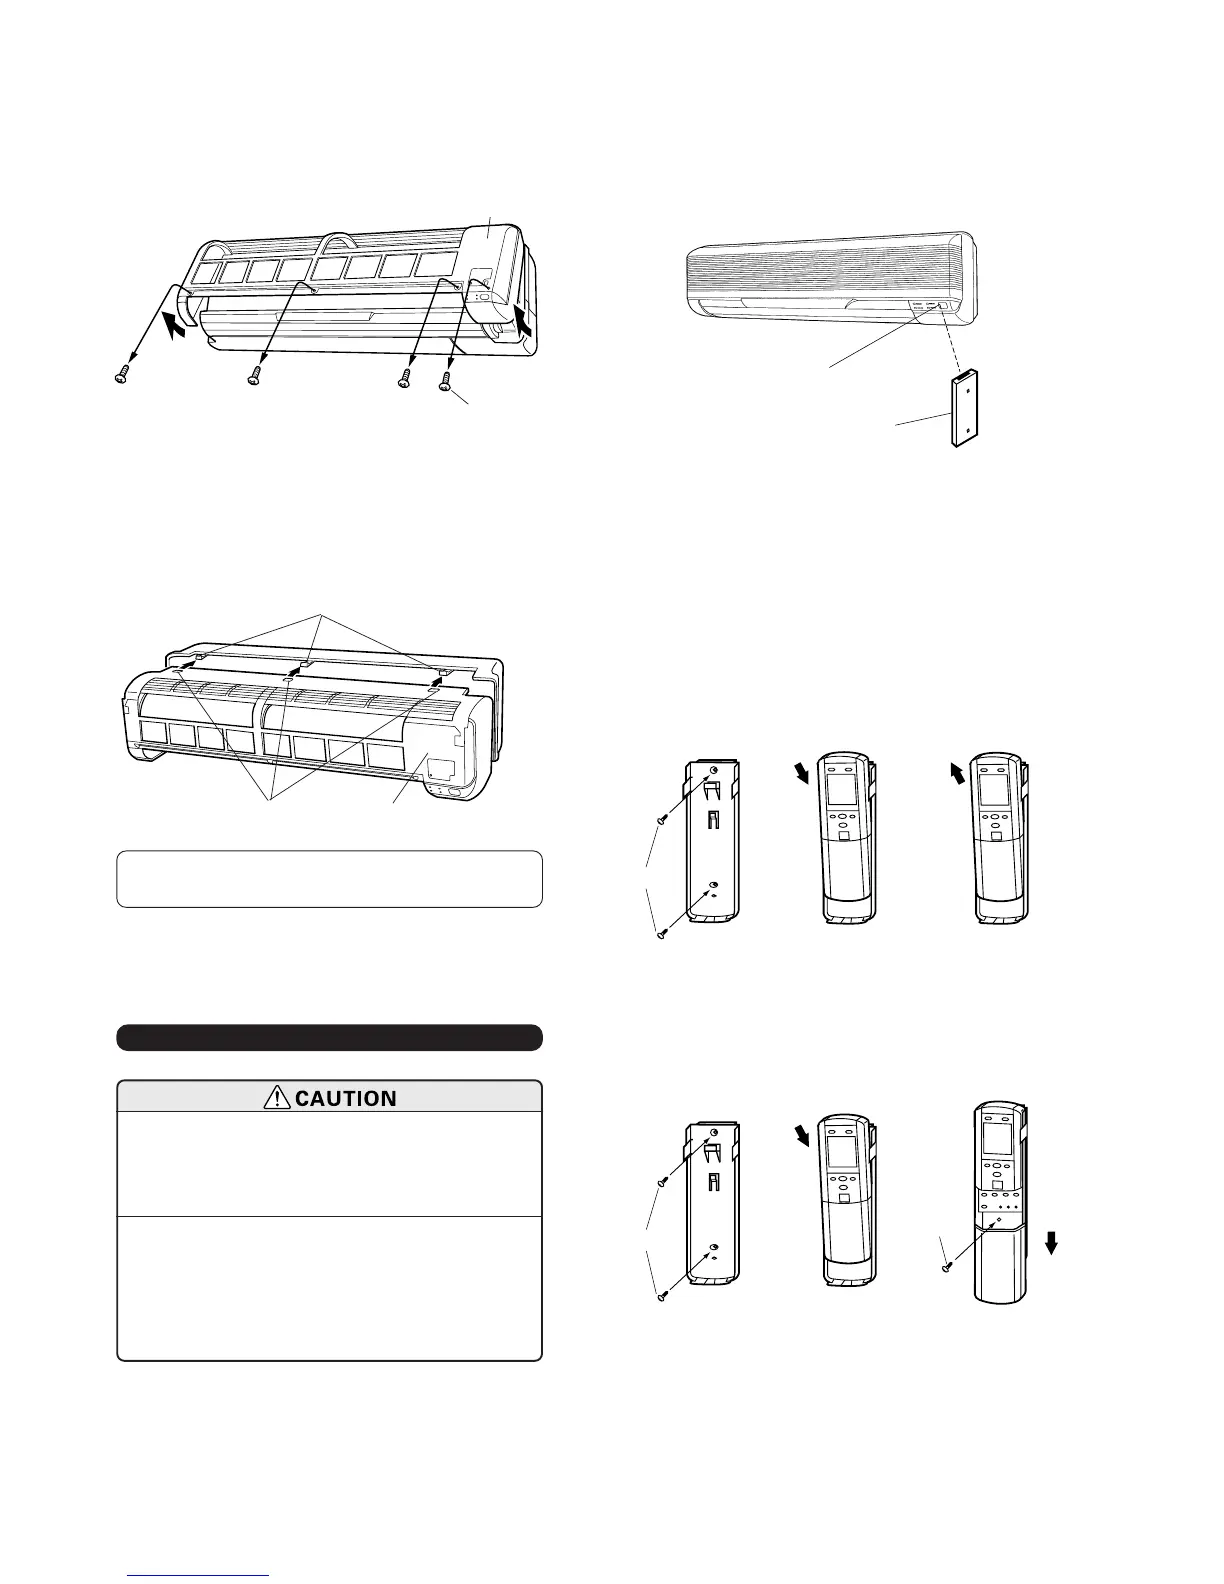
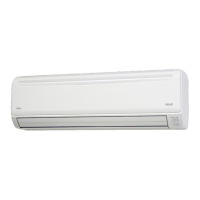
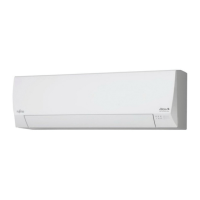
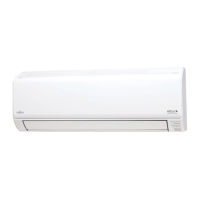
2. FRONT PANEL REMOVAL
(1) Remove the four tapping screws.
(2) Remove the front panel by lifting the bottom of the
front panel upward.
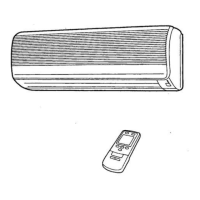
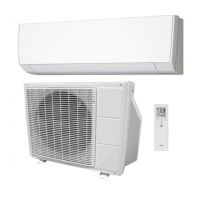
1. REMOTE CONTROL UNIT HOLDER
INSTALLATION
• Install the remote control unit so that the front is fac-
ing the photocell.(Fig. 42)
• Install the remote control unit with a distance of 7 m
between the remote control unit and the photocell as
the criteria. However, when installing the remote con-
trol unit, check that it operates positively.
• Install the remote control unit holder to a wall, pillar,
etc. with the tapping screw (Fig. 43).
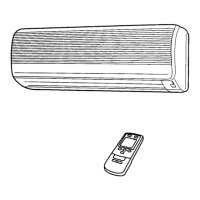
3. FRONT PANEL INSTALLATION
(1) Hook the top hole of the front panel to the hook of
the base.
(2) Fasten the front panel with the screw.
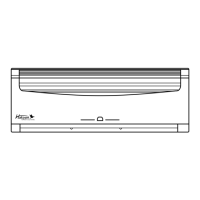
Fig. 40
Front panel
Tapping screw
Fig. 41
(Top hook)
Front panel
(Top hole)
Be sure that the top hole of the front panel is hooked
securely to the hook of the base.
13. REMOTE CONTROL UNIT INSTALLATION
(1) Check that the indoor unit correctly
receives the signal from the remote
control unit, then install the remote
control unit holder.
(2) Select the remote control unit hold-
er selection site by paying careful
attention to the following: Avoid
places in direct sunlight. Select a
place that will not be affected by the
heat from a stove, etc.