1. INSTALLATION
5
3. Use the installation materials (CP03-37001), consisting of hex bolts*, flat washers
and spring washers), to fasten the antenna unit to the platform. The torque for the
bolts must be 19.6 to 24.5 Nm. Apply marine sealant (local supply) to the hex
bolts, flat washers and spring washers as shown below.
*: See the table below to determine the bolt length to use.
Platform thickness and bolt to use
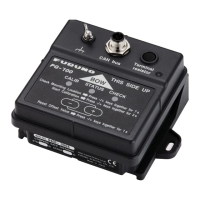
4. Connect the power/LAN cable from the antenna unit. The
connector pin arrangement is as shown to the right.
Observe the below guidelines for laying the power/LAN
cable.
• Do not fasten the cable to the hull.
• If radar noise is interfering with VHF radio equipment,
use the cable supplied with the EMC Modification Kit in place of the LAN/power
cable, and separate the cable at least 1.5 m from the radio cable.
• Make sure the cable connector does not strike the hull because of wind, etc.
• If the cable is passed through a mast on a sailboat, be sure the cable does not
touch ropes (sheet, halyard, etc.).
• The cable must be secured so no tension is applied to its connectors. As shown
in the figure below, create a loop in the cable close to the unit and secure the
loop with cable ties.
Platform thickness Size of bolts to use
6 to 10 mm M1025 (Supplied as installation material)
Over 10 mm Supply locally.
Mounting platform
Antenna unit base
Flat washer
Hex bolt
Spring washer
Determine the length of bolts
according to platform thickness.
Marine sealant (local supply)
Loop cable and secure loop with cable ties.
The minimum bend radius is 242 mm.

 Loading...