1. MOUNTING
1-2
1.2 Flush Mounting
Select a flat mounting location and install the unit as shown below.
Note: Ensure the mounting location is flat, with no indents or protrusions, to allow a
secure fit.
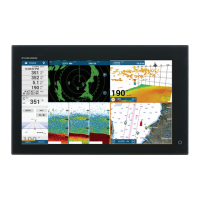
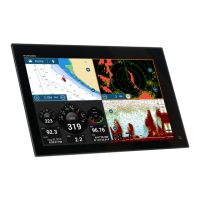
1. Prepare a cutout in the mounting location using the template (supplied) for the
TZTL12F or TZTL15F.
2. Attach the flush mounting sponge,
in the order indicated in the figure to
the right (supplied as installation
materials), to the back of the
NavNet TZtouch2.
3. Screw the wing bolts and the wing
nuts of the flush mount fixture so
that the protector for screw moves
to the flush mount fixture.
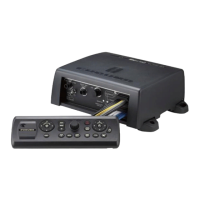
4. Connect all cables at the back of
the NavNet TZtouch2. (See chap-
ter 2.)
5. Set the NavNet TZtouch2 to the
cutout.
6. Fasten the flush mount fixtures to the holes for the hanger at both sides of the
NavNet TZtouch2 with two hex. bolts (M612, supplied).
Wing nut
Wing bolt
Flush mount fixture
Flush mount fixture
Protector for screw
Move to the fixture
Flush mount fixture
Hex. bolt (M6×12)
Hex. bolt (M6×12)

 Loading...