42
Channel 15 - Shutter, Strobe
0 - 31 Shutter closed
32 - 63 No function (Shutter open)
64 - 95 Strobe-effect from slow to fast (max. 10 flashes/second)
96 - 127 No function (Shutter open)
128 - 159 Pulse-effect in sequences
160 - 191 No function (Shutter open)
192 - 223 Random strobe-effect from slow to fast
224 - 255 No function (Shutter open)
Channel 16 - Dimmer intensity
0 - 255 Gradual adjustment of the dimmer intensity from 0 to 100 %
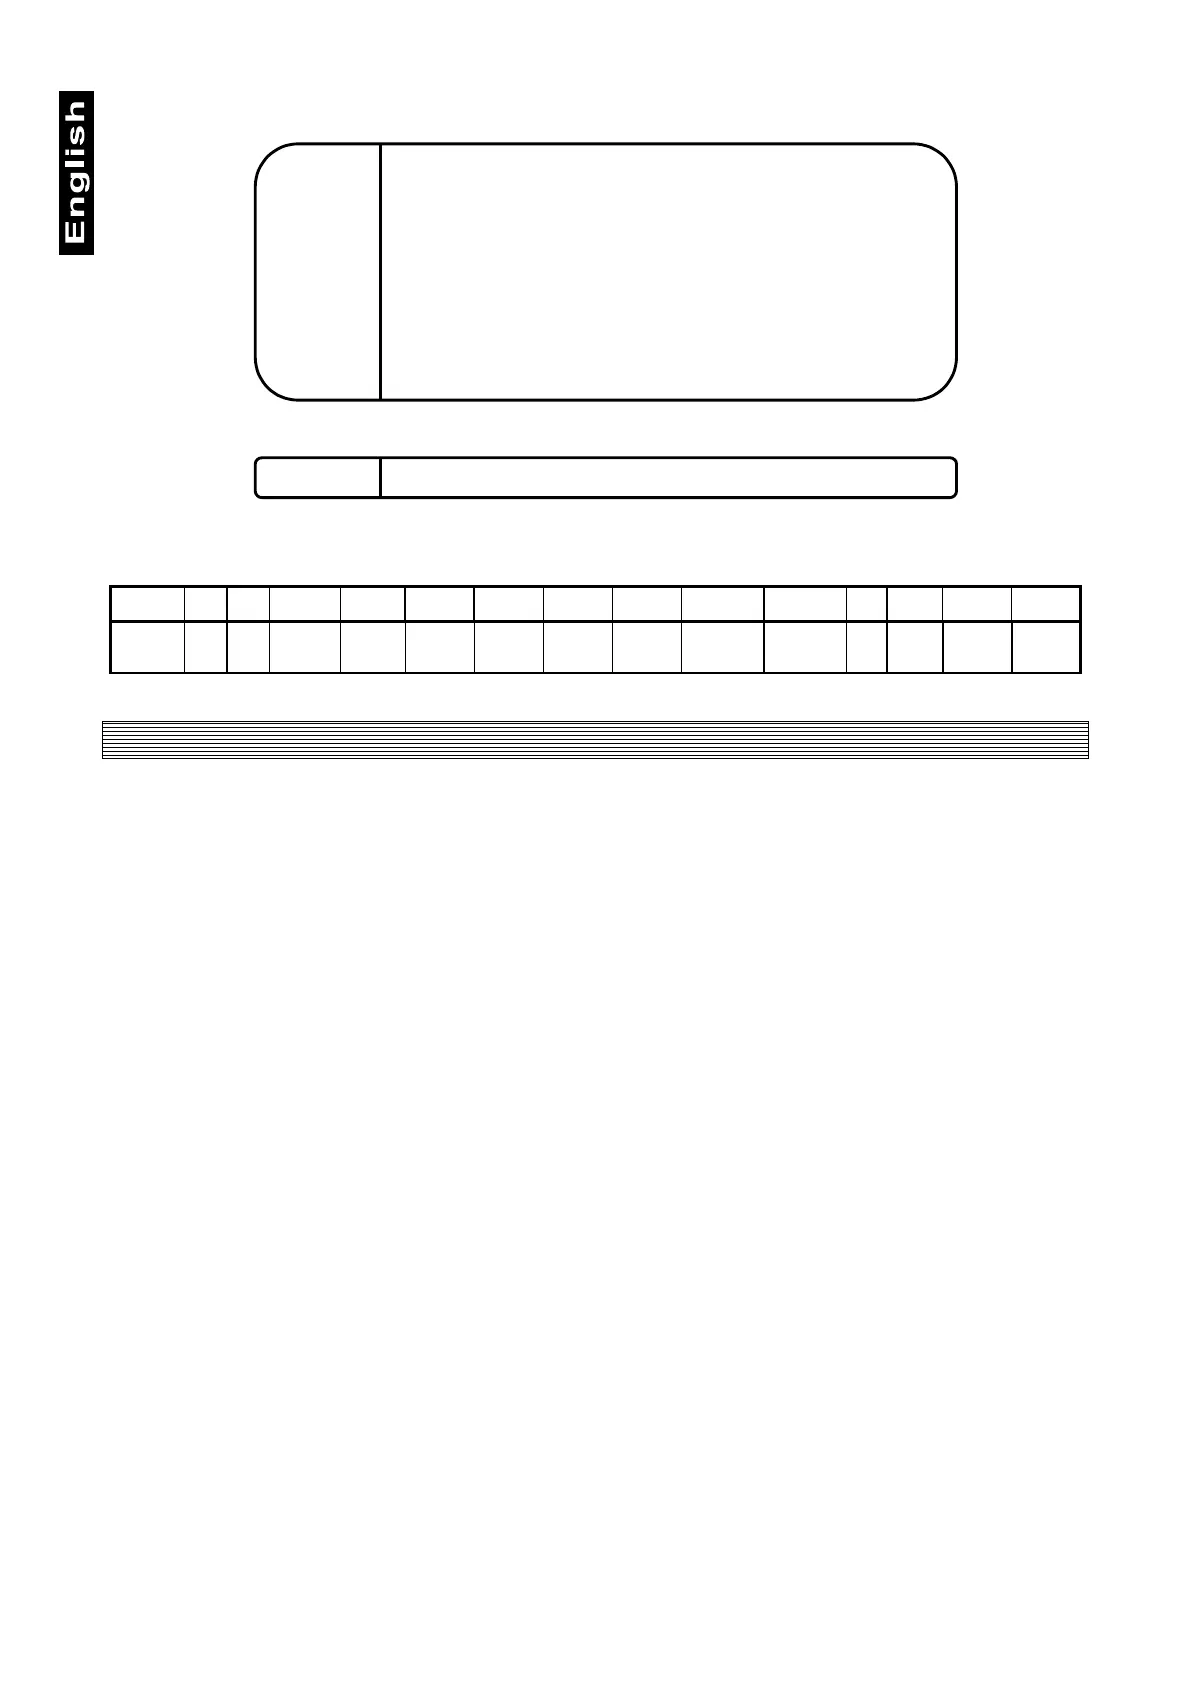
Function of the control channels - 8 bit protocol:
DMX
Channel
1 2 3 4 5 6 7 8 9 10 11 12 13 14
Function PAN TILT PAN/TILT
SPEED
FAN
ON/OFF
LAMP
COLOUR
WHEEL 1
COLOUR
WHEEL 2
PRISM
WHEEL
STATIC
GOBOS
ROTATING
GOBOS
GOBO
ROTATION
IRIS FOCUS STROBE DIMMER
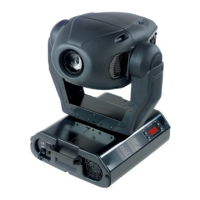
Addressing
The Control Board on the top side of the MH-860 allows you to assign the DMX fixture address, which is
defined as the first channel from which the MH-860 will respond to the controller.
If you set, for example, the address to channel 5, the MH-860 will use the channel 5 to 20 for control.
Please, be sure that you don’t have any overlapping channels in order to control each MH-860 correctly and
independently from any other fixture on the DMX data link.
If two, three or more MH-860 are addressed similarly, they will work similarly.
For address setting follow this procedure:
1.
Switch on the MH-860 and wait until the fixture reset has finished (
"rSt"
is flashing at the display).
2.
Press the
[Mode]
key in order to access the main menu. Browse through the menu by pressing the [Up]
and [Down] keys until the display shows
"A001"
. Confirm by pressing
[Enter]
key and the letter
"A"
will
flash.
3.
Use the [Up] and [Down] keys to select the desired address.
4.
Confirm by pressing
[Enter]
or
[Mode]
to cancel.
Controlling:
After having addressed all MH-860 , you may now start operating these via your lighting controller.
Note:
After switching on, the MH-860 will automatically detect whether DMX 512 data is received or not. If there is
no data received at the DMX-input, the display will start to flash
"A001"
with actually set address.
This situation can occurr if:
- the 3 PIN XLR plug (cable with DMX signal from controller) is not connected with the input of the MH-860
- the controller is switched off or defective, if the cable or connector is defective or the signal wires are swap
in the input connector.
Note:
It’s necessary to insert the XLR termination plug (with 120 Ohm) in the last lighting in the link in order to
ensure proper transmission on the DMX data link.